Hat season is coming, folks. (Please don’t punch me in my face for saying that.) But it’s true! Fall is creeping in and winter is right around the corner. And obviously all of those cute babies that are due any time now need cute headwear. Am I right?
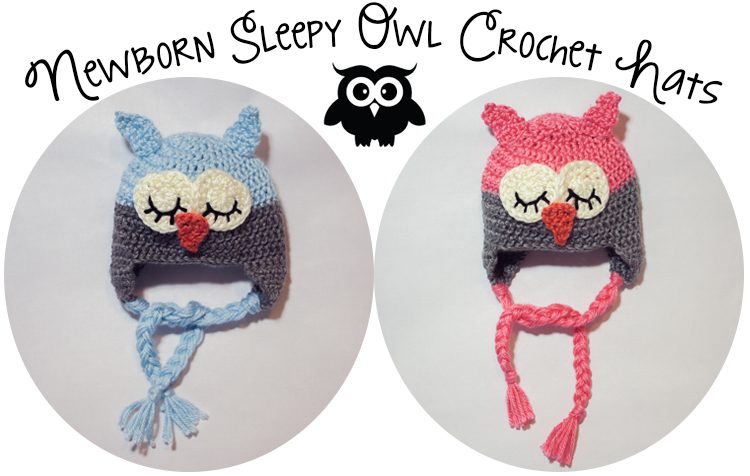
And so I give you the Sleepy Owl. I only wrote this one out for newborn sizes (which can fit an average 0-6 month old’s head) but you could easily draft it for a larger size if you wanted. For me, a sleepy owl kind of only makes sense on a sleepy newborn’s head. But I could be wrong.
***As always, you’re more than welcome to sell finished products from this pattern. I only ask that you give me credit and link back to this pattern. Please play nice and don’t claim the pattern or photos as your own. If you do end up making a hat from my pattern, I’d love to see the results! Link me to your blog, email me a photo (katy@handmadeescapade) or post it to my Facebook page. I want to see what you can do!!

Sleepy Owl | Crochet Newborn Hat Pattern
Materials:
– Pink/Blue Worsted Weight Yarn
– Grey Worsted Weight Yarn
– Orange Worsted Weight Yarn
– Black Worsted Weight Yarn
– Crochet hook size H-8 (5.0 mm)
– Tapestry needle
– Fabric glue (if desired)
Abbreviations:
ch – chain
st – stitch
sl st- slip stitch
DC – Double Crochet
DC Decrease – Double Crochet Decrease
DC3TOG – Double Crochet Three Together
Magic Ring – Find a great tutorial including video HERE
Main Hat:
**Ch 2 at beginning of each round counts as first DC.
Magic Ring, 10 DC in magic ring, join to first DC. (10 DC)
Round 2: Ch 2, DC in same stitch. 2 DC in each around, join. (20 DC)
Round 3: Ch 2, 2 DC in next. [1 DC in next, 2 DC in next.] 9 times. Join to first DC. (30 DC)
Round 4: Ch 2, DC in next, 2 DC in next. [DC in next 2 st, 2 DC in next] 9 times. Join to first DC. (40 DC)
Round 5: Ch 2, DC in next 2 st, 2 DC in next. [DC in next 3 st, 2 DC in next] 9 times. Join to first DC. (50 DC)
Round 6-7: Ch 2, DC in each st around. Join to first DC. (50 DC)
**Change to second color.
Round 11: Ch 2, DC in each st around. Join to first DC. (50 DC)
do not fasten off, begin on earflaps as written below
Earflap 1:
**Ch 2 at beginning of each row counts as first DC.
Row 1: Chain 2 (counts as first DC), DC in next 10. Ch 2, turn.
Row 2: DC decrease, DC in next 7, DC decrease. Ch 2, turn.
Row 3: DC3TOG, DC in next 3, DC3TOG. Ch 2, turn.
Row 4: DC decrease, DC in next, DC decrease.
Fasten off, weave in ends.
Earflap 2:
Leave 14 stitches in front.
Row 1: Chain 2 (counts as first DC), DC in next 10. Ch 2, turn.
Row 2: DC decrease, DC in next 7, DC decrease. Ch 2, turn.
Row 3: DC3TOG, DC in next 3, DC3TOG. Ch 2, turn.
Row 4: DC decrease, DC in next, DC decrease.
Fasten off, weave in ends.
Beak & Ears:
Make two of main color1 for ears. One of contrasting color for beak.
**Ch 2 at beginning of each row counts as first DC.
Magic ring. Ch 2 (counts as 1 DC), DC 1 into magic ring. Ch 2, turn.
Row 2: DC in same st, 1 DC in next. (3 DC). Ch 2, turn.
Row 3: DC in same st. 1 DC in next 2 st. (4 DC). Ch 2, turn.
Row 4: DC in same st. 1 DC in next 3 st. (5 DC).
Fasten off, weave in ends.
Eyes (Make 2):
**Ch 2 at beginning of each round counts as first DC.
Magic Ring, 10 DC in magic ring, join to first DC. (10 DC)
Round 2: Ch 2, DC in same stitch. 2 DC in each around, join. (20 DC)
Fasten off, weave in ends.

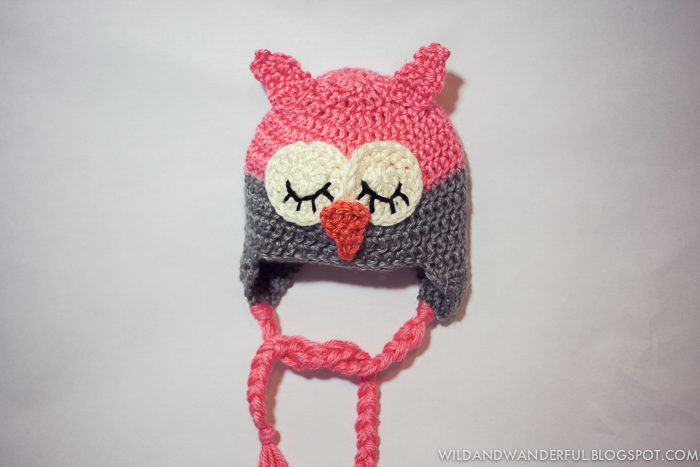
// For the eyelashes, I just freehand an embroidery-like design onto them. No precision needed, use the circular pattern from the different rounds you just crocheted as a guide for the line and then embroider four small lashes going down from it.
Earflap Braids:
— For each braid, I cut 9 pieces of yarn at around 30″ each. I say “around” because I just eyeball how long I’d want them to be. You can make them longer/shorter to your liking.
— Fold that group of yarn in half and at the top (the loop end), pull the loop through one of the ear flaps of the hat in the middle, just enough to string the cut ends of that group through. Now your strings should be secured on your ear flap.
— Divide the hanging strings into three sections of 6 strings and braid away. Knot near the bottom and clean up your ends with scissors.
–Repeat on the other ear flap.

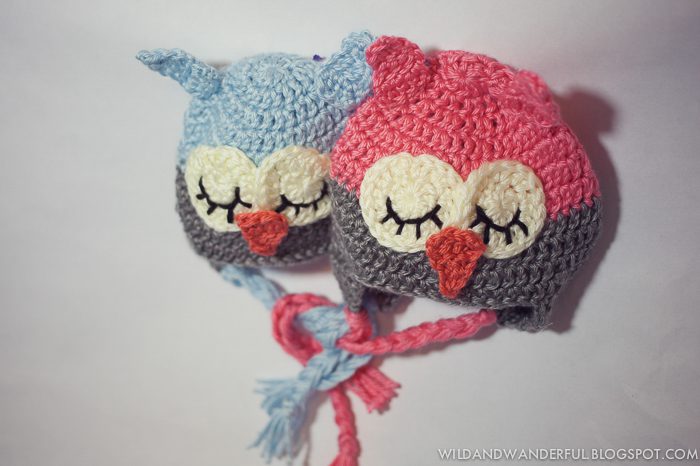
Aren’t they just a couple of cuties?! As always, direct any questions here that you might have for me. Things that make sense in my head might not make sense to you.
Have fun! And if you’re someone who isn’t exactly crochet-savvy…these two are in my shop and up for grabs to whoever wants them!


So stinking cute! I love the little closed eyes.
Me too! Even though owls are overly trendy sometimes, I still like them. Especially in crochet form.