Updated 1/30/24: I almost pulled all of my Harry Potter content from my site.
After a lot of deliberation, I decided to continue to share it with my readers + crafting community but with this note:
I vehemently disagree with the comments made by J.K. Rowling. Trans women are women. Trans men are men. Their identities are valid and any attempts to erase their existence is harmful, wrong, and disgusting.
I stand beside the LGBTQIA+ community and find it important to support and respect the Queer Community, including those who have found any level of joy, solace, or identification in the Harry Potter series. As an Ally, learning is an ongoing experience. For those of you interested in educating yourselves on how you can support the Trans and Nonbinary communities, there’s a great guide from The Trevor Project (a nonprofit organization that focuses on suicide prevention efforts in the LGBTQIA+ community): Guide to Being an Ally to Transgender and Nonbinary Young People.
I will not tolerate discriminatory or hateful speech in any form. You don’t have to understand someone to respect them. They know who they are more than we ever will.
Spread love, spread joy, and keep making beautiful things. -KatyM.
When you decide to have a Harry Potter birthday party, it’s hard to not want brooms to be involved. So you can have a game of Quidditch (in some form) set up for the kiddos to play. My issue was coming up with a way to make brooms that they couldn’t fall on/injure themselves with/beat each other with.
Sure. Your kids are probably perfect angels. But sometimes we have kiddos that like to turn everything into a battering ram. I’d rather not just hand them a beating stick and let them at it. Good planning ahead?

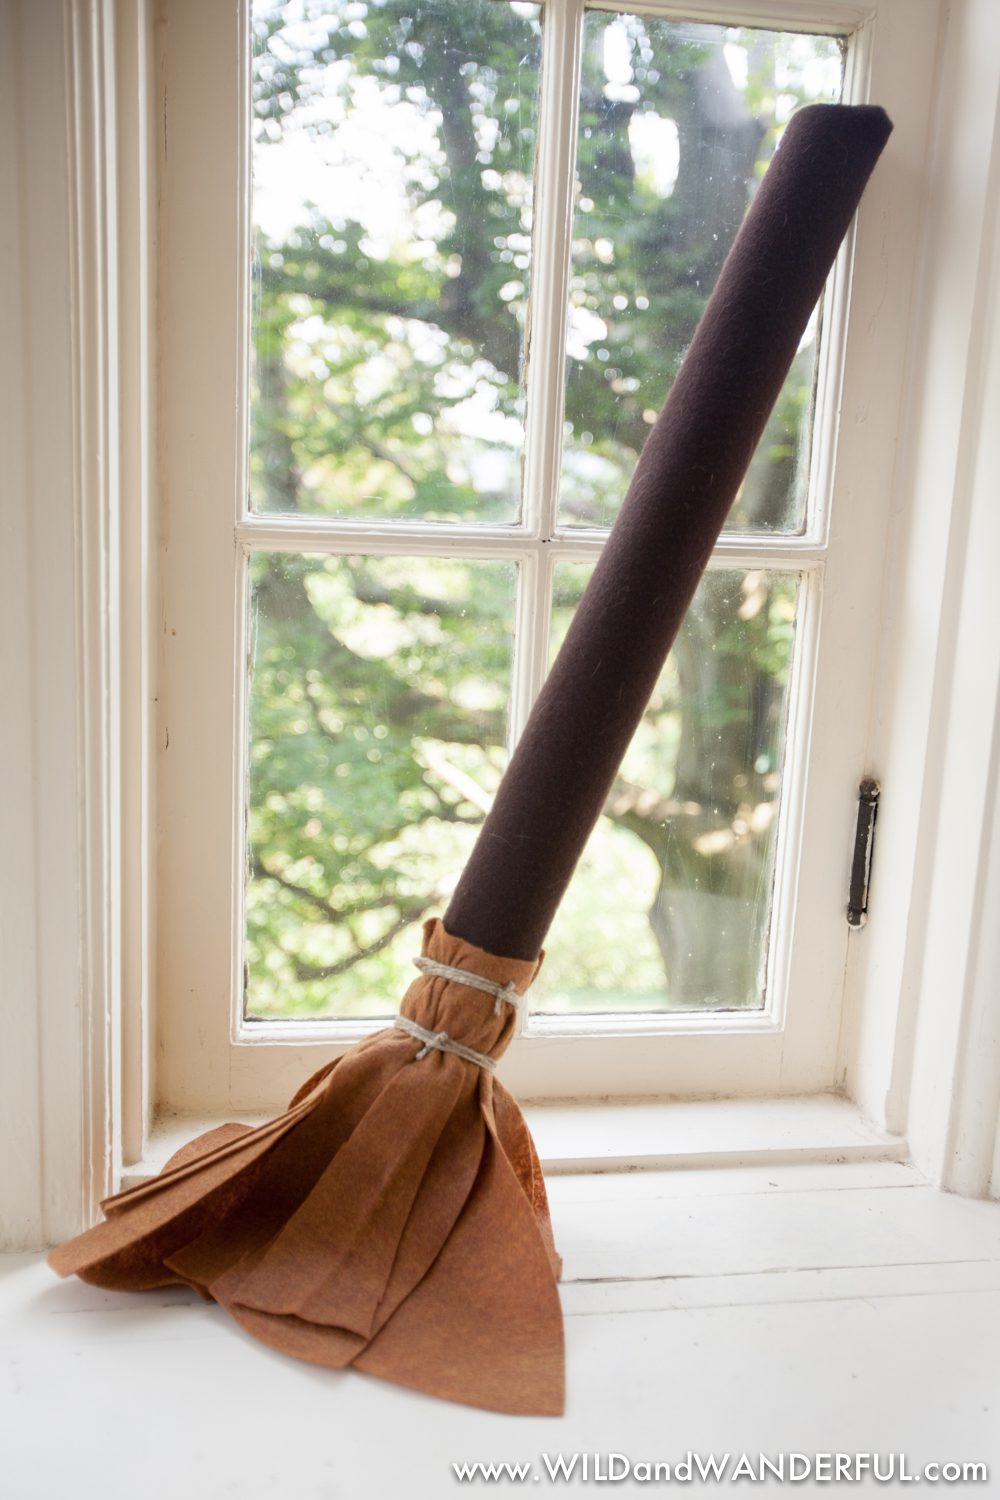
So what did we come up with for our fabulous flying objects? Felt covered pool noodles!
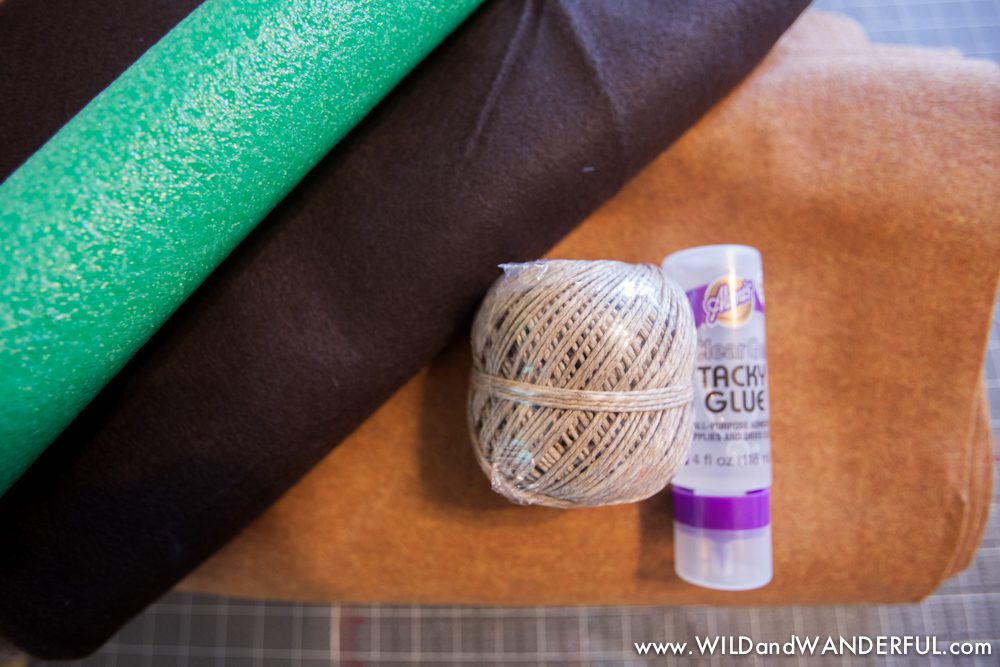
Things you’ll need:
- Pool noodle (we picked the skinnier ones, found at Target. They were about a 2.5″ diameter and around 58″ in length)
- Craft Felt in Brown and Tan (JoAnns sells them on bolts, in 72″ widths that is perfect for this!)
- Craft Glue (which we found to be unnecessary after getting a few brooms under our belt)
- Hemp/Twine
:: Cut your pool noodle in half. Mind ended up being around 29″ long. Set aside.

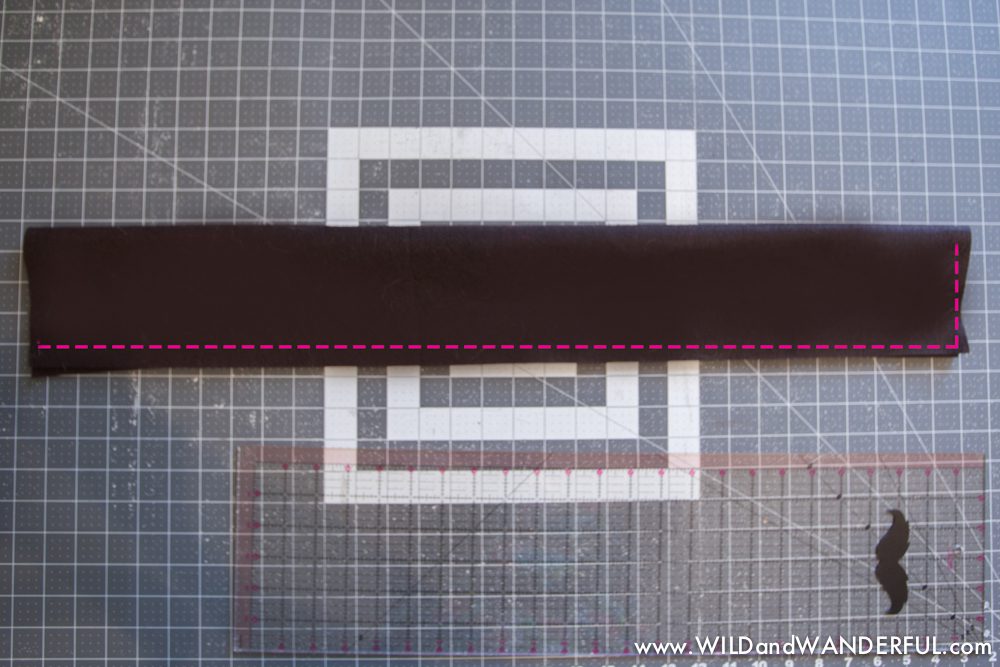
:: Grab your dark brown felt. You’ll want to cut a 9″ W x 36″ L rectangle. I measured the circumference of my pool noodle, which came out a little under 8″. Using 1/4″ seam allowances and wanting to leave enough wiggle room to be able to slide the noodle into the casing…
What we learned about pool noodles is that they come in SO MANY sizes. To figure out your length and width for the casing:
Circumference + 1″ for the width
Length of halved noodle + 7″ for the length. Give or take. You don’t need this much length exactly, but having extra never hurts. And we were working with 72″ wide fabric, so we just cut the width in half for each cover. (I know these directions are a little wacky. Bear with me!)
:: Fold your felt in half, with the long edges touching.

:: Stitch along the long, unfolded edge and one of the short edges. Turn casing rightside out.
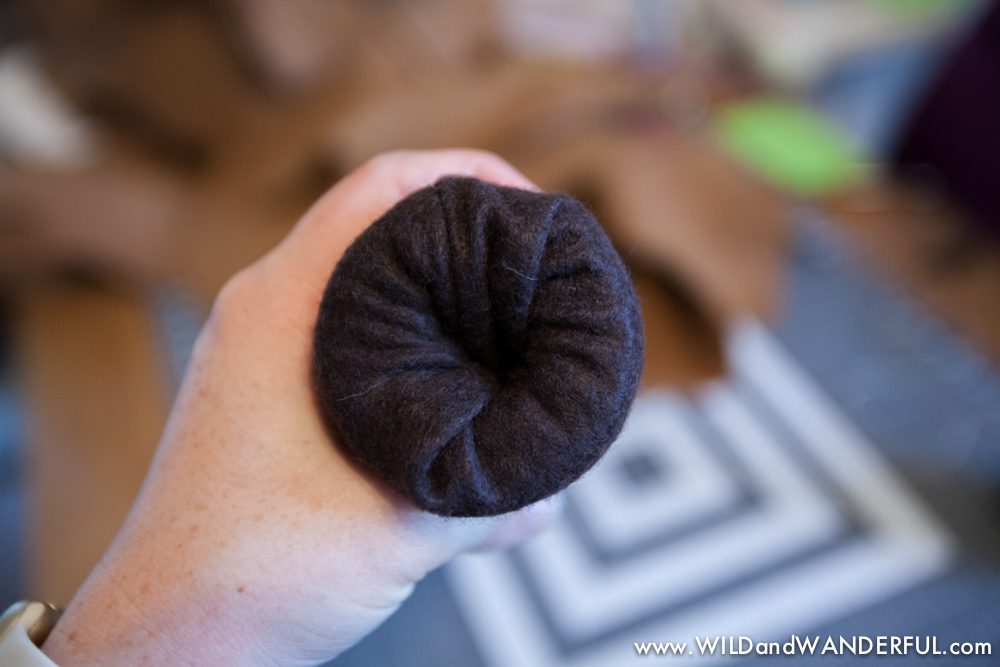
:: Stuff your pool noodle half into it’s new casing. Yes, stuff. It’s not the easiest thing to stuff into a long felt tube. But you can do it!

:: On the open end, you will just need to push the extra felt into the hole on your pool noodle. Trust me, it works. And it’s better than trying to hand stitch or machine stitch the end closed. Yay shortcuts!

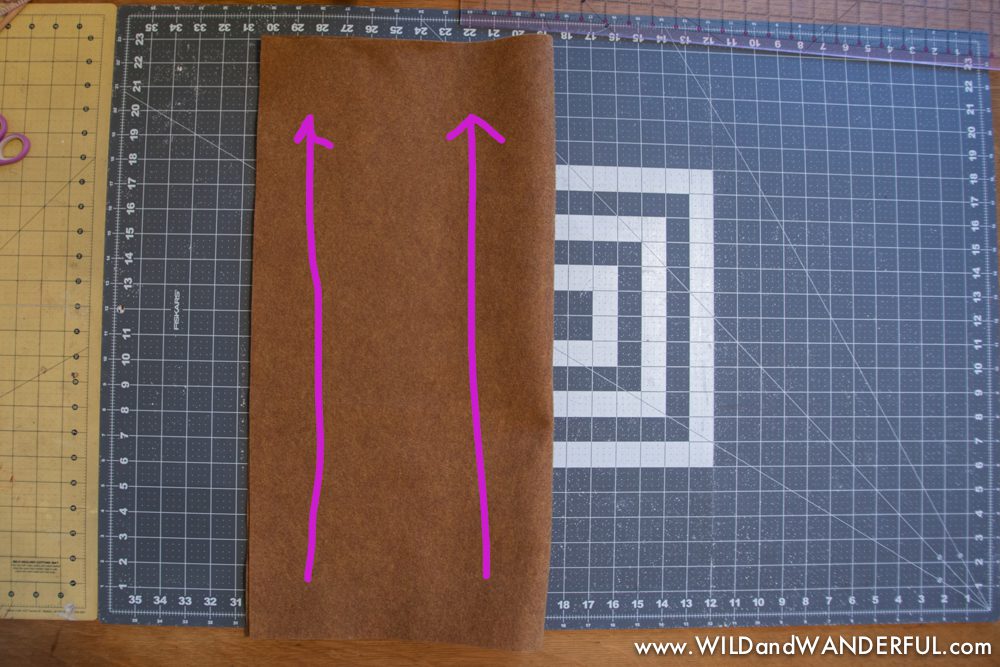
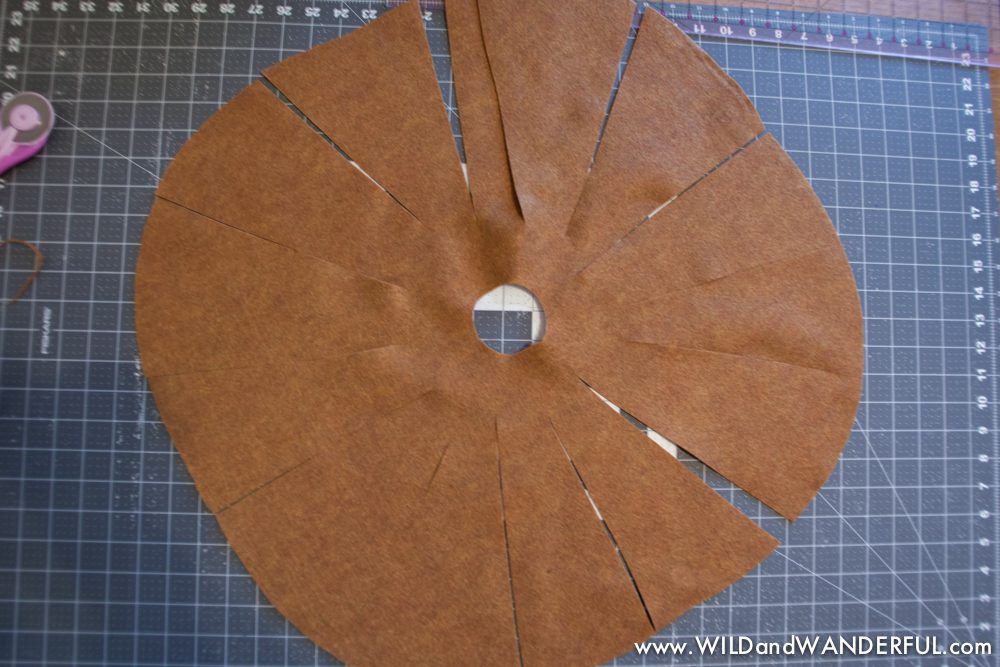
:: Grab your tan felt and cut a 24″ x 24″ square. We will be cutting a circle out of it, and the easiest way to do so is by folding it in half, and then in half again.
:: Cut a 1/4 circular shape into the raw, outer edge and about a 1″ cut into the middle center. It doesn’t have to be perfect or pretty. Because then you’re going to be chopping up all of the outer edges of the circle you’ve just created, to make the “bristles” of the broom.


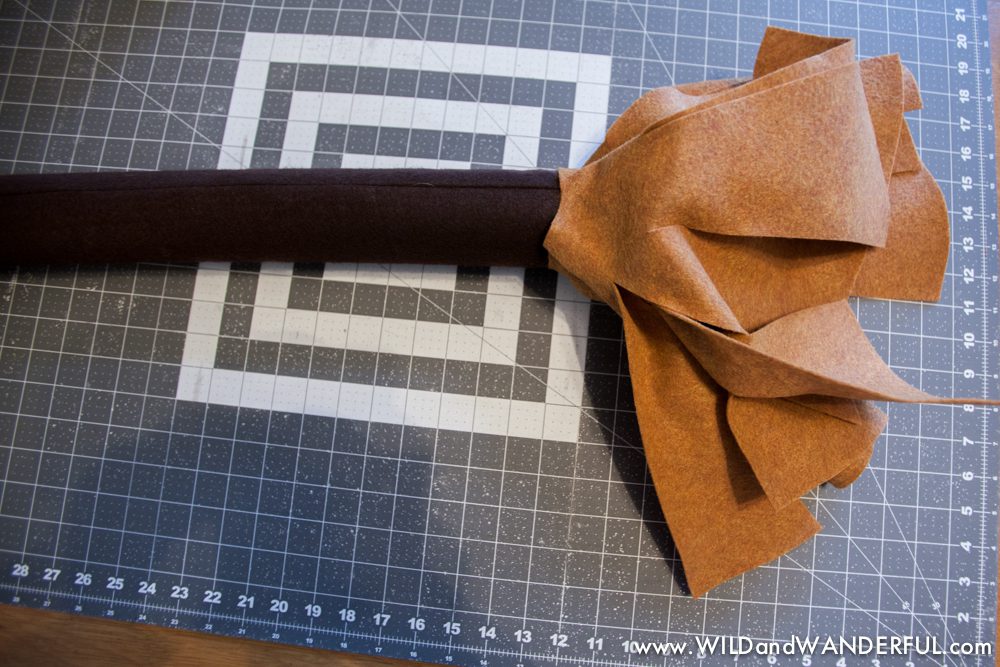
:: Slide the “tucked” end of the now-broomstick into the middle hole of the circle you just cut. I put mine about 5″ up from the bottom edge.

:: Take around an 18″ length of twine and tie a really tight knot near the top edge of your tan felt. Wrap the twine around a few times, keeping it as tight as you can. And then knot the loose end off again, trim your ends.


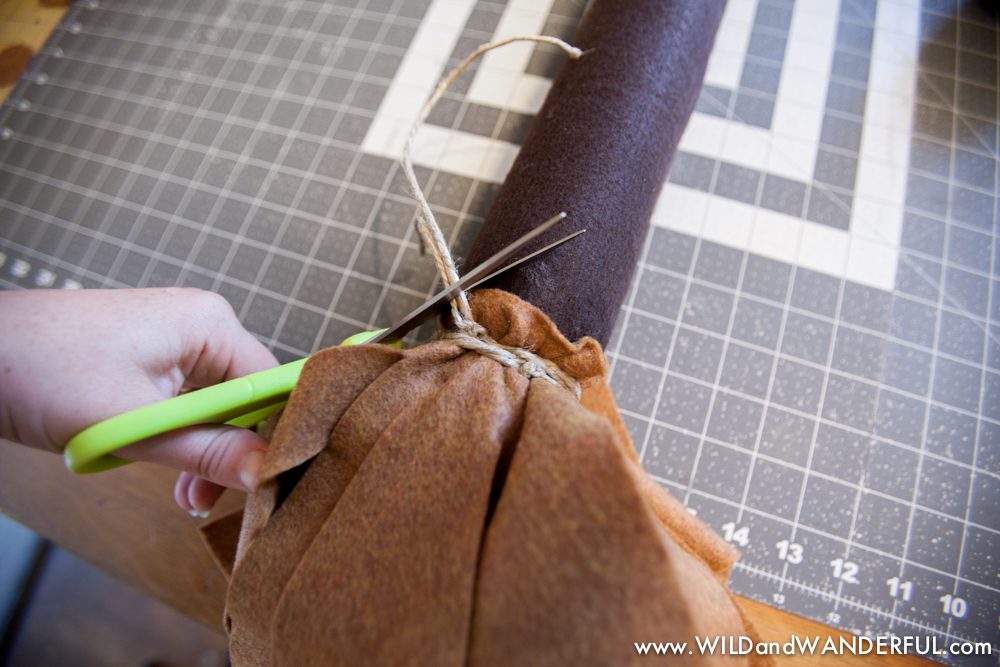
:: Repeat the tying process about two inches below your first knot of twine.
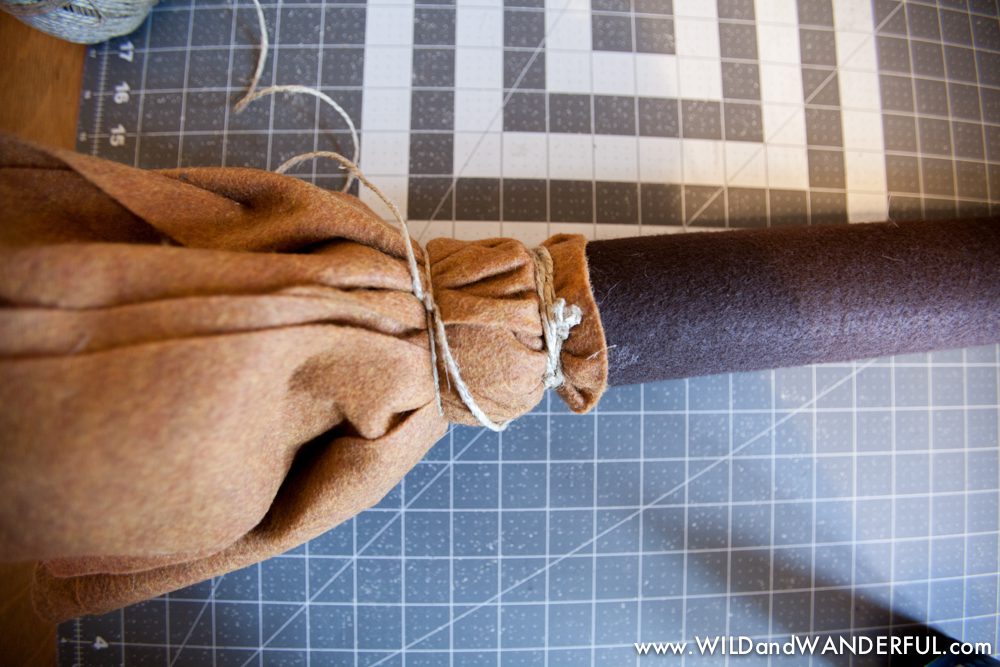
Guess what?! You’re done! It’s a little rustic, a little disheveled, and perfectly adorable. Our kiddo has been loving them ever since we made the first one. I’m super excited to unleash them to all of the party go-ers.

I hope you love these as much as we do! As always, if you have any questions, feel free to ask! Making up a craft and taking tutorial photos at the same time isn’t a perfect art and I’m sure I left a million things out. So just ask away!


This is adorable, simple & I’ll be using it very soon. Thank you for the disclaimer at the top— I completely agree. As a member of the LGBTQ+ community, I know we humans are more alike than not. All it takes is a bit of understanding, compassion and respect.
Do you know how many yards of felt you used? How many brooms did you make? Thanks!
This is from a party I threw for my son nine years ago, so I’m sorry I don’t have these details. It also depends on the circumference of your pool noodles. For every 2 brooms I made, the handles took 7” of felt (since the felt I used was 72” wide). You can get 3 bristles out of 24” x 72” felt.
Hope that helps a little!