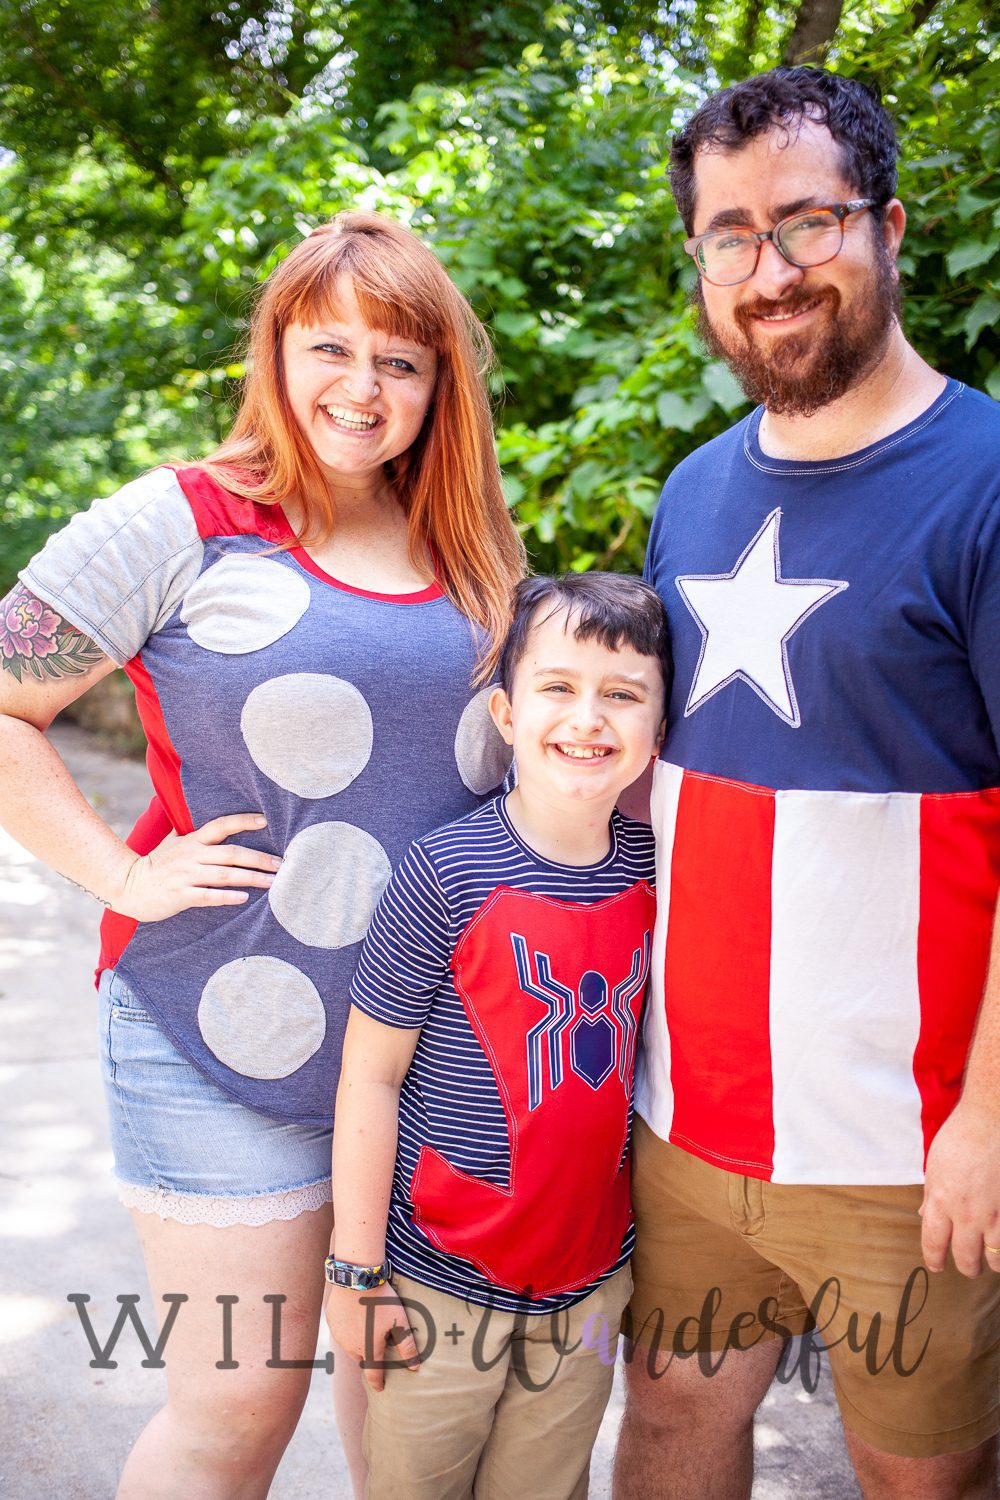
On July 3rd, I decided that somehow none of our red, white and blue clothes were good enough to be worn this year for the 4th, and that I needed to stretch my sewing wings a little bit and make us some new tees. I’m sure you know by now that I’m a huge fan of coordinating and themed outfits for our trio…and that we are also huge Marvel dorks. Which lead to me creating some pretty super things for the three of us.
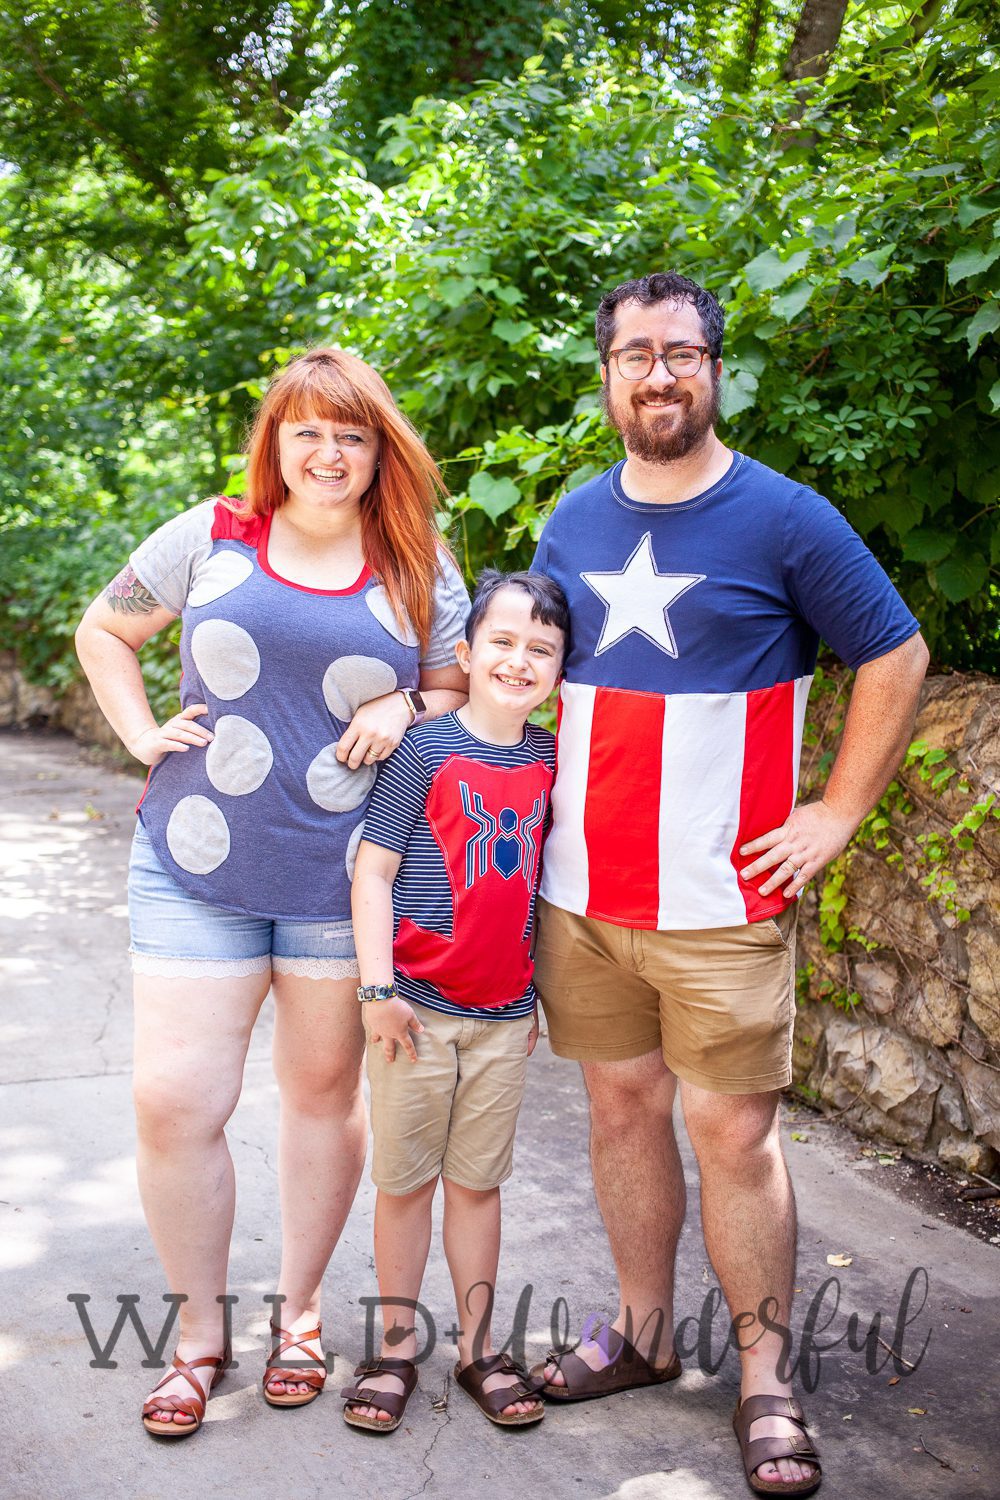
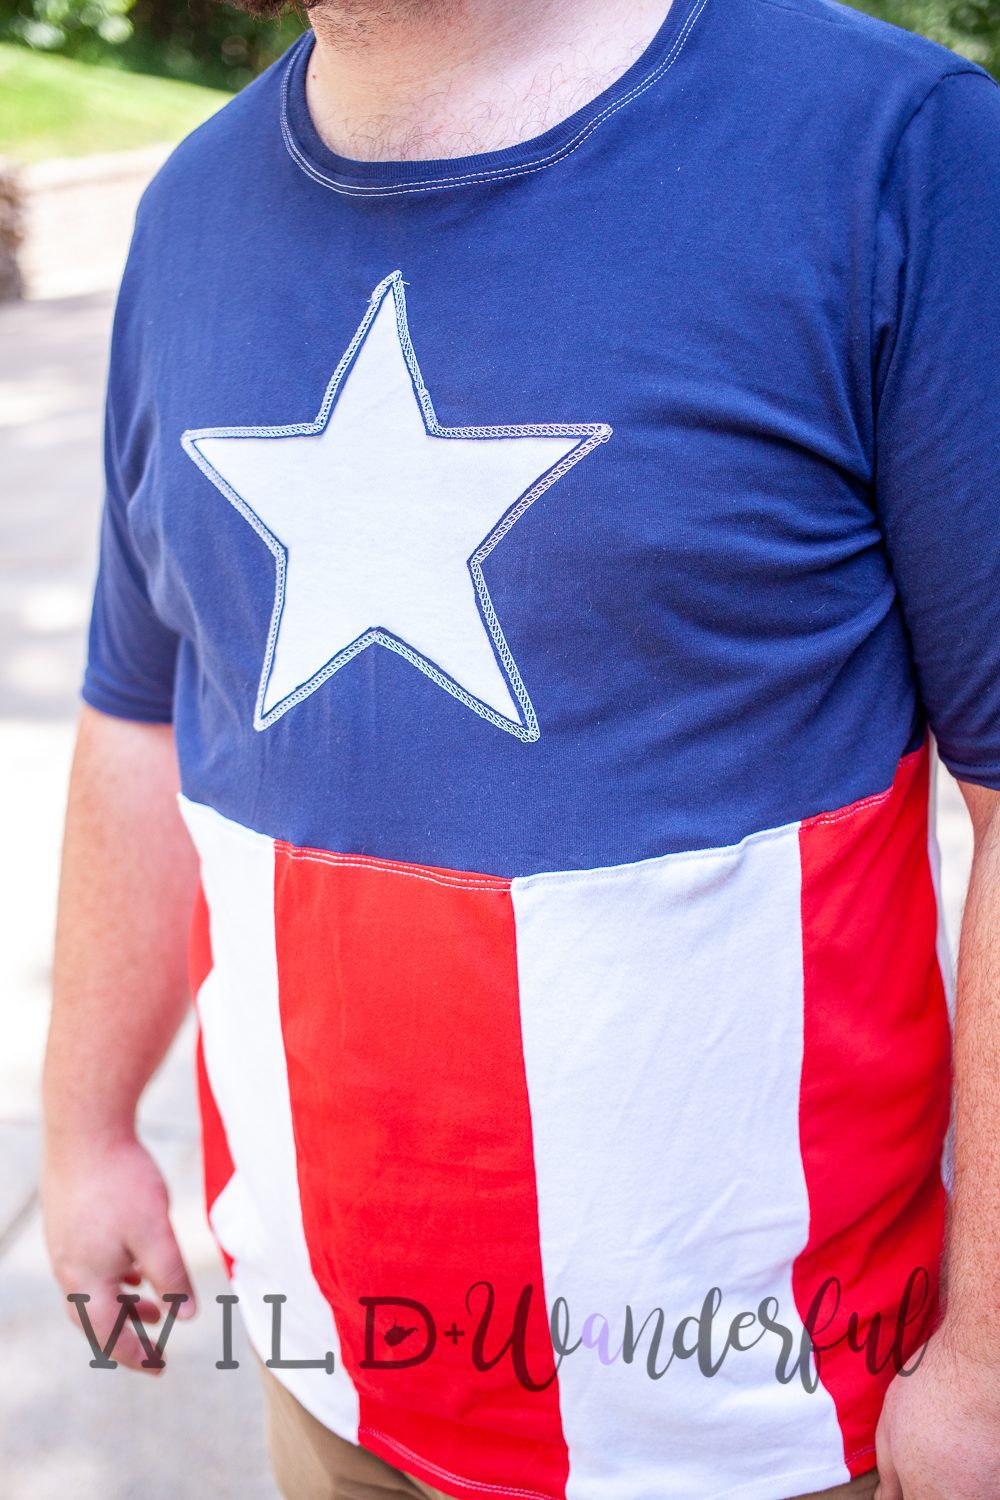
I only had time to “shop” my own fabric stash, which meant that I dug through old printed tees that had enough blank spaces on them to use for fabric…as well as any scraps of things I had laying around my sewing room already. Bennett’s Captain America inspired tee is probably the most recycled version, as I took apart four or five old tshirts to create this new one for him.


After I decided on exactly where I was going to start the colorblocking on his tee, I needed to add that star to the front bodice. I don’t love when HTV pieces are huge, singular cuts on shirts for the most part. It often ends up cracking easier, and sometimes can be uncomfortable to have a big block right on your chest. So instead of taking the easy way out and using my Silhouette, I decided to reverse applique the star onto it.

It was really as easy as printing out a star from my computer, so I had a solid shape to trace around. And also making sure I had a large enough piece of white fabric to use for the applique piece.
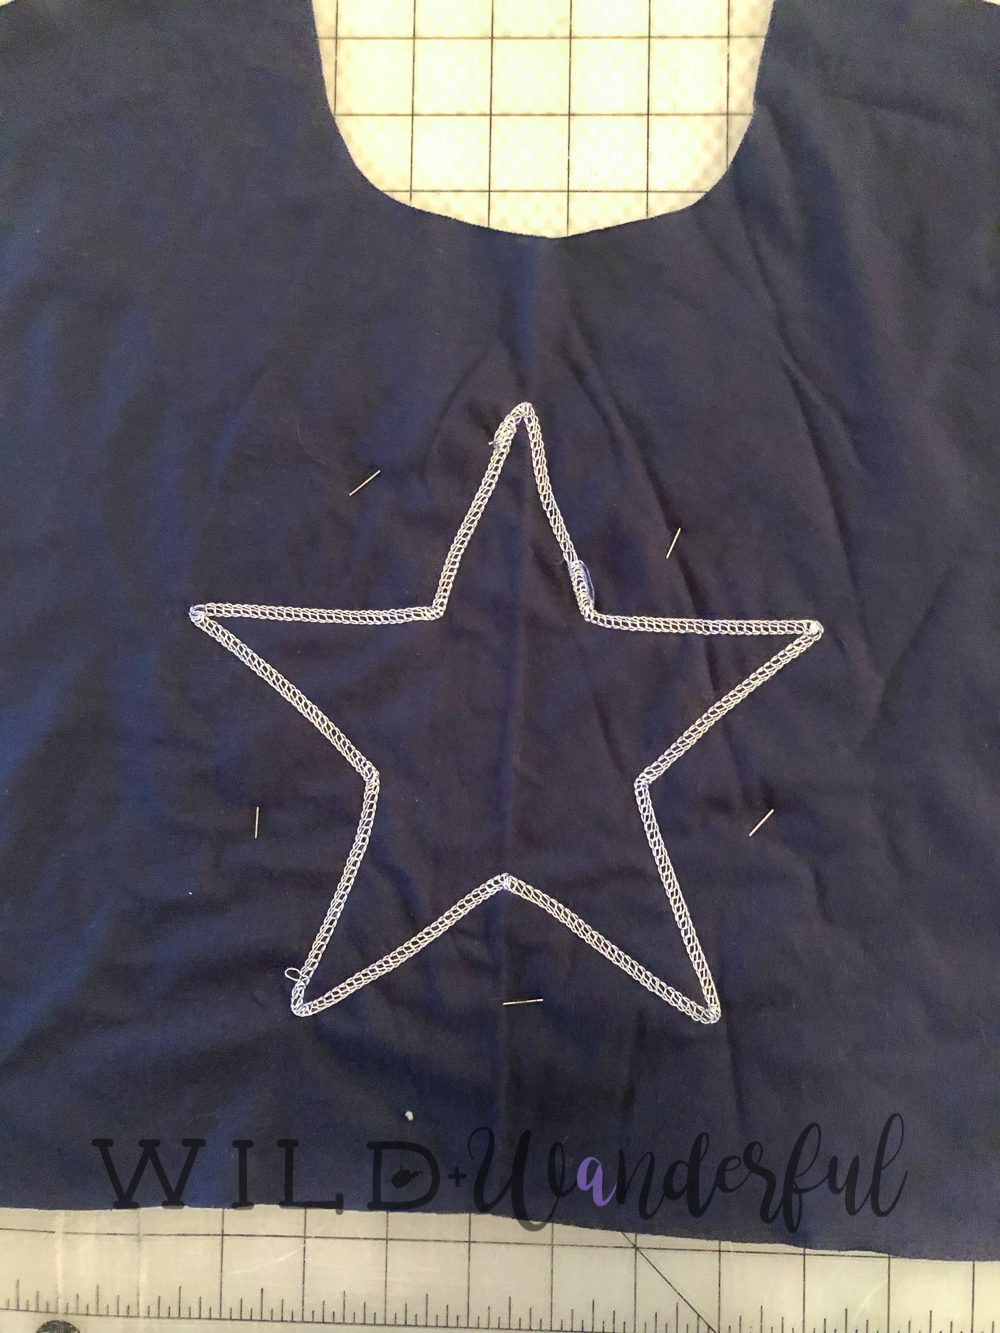
My sewing machine is being a total turd bucket right now, which is why I decided to also reverse coverstitch the piece on. I thought it would be fun to have more threads showing on the front side. And while those corners aren’t exactly the prettiest to turn like this on such a machine, I’m not mad at all with how it turned out.
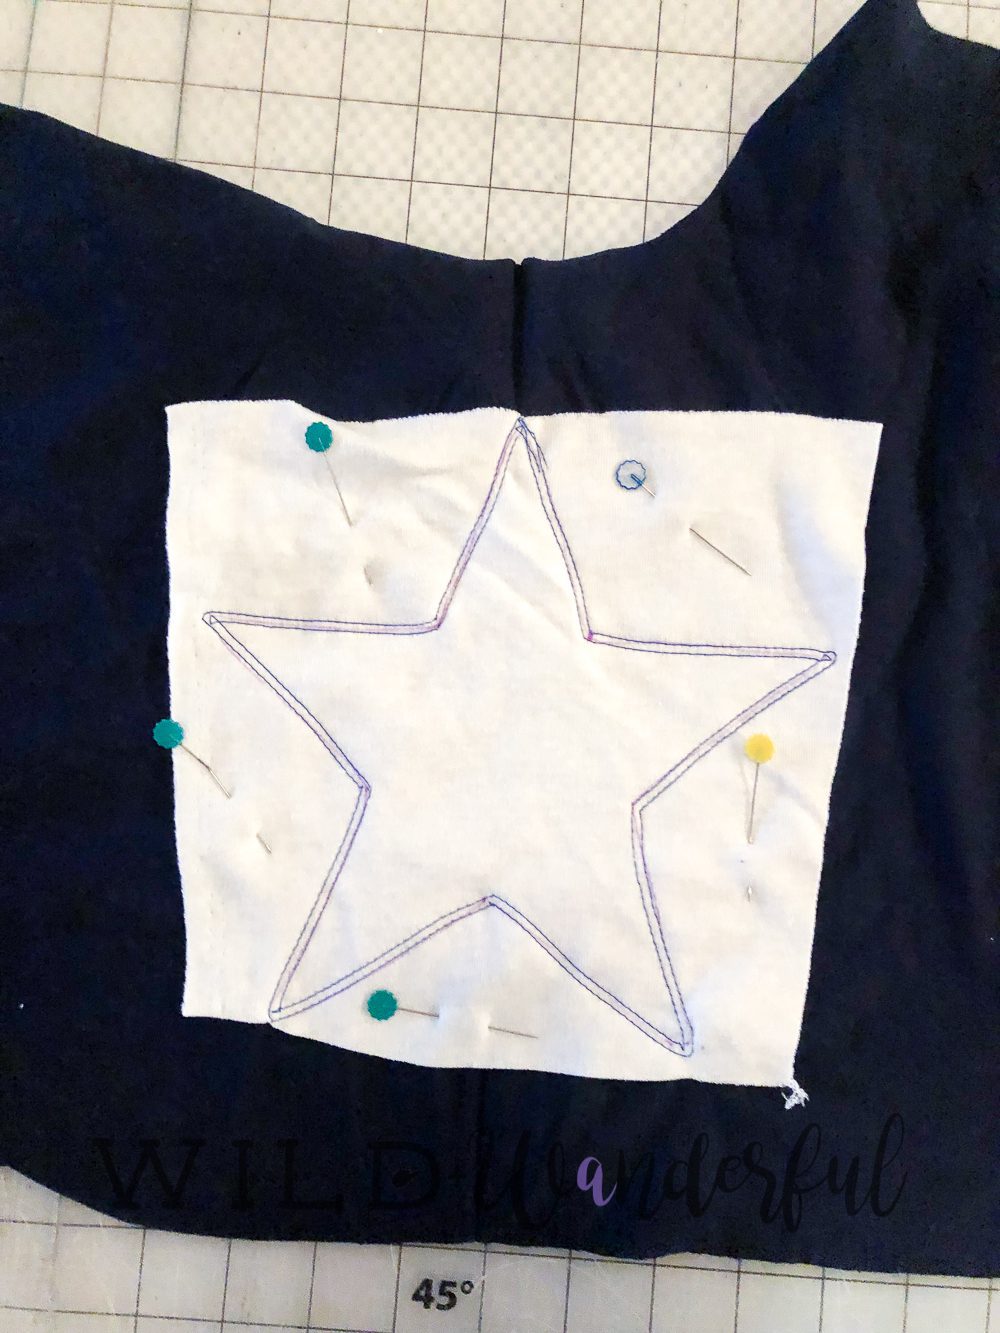
All it took after that was flipping the bodice to the front, and then carefully clipping away the top layer of blue, in order to expose the white star. Pretty easy, right?

I didn’t have any white/red striped fabric on hand, so I made some! I measured the length that I needed, to finish the colorblocking. And then to figure out the width of the stripes: I measured the pattern piece, subtracted the seam allowance, divided by how many stripes I wanted, and then re-added the seam allowance to the new number.
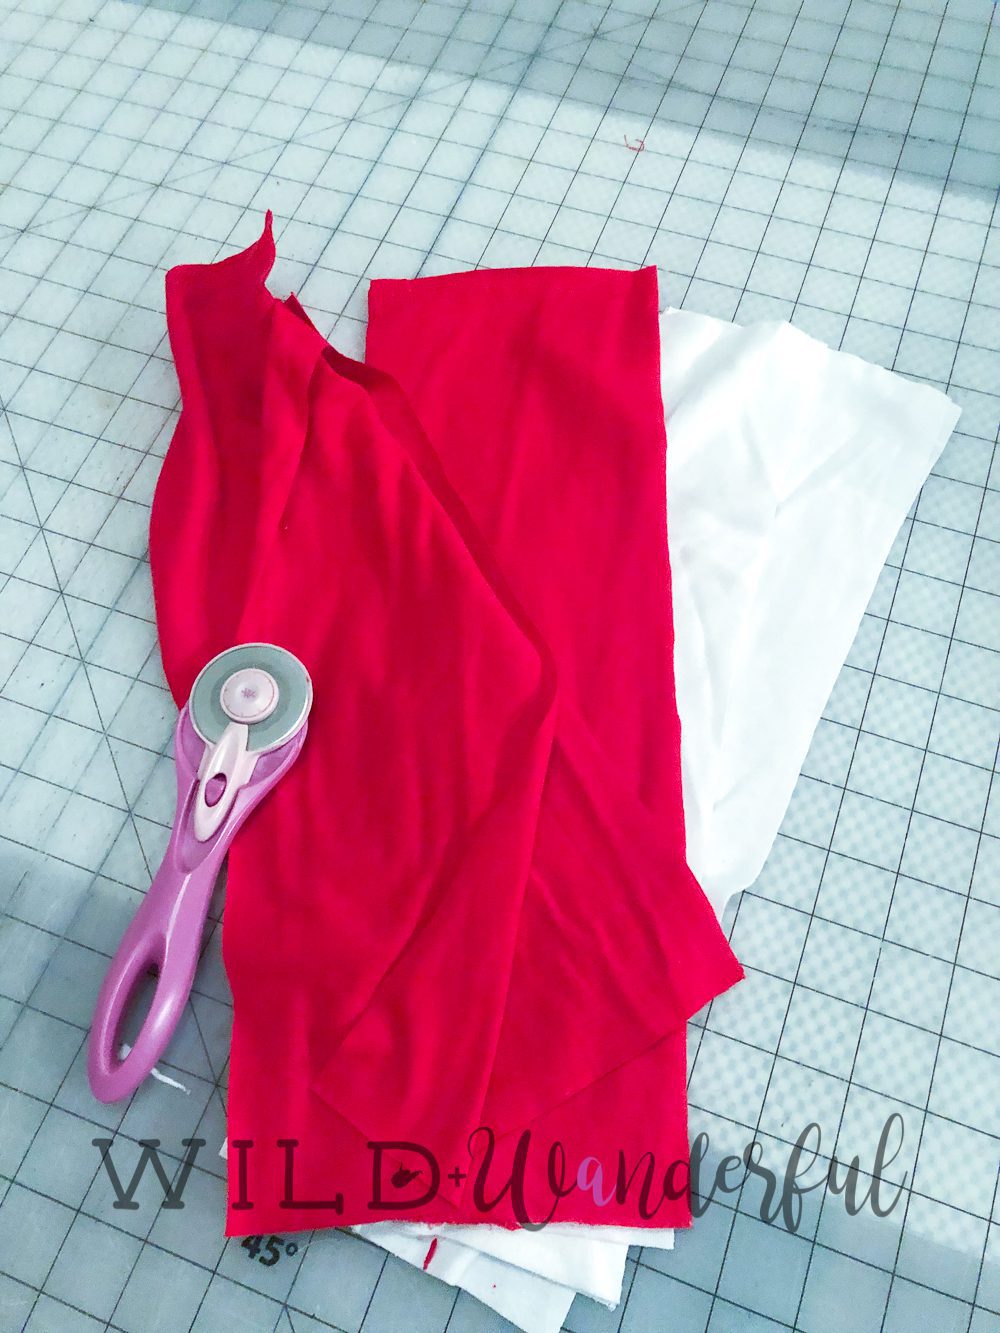
For example, if my bodice pieces were 21″ wide, with 1/2″ seam allowance in the pattern (which turns into 1″ because there’s a seam on both sides), and I wanted 5 stripes across the front.
(21 – 1) / 5 + 1 = 5
Remind yourself that you need both a back and front bodice. So you’ll need 10 total strips of fabric sewn together to make the entire bottom portion! And then sew all of those puppies together for some stripey goodness.

And then finish up your sewing like normal, because you’ve just created a cool, new, nerdtastic tee!
(Also ignore the wrinkles that are happening in these shares. It is HUMID as all get out, and there’s no version of clothing that we’ve been wearing the last couple of weeks that isn’t wrinkled and kinda crazy looking. Just go with it.)
On Bennett: The Basic Tee Mens by Patterns for Pirates
Fabric: Jersey Knits scavenged from multiple tees around the house


0 Comments