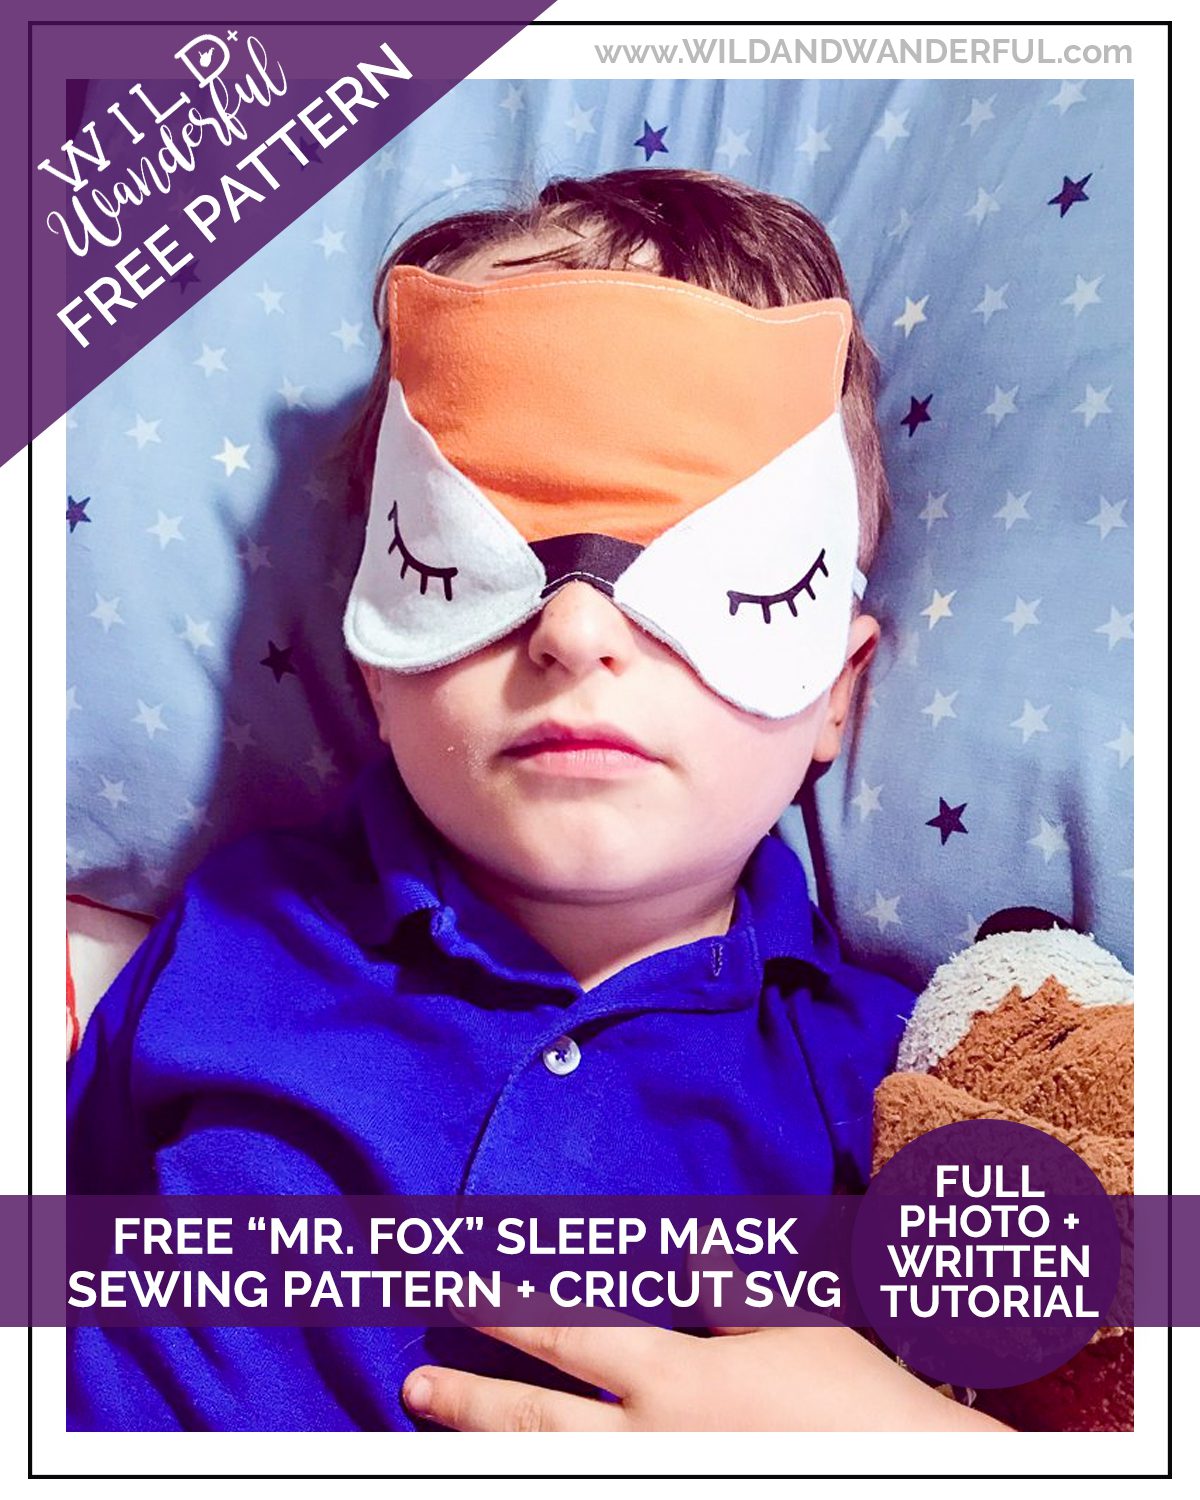
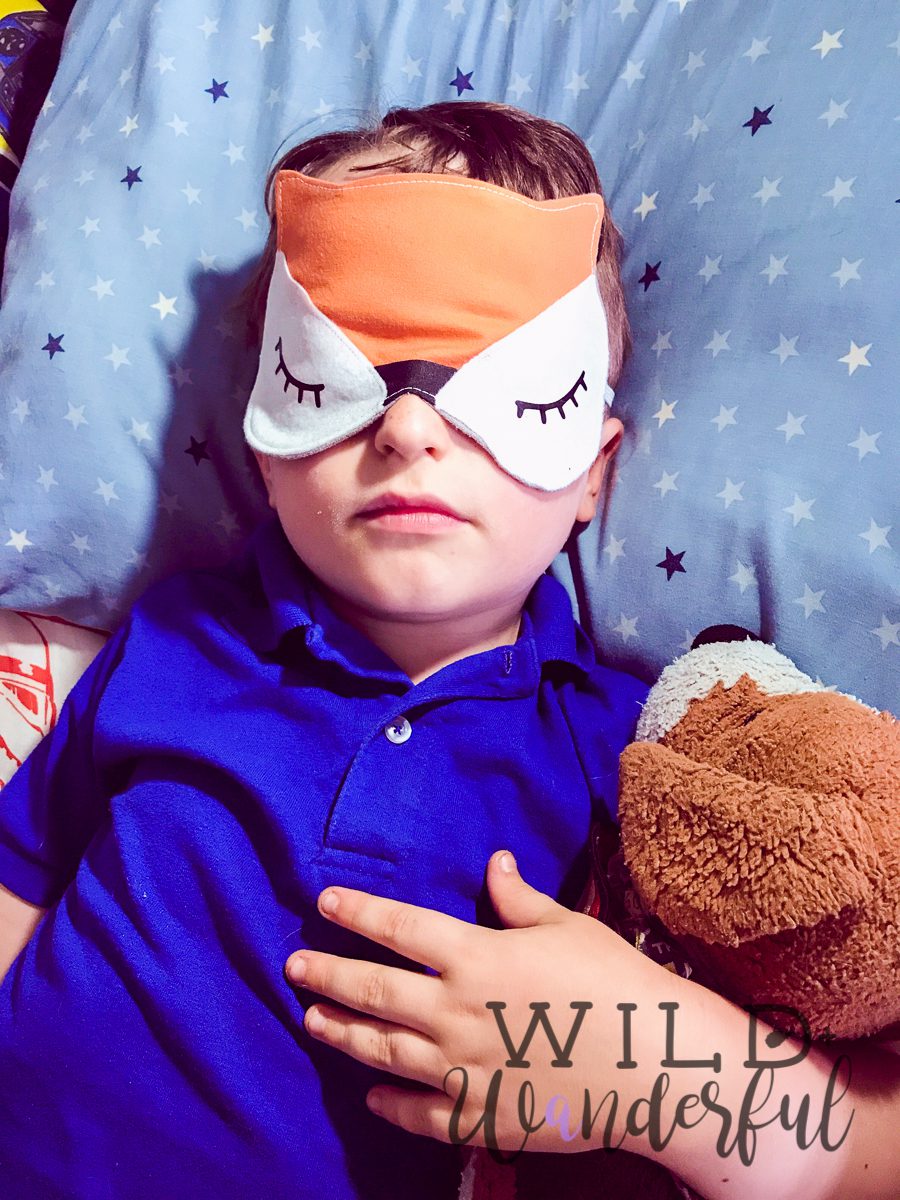
My kiddo is OBSESSED with wearing a sleep mask to bed every single night. This has been going on for nearly two years now and he feels like he doesn’t get enough rest if he wasn’t wearing his mask. He’s also equally as obsessed with foxes. It was only natural to want to put the two together.
So, we sat at the computer and together we drafted up a fox sleep mask! I’m so excited to share this pattern with you!
If you haven’t read my thoughts about the new Cricut Maker (and wanted to compare it to the Explore Air2 or the Silhouette Cameo3), please head over to my review post and read all about it!
The Cricut Maker is being boasted as a revolutionary way to sew, since it’s release. And while I don’t fully agree with it, it is a nice little tool to have when you’d rather skip cutting all of the fabric pieces yourself. It has a rotary tool which rolls across your fabric, when it’s on the Cricut Fabric Mat, and lets you skip having to add an interfacing to your fabrics before cutting things out with a home-based die cutter. For most of my sewing projects, since I mainly focus on apparel for myself and my family, this doesn’t really help me much.
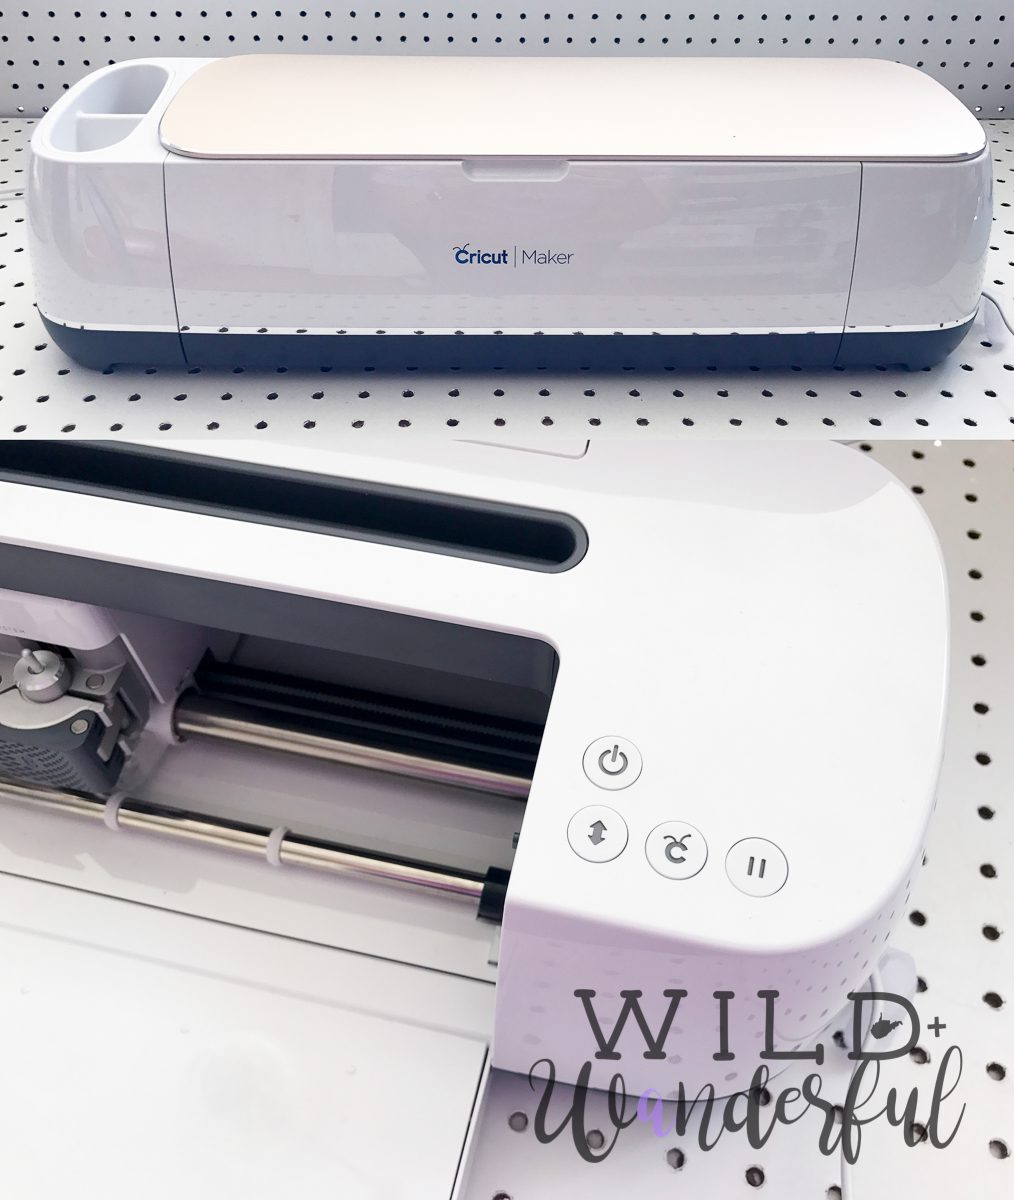
HOWEVER, for smaller projects with intricate cuts, it’s totally something I lean on! I hate cutting and tracing teeny pieces and being able to have the Cricut Maker do the work for me is super fun. Just load a piece of fabric onto the mat and let her rip. Watching the rotary tool work is pretty slick and it has a better accuracy for smaller pieces than I could ever dream of. Which is why it was perfect for this mask!

Let’s get to sewing, shall we?
MR. FOX SLEEP MASK PATTERN
**updated 1/29/24. I’ve now included a downloadable SVG file that can be uploaded to Cricut Design Space and used on your Maker. Alternately, if you have the Designer Edition of Silhouette Studio, you’ll be able to use this file on that cutting machine as well.
SUPPLIES NEEDED:
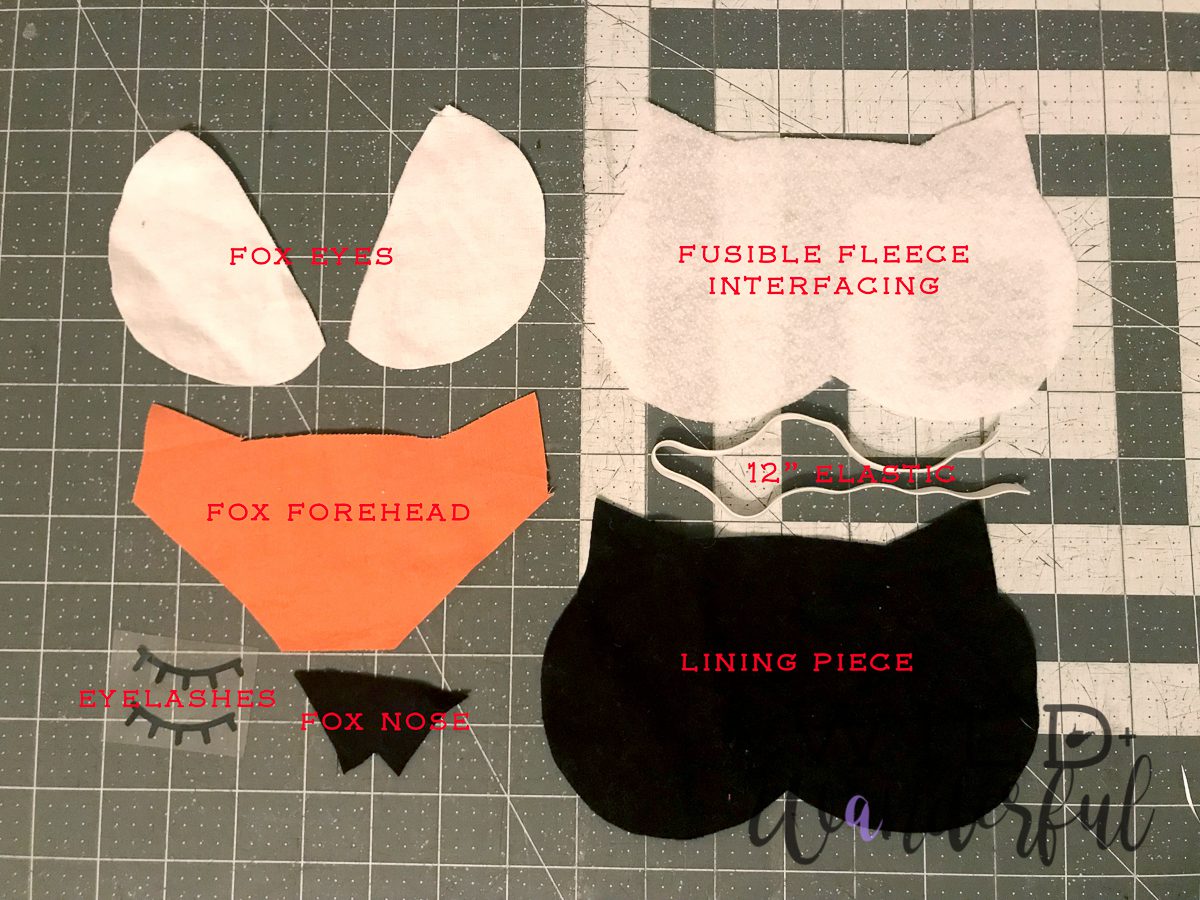
- Small pieces of white, orange and black flannel / quilting cotton / etc.
- Small piece of fusible fleece interfacing. I like to use either…
- Pellon 987F, found at most local fabric/craft shops.
- Thermoweb Heat n Bond
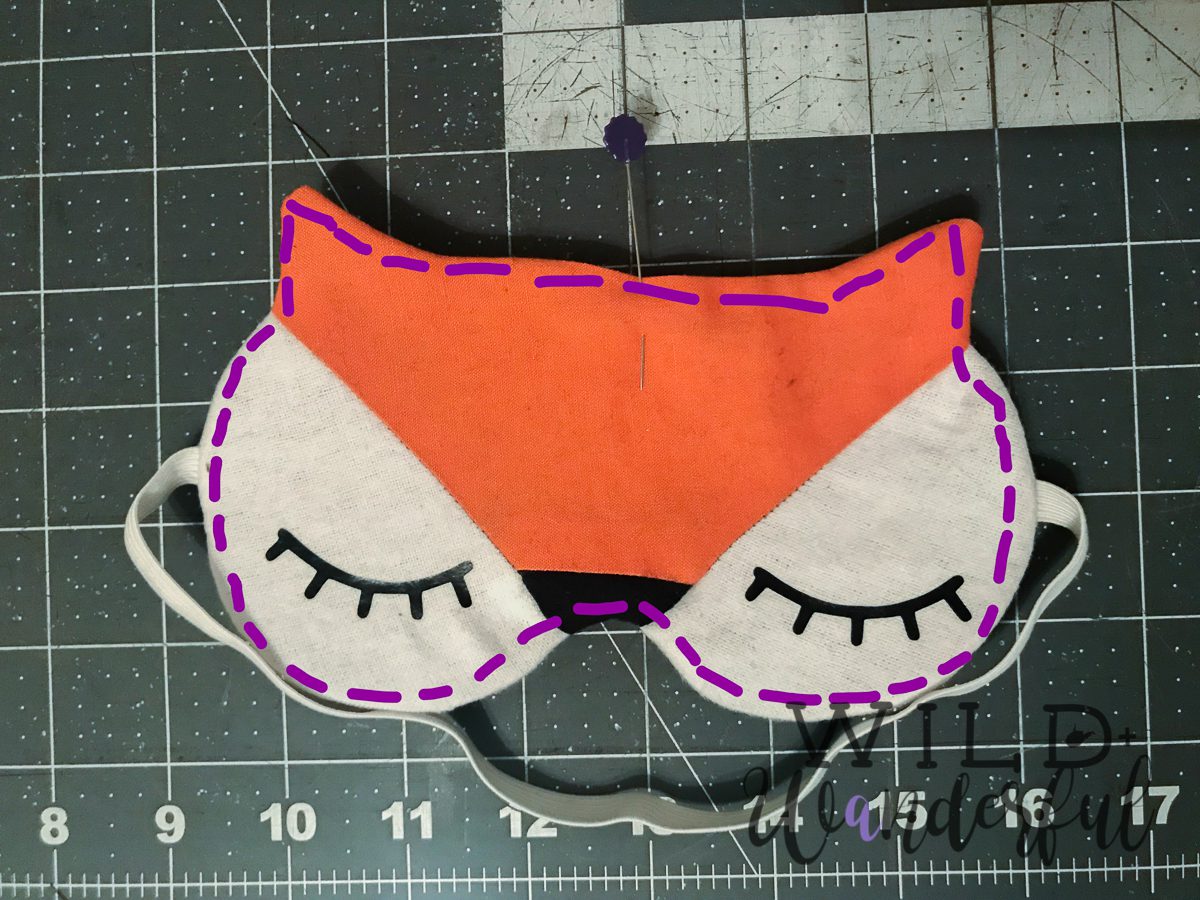
- 12″ Piece of Braided Elastic
- Sleepy Eyelashes (cut files included in download link above), cut using Iron-On Vinyl
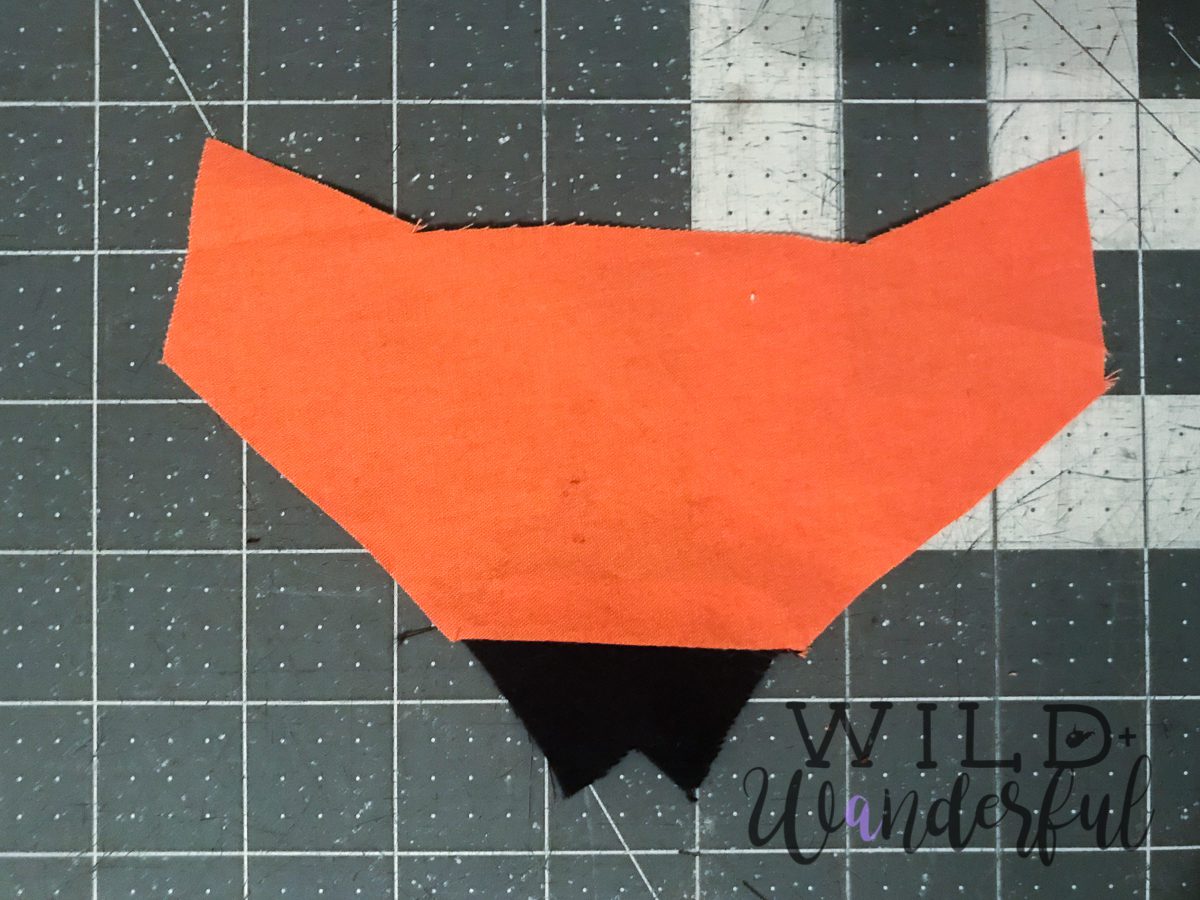
Step 1: Cut out all of your pieces. You’ll need 2 eyes, 1 fusible fleece interfacing, 1 forehead, 1 nose, 1 lining piece, 2 eyelashes, and 1 elastic piece.
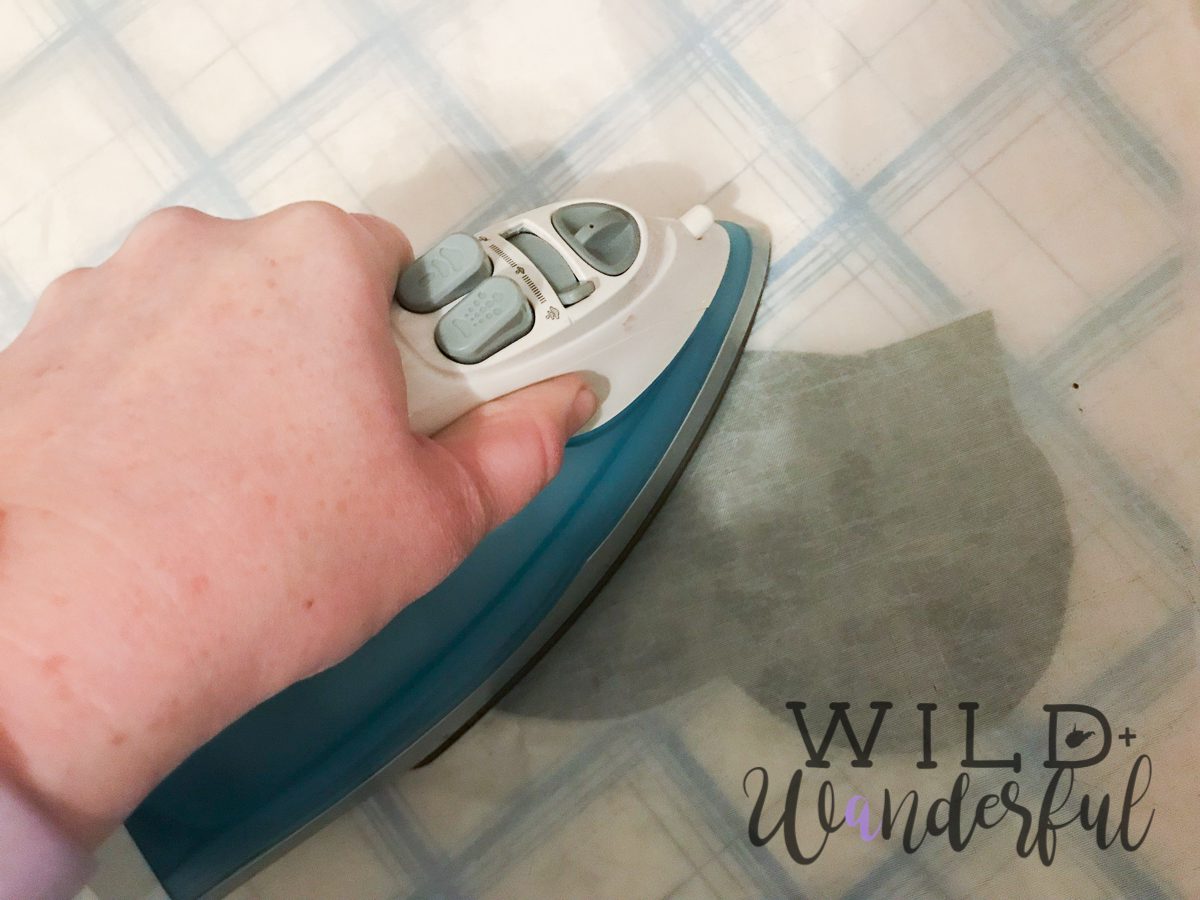
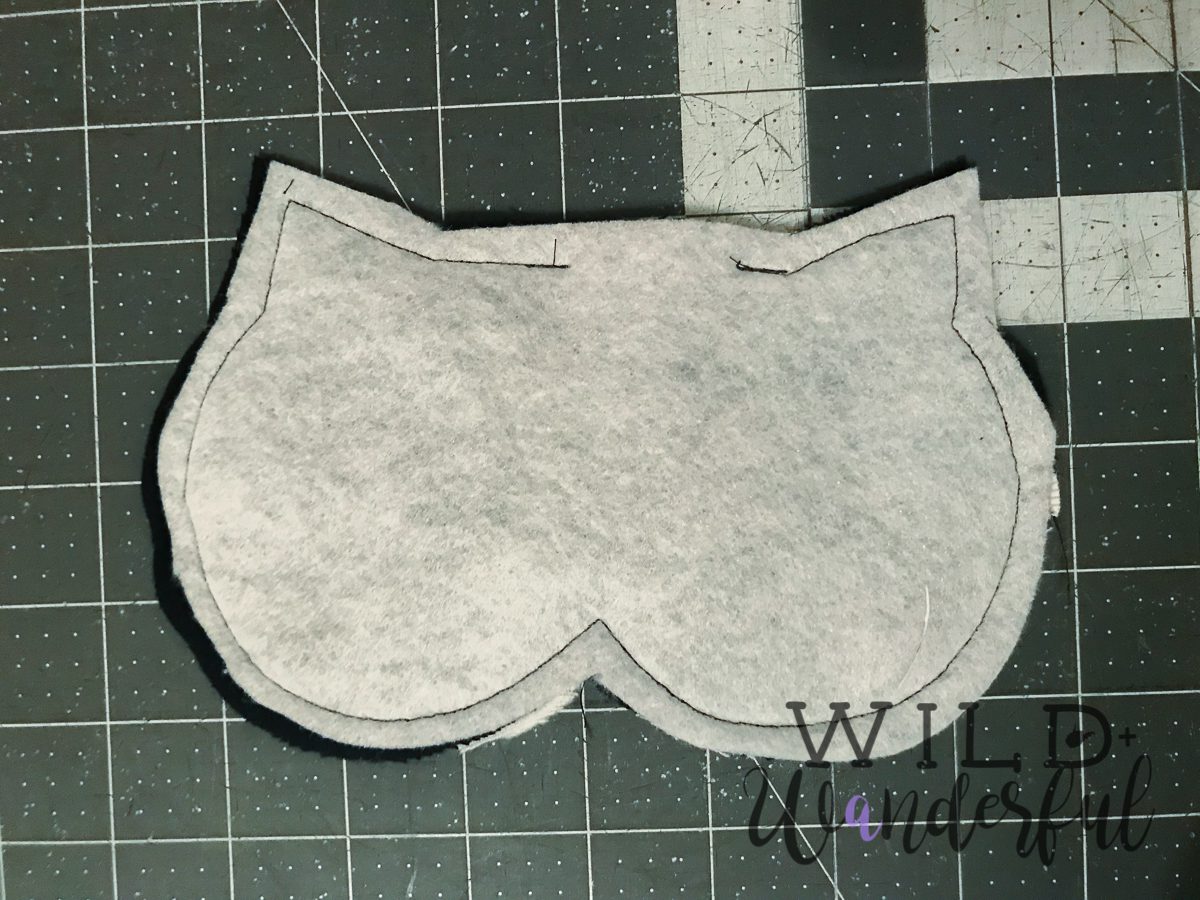
Step 2: Using the instructions provided with your fusible fleece piece, iron your lining piece to the fusible fleece backing.


Step 4: Turn right-side up and press.
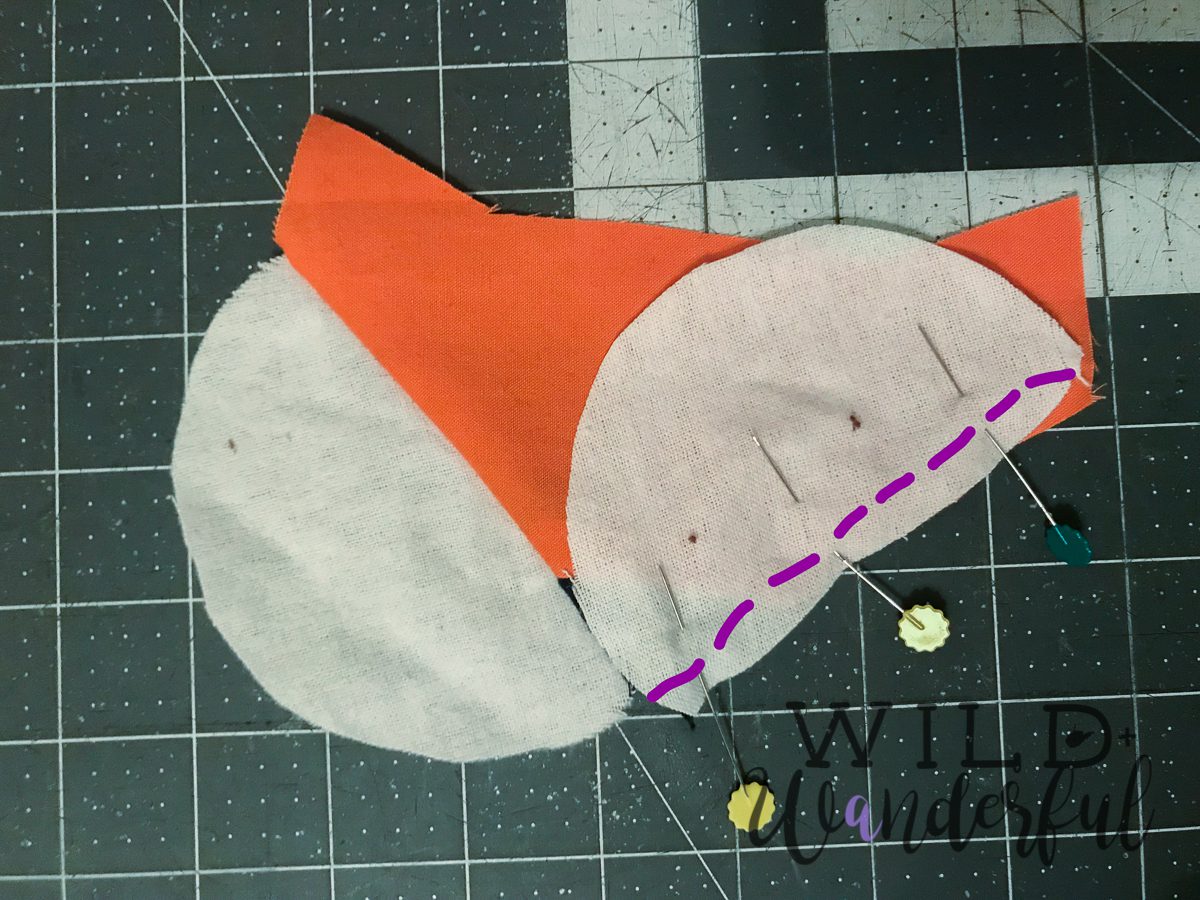
Step 5: Right sides together, ease the eye piece onto the face/nose. Pin and sew using 1/2″ seam allowance. Press seams open.


Step 6: Repeat for other eye piece.
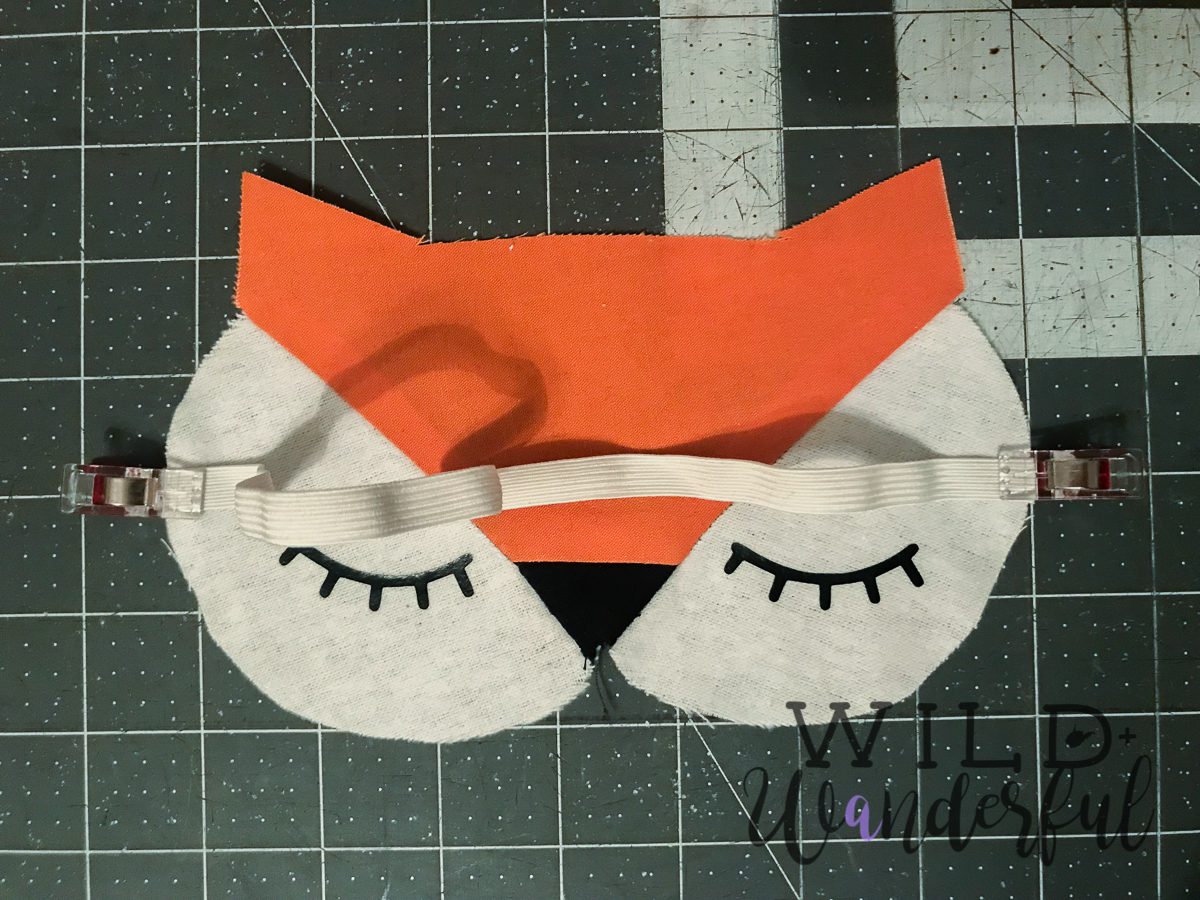
Step 7: Lay out your eyelash pieces and iron down. (And while you’re at it, check out my review of the new Cricut EasyPress vs iron vs heat press!)


Step 8: 2″ from the bottom of the mask, attach your elastic pieces. Lay the mask face, right side up. And baste the elastic on, using a scant 1/4″ stitch to help hold it in place.

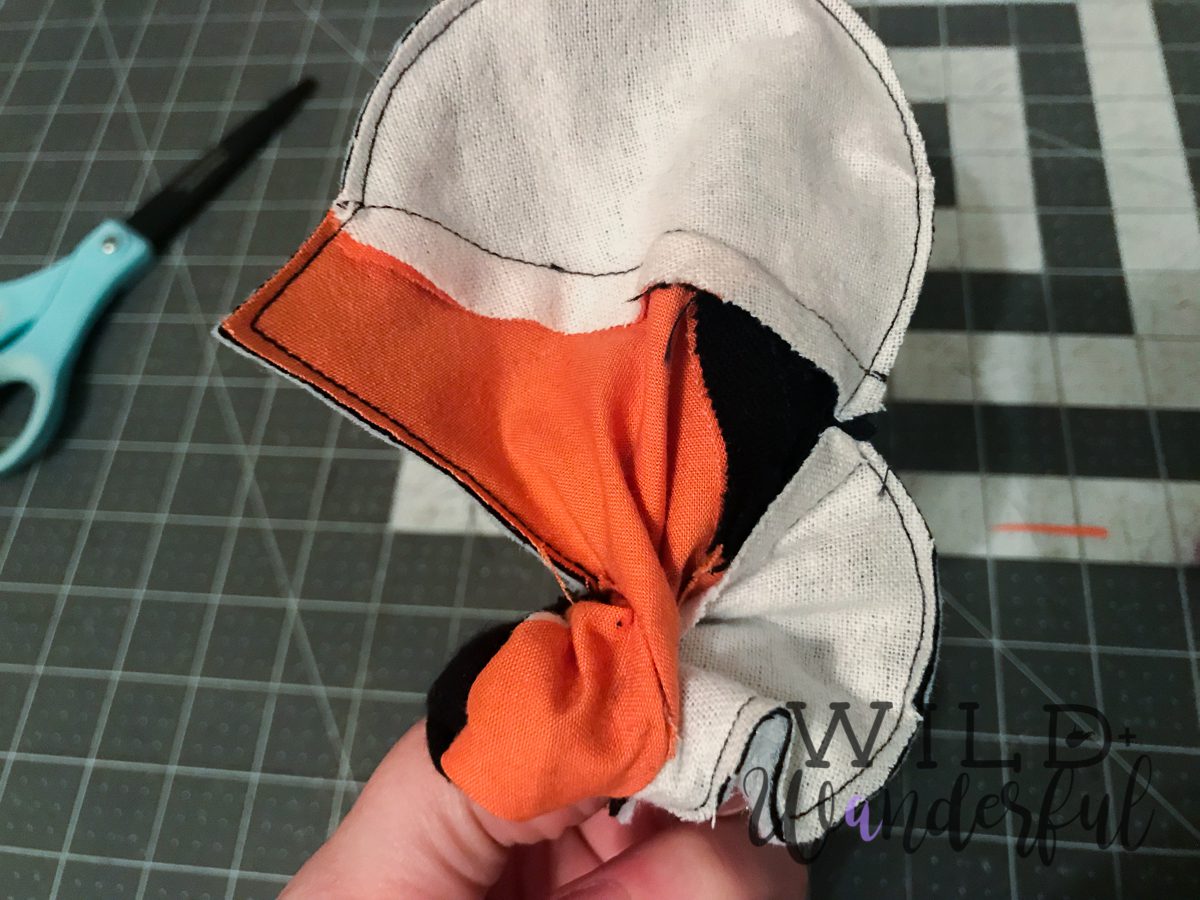
Step 9: Place your mask pieces, right sides together. You’ll be sandwiching the elastic between the two layers — be careful to tuck it out of the way, away from the edges. Pin.


Step 11: Carefully trim away extra fabric, making sure not to snip through the seam allowance.

Step 12: Turn your mask right-side-out.
Step 13: I like to use a wooden dowel to help me push all of my edges out. It’s easier to smooth things this way.

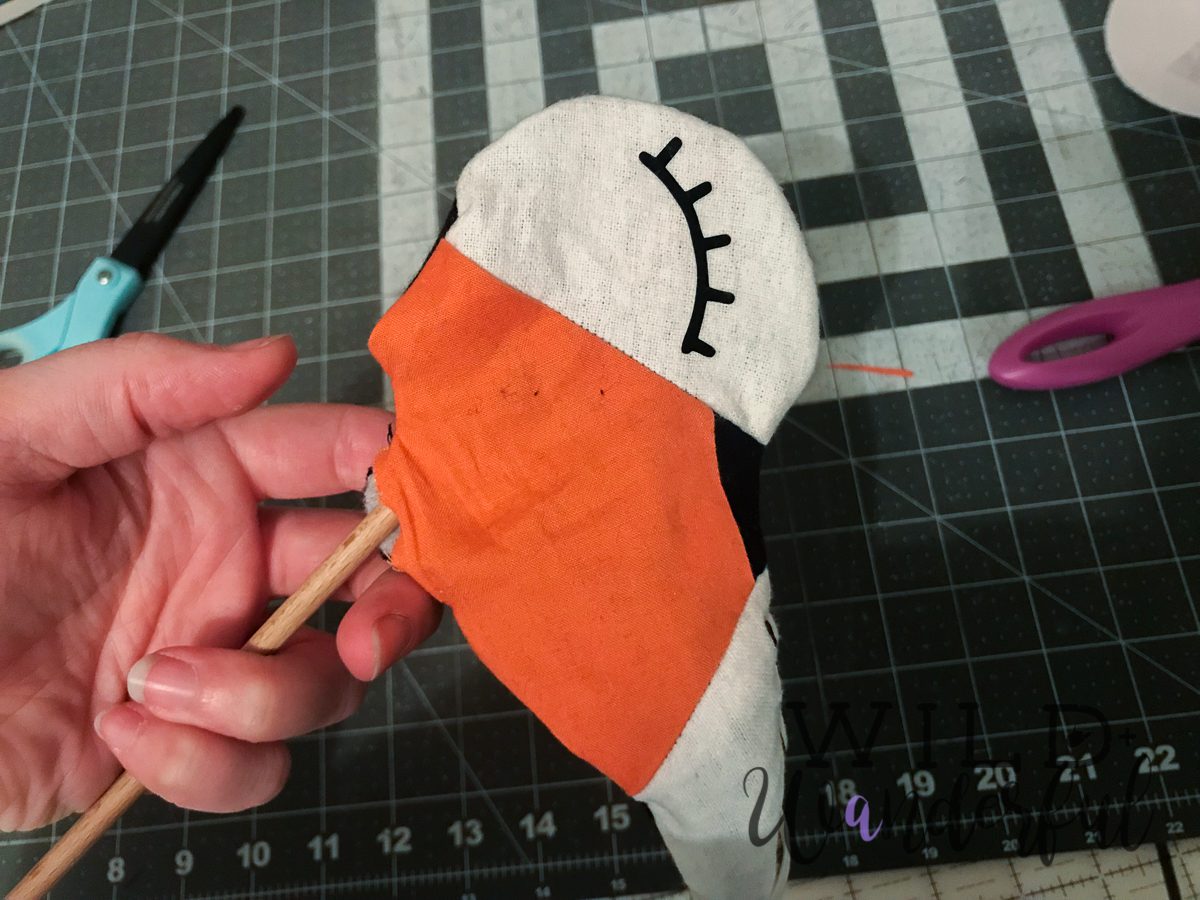
Step 14: Tuck your open seam into the mask. Press.
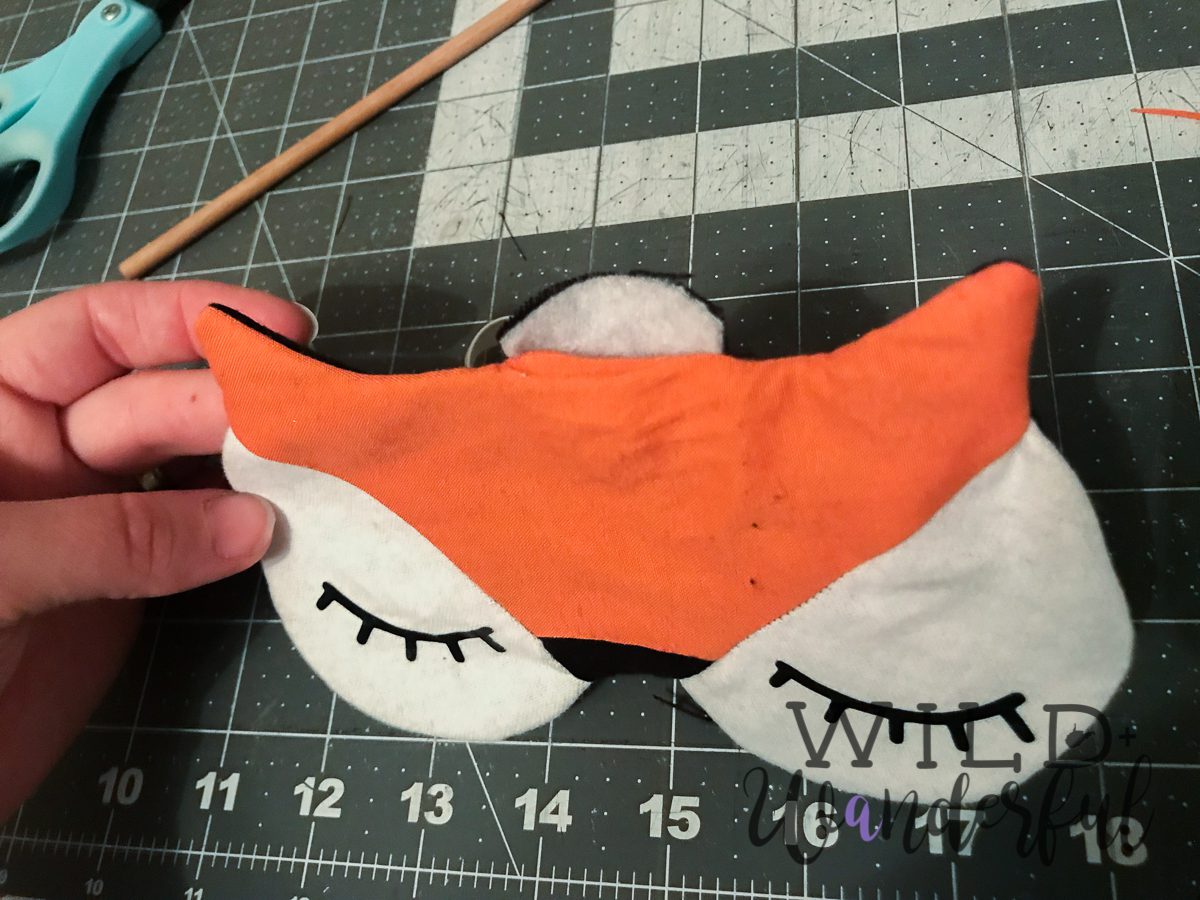

Step 15: Making sure to catch your open edge as well, top stitch along the entire mask.

Step 16: Go take a nap, you deserve it!
I hope you love this mask as much as I do! If you end up making one, I’d love to see! Share it with us on Facebook or tag me @wildandwanderfulblog on Instagram. Can’t wait!
**You are welcome to sell finished items using this pattern. You may not claim this pattern as your own, or redistribute the file to anyone in any form. The pattern may be free, but I would still love a little shoutout and credit. Please feel free to share the link, but please only link from this original source. Thanks friends!
This is a sponsored conversation written by me on behalf of Cricut. The opinions and text are all mine.


IMG_0146.HEIC
Cute pattern. Here is one I made for my son