
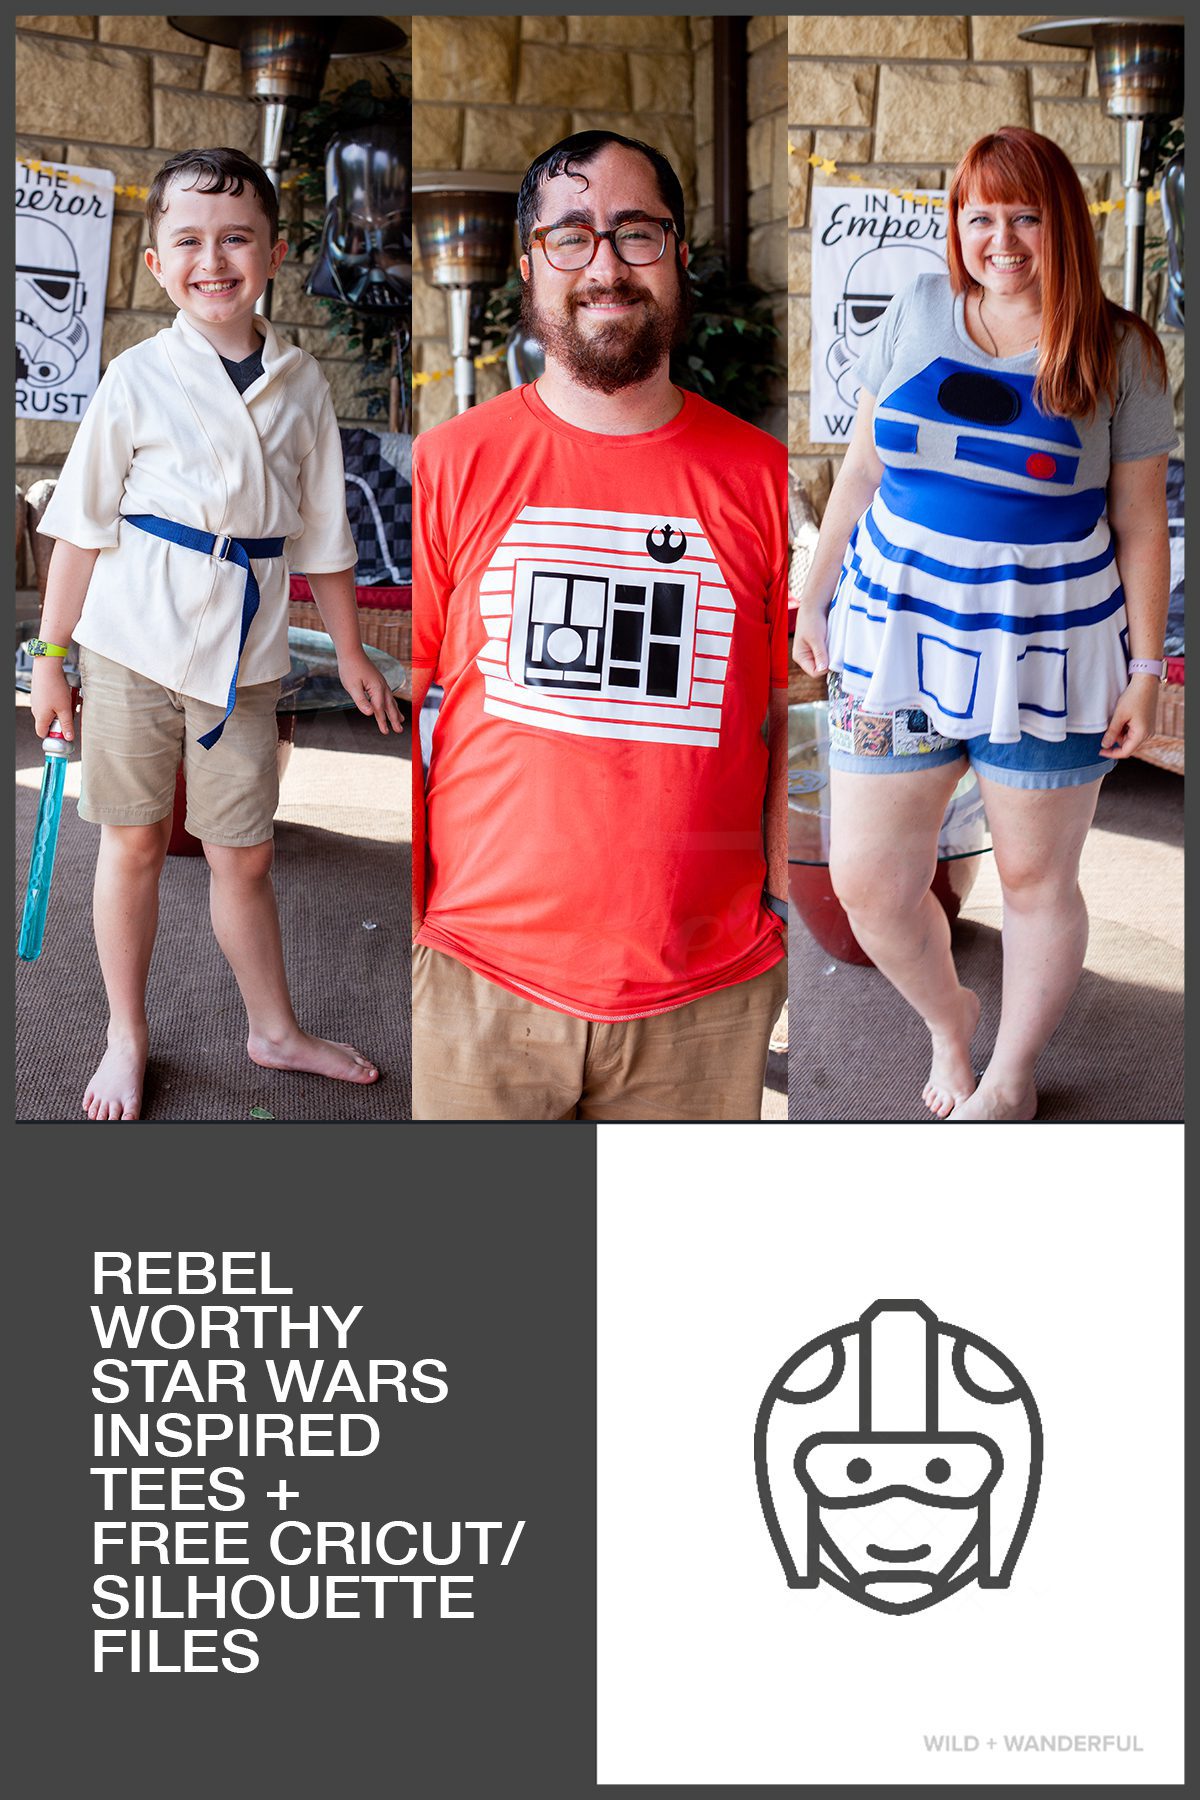
I don’t know if you’ve ever had an idea spark in your head to the point where you were obsessed with it until you made it happen….but that kind of thing happens to me ALL. THE. TIME. This time around, it was in the form of something wearable for the kiddo attendees at Louis’ birthday party last weekend. I love making something that gets them into the spirit of the party, and helps carry the theme a little more. Plus, it creates more photo opportunities. Super fun all the way around!
I really wanted to give all of them Rebel Pilot Helmets, but I didn’t want to pay $$$$$$ for them, and I didn’t want it to take forever to make 15+ of either. My requirements were that it could be done cheaply, quickly, with the least materials possible, and using my home printer. Because I wasn’t about to draw all of these images out for every helmet.
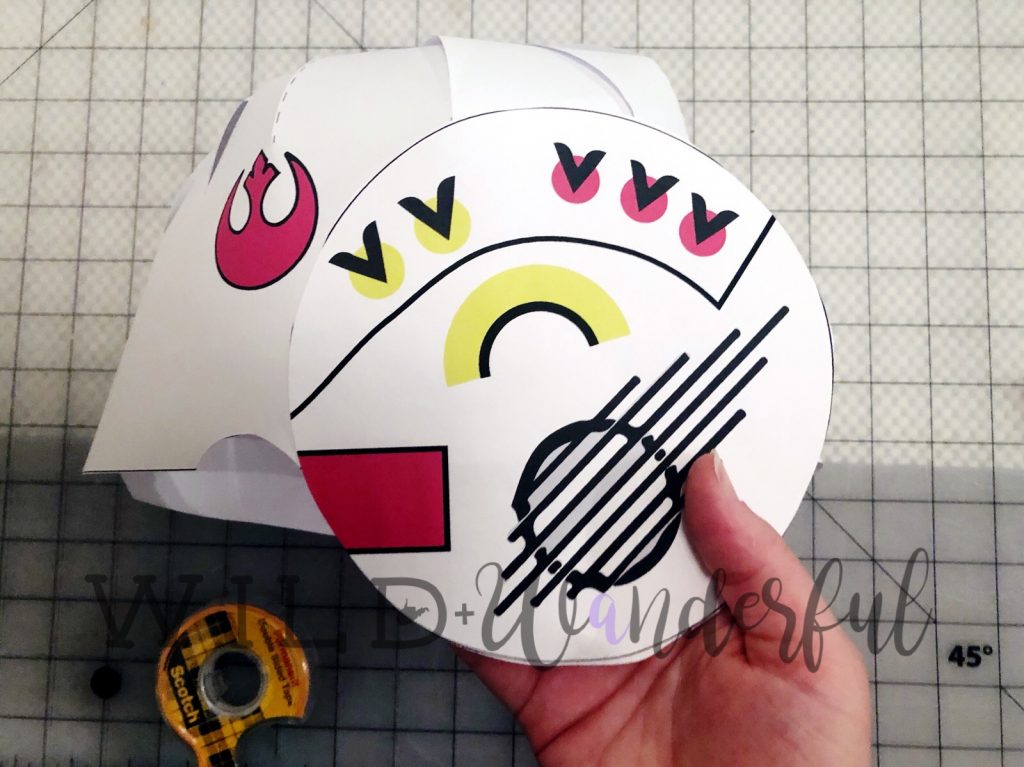
I sketched it out, tested it in a smaller format, and then whipped up this design in Illustrator. And there is no way I would be keeping this to myself, y’all. I’m so proud of my creation and I hope that it gets used a million times over for costumes, and other forms of play!
**About the printout: I have recently adopted a wide format printer for my personal home use. But I’m aware that most people don’t have one of these massive machines in their house. Therefore, I created a PDF that allows you to overlap the pages and get these large, continuous designs on standard 8.5×11 paper. The pages are set up to overlap by 1″ on the top, bottom and sides of each page. Set your printer to print at 100% (no zooming or fitting to page!) and everything will come together nicely. Promise.

You’ll have a slight margin on each print, if you do it properly. Most printers have 1/4″ margins, which is no big deal because of the overlap that I’ve created. Simply snip off the white parts that are breaking up your print before you glue the pages together and it will be fabulous!
STAR WARS INSPIRED REBEL PILOT PAPER HELMET TUTORIAL
**This design is for personal use only. I hope you share it with me if you make something! I love seeing what people can create! Tag me on Instagram @mckinleykaty or shoot me an email katy@threadandgrain.com And if you’re feeling extra share-friendly, come join us over at my Facebook Group!
SUPPLIES NEEDED:
- Rebel Pilot Helmet PDF Download: Grab the file at the link above!
- Double Sided Tape / Glue
- Scissors
- Paperclip / Metal Brad
- Hole Punch

Step 1: Apply tape or glue to the grey bar located on the right side of the main hat piece. This is your 1/2″ overlap, to create the full circle for your hat. (You’ll see throughout this tutorial that I use double sided tape instead of glue. I have a love affair with double sided tape that cannot be explained. You’re welcome to use glue if you’d like, just make sure it’s a sturdy one that can hold up to the use that this hat may/may not get during play.)


Step 2: Complete the circle by overlapping the left edge of the main hat piece, on top of the glue/tape that you just applied.

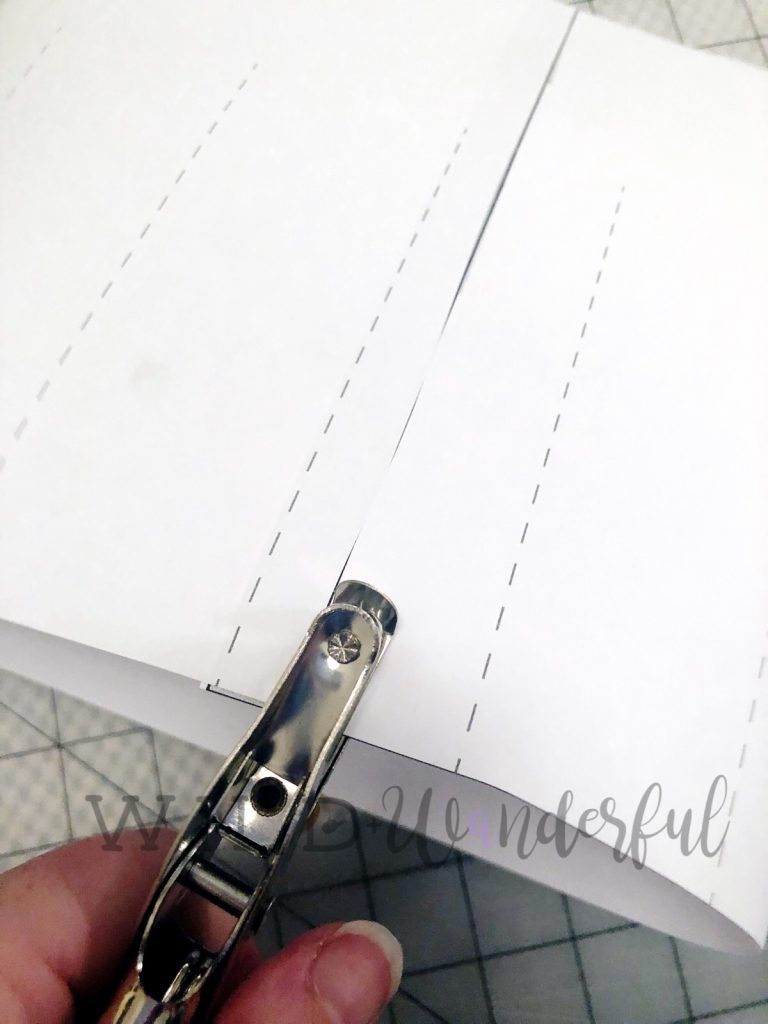
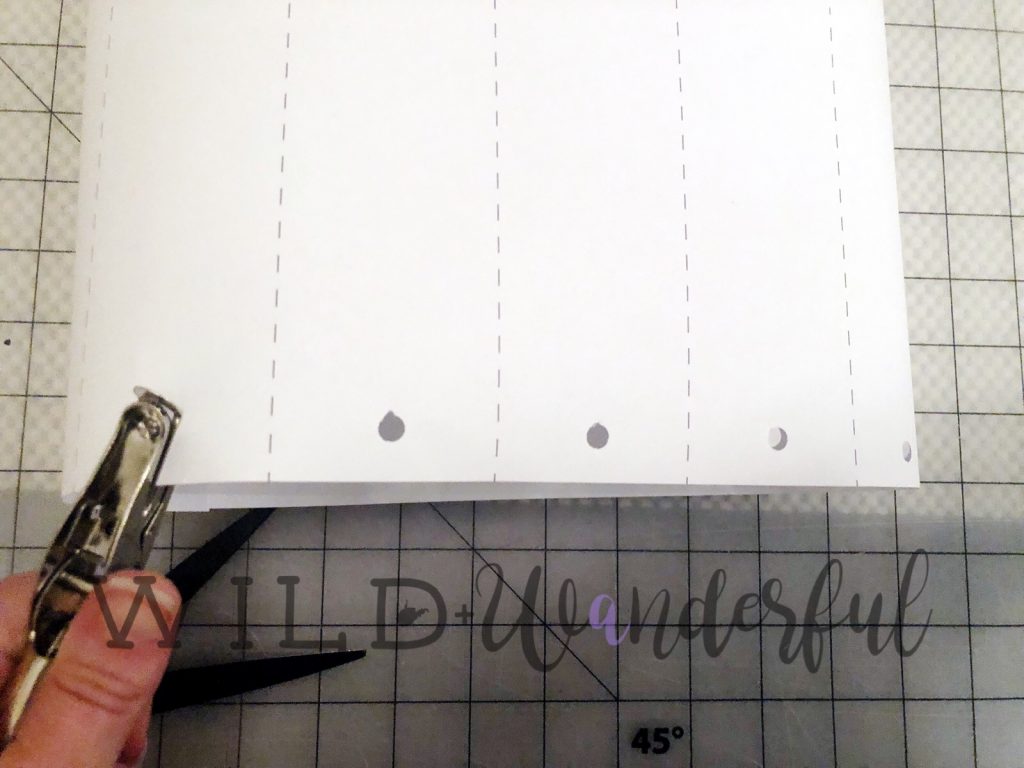
Step 3: Along the top edge of the main hat piece (where the dotted lines are), hole punch as close to the center between each dotted line. Continue all the way around your hat piece until there are 12 punches total.
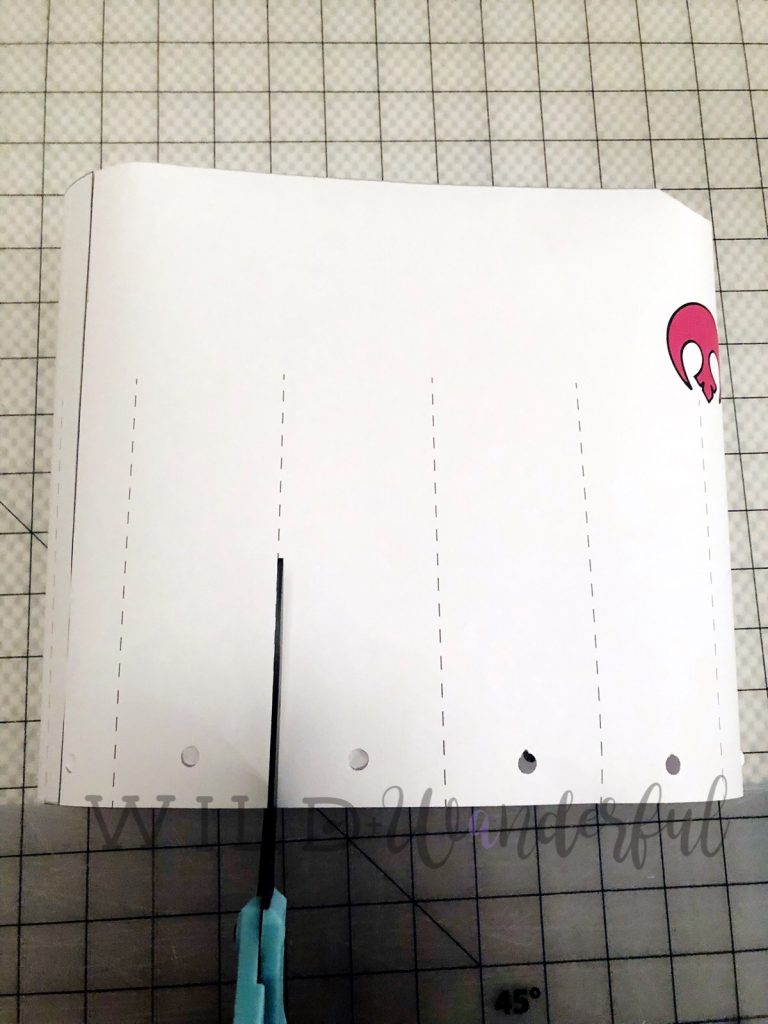
Step 4: Grab your scissors and cut along the dotted lines, around the entire main hat piece.

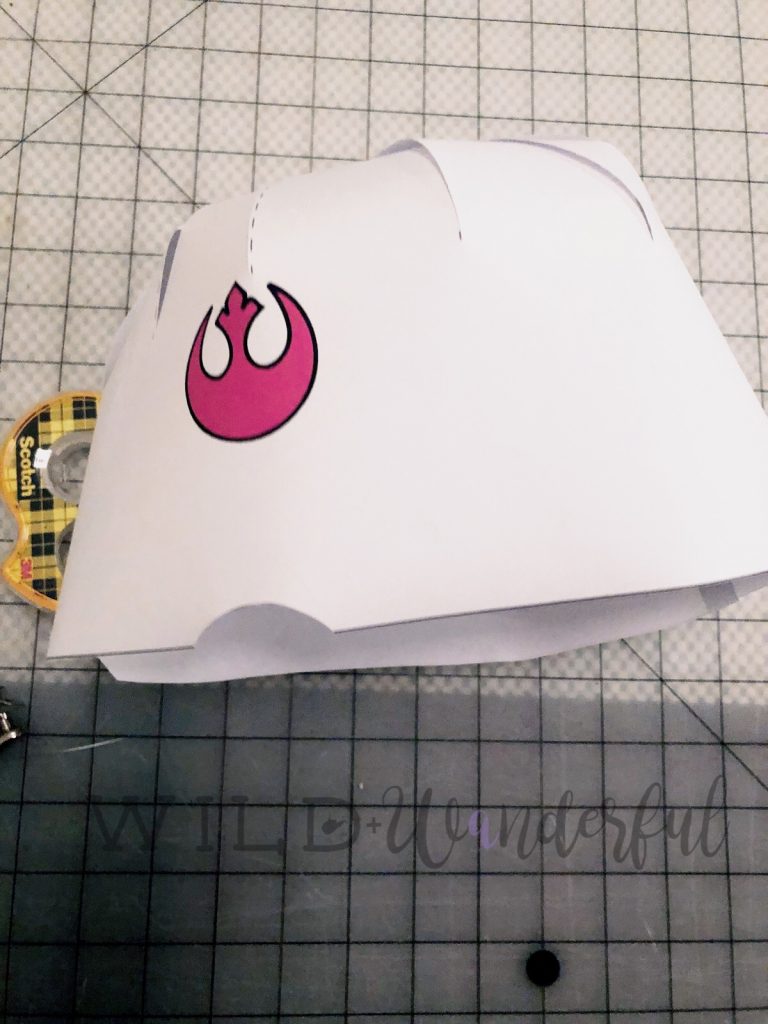
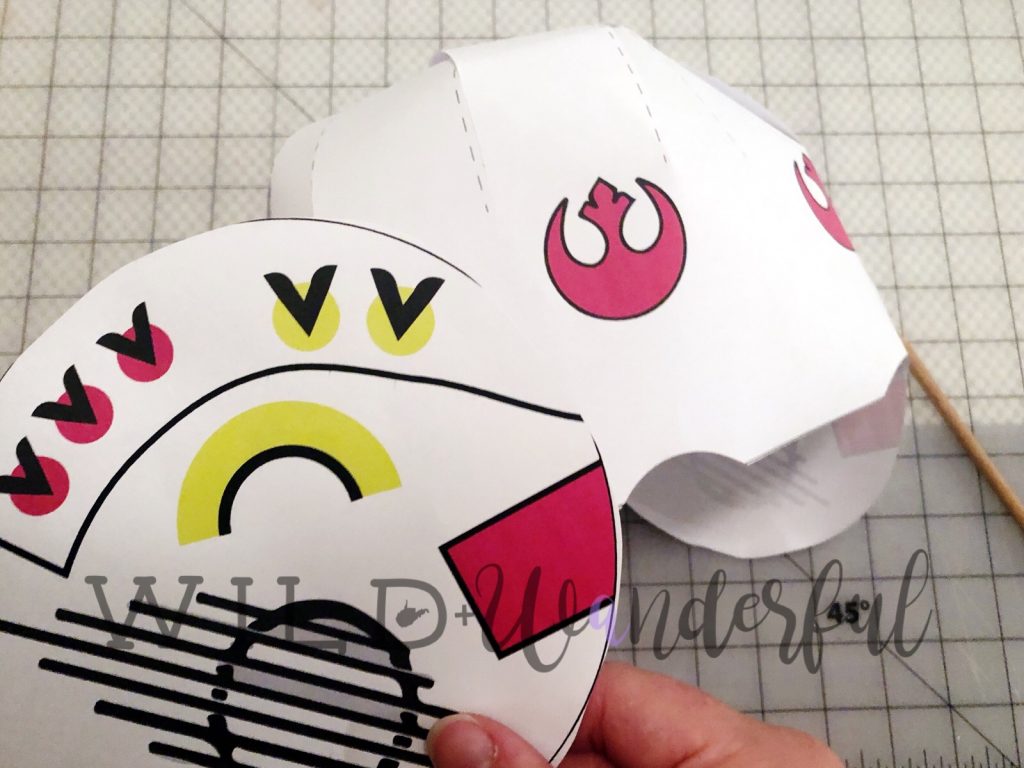
Step 5: Now, we are going to assemble the rounded cap piece. I like to use a wooden dowel to assist me in this step. You’ll want to align all of your punches, and it can be tricky to do it by hand — the dowel helps keep them together while I pull all of those pieces into the middle to meet.


Step 6: While this is easier done with a brad, I tend not to have those lying around the house. So I thought it would be best to show how easy this is to do with a paperclip. Grab a small paperclip and open it up, then pinch the longer side…so it’ll have an easier time fitting into your hole punches.


Step 7: Guide your paperclip through all of the punched holes, and down through the bottom. Secure by getting your paperclip back into it’s original shape as much as possible.


Step 8: Now onto the ear pieces! The easiest way to align these is by using the indents of the main hat piece as a guide. The top line of the partial rectangle on the ear piece is meant to sit right outside of the indent, on either side of the hat. Glue/tape both ear pieces to the main hat.
Step 9: We are so close to the end now! With the main helmet facing you, take your helmet stripe and glue/tape it to the middle, front of your helmet.


Step 10: Flip your helmet over, and continue to bring the stripe piece all the way around to the back, securing it on the backside as well. **Note: I made the stripe longer than you may actually need. Depending on where you added your hole punches, it’s possible that your cap is slightly longer/shorter than mine — which is why I gave you some extra room. Simply trim it off of the back if you do, indeed, have more length than you need on the stripe.


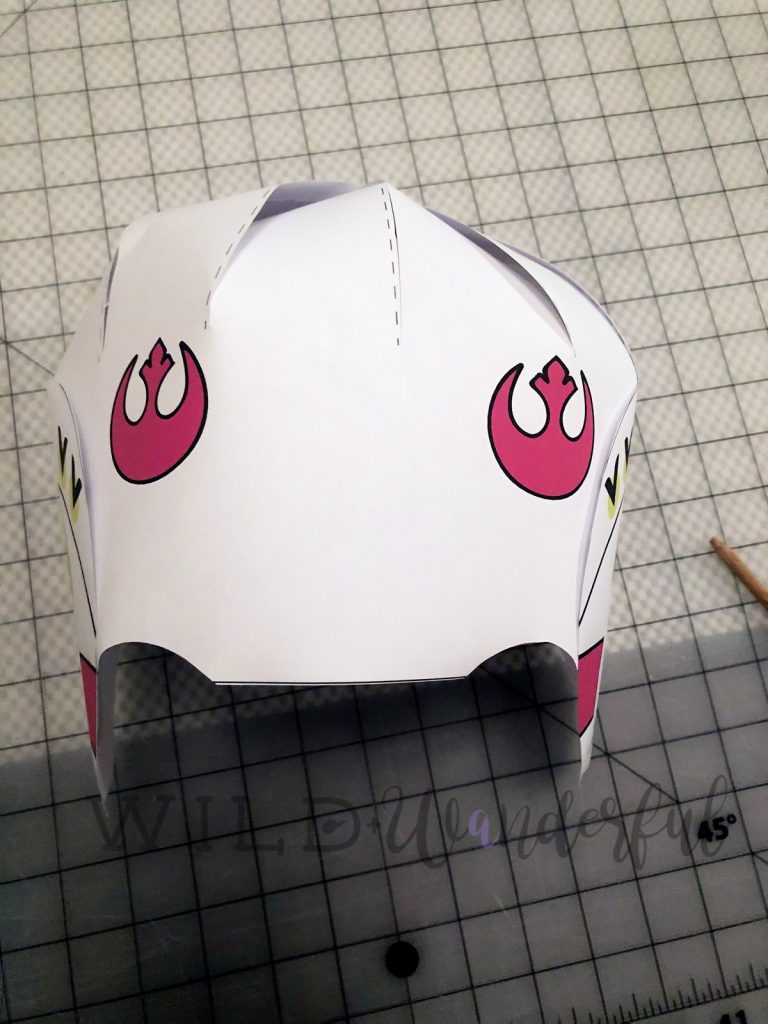
Step 11: Guess what? You’re finished! Do a happy dance, throw that new cute piece of Rebel equipment on your head, and Star Wars it up, baby.


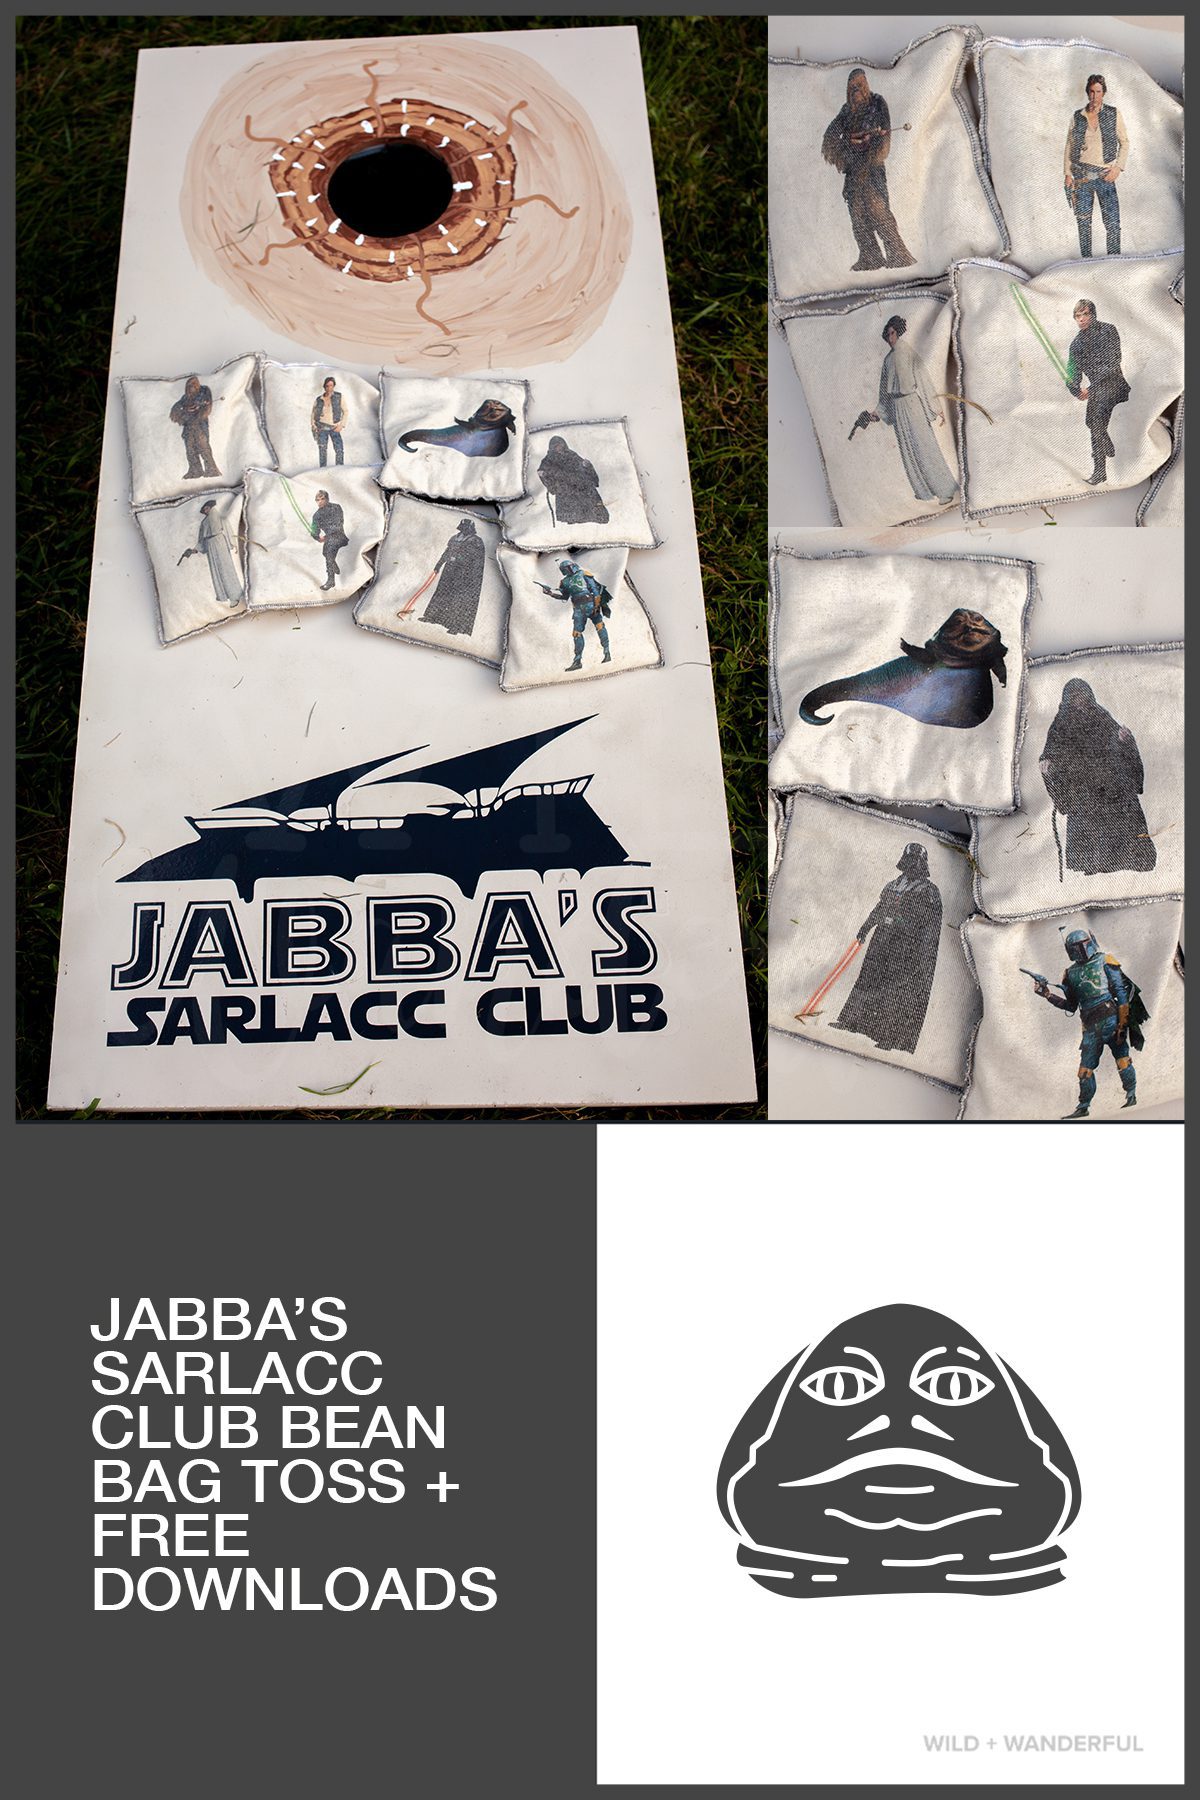
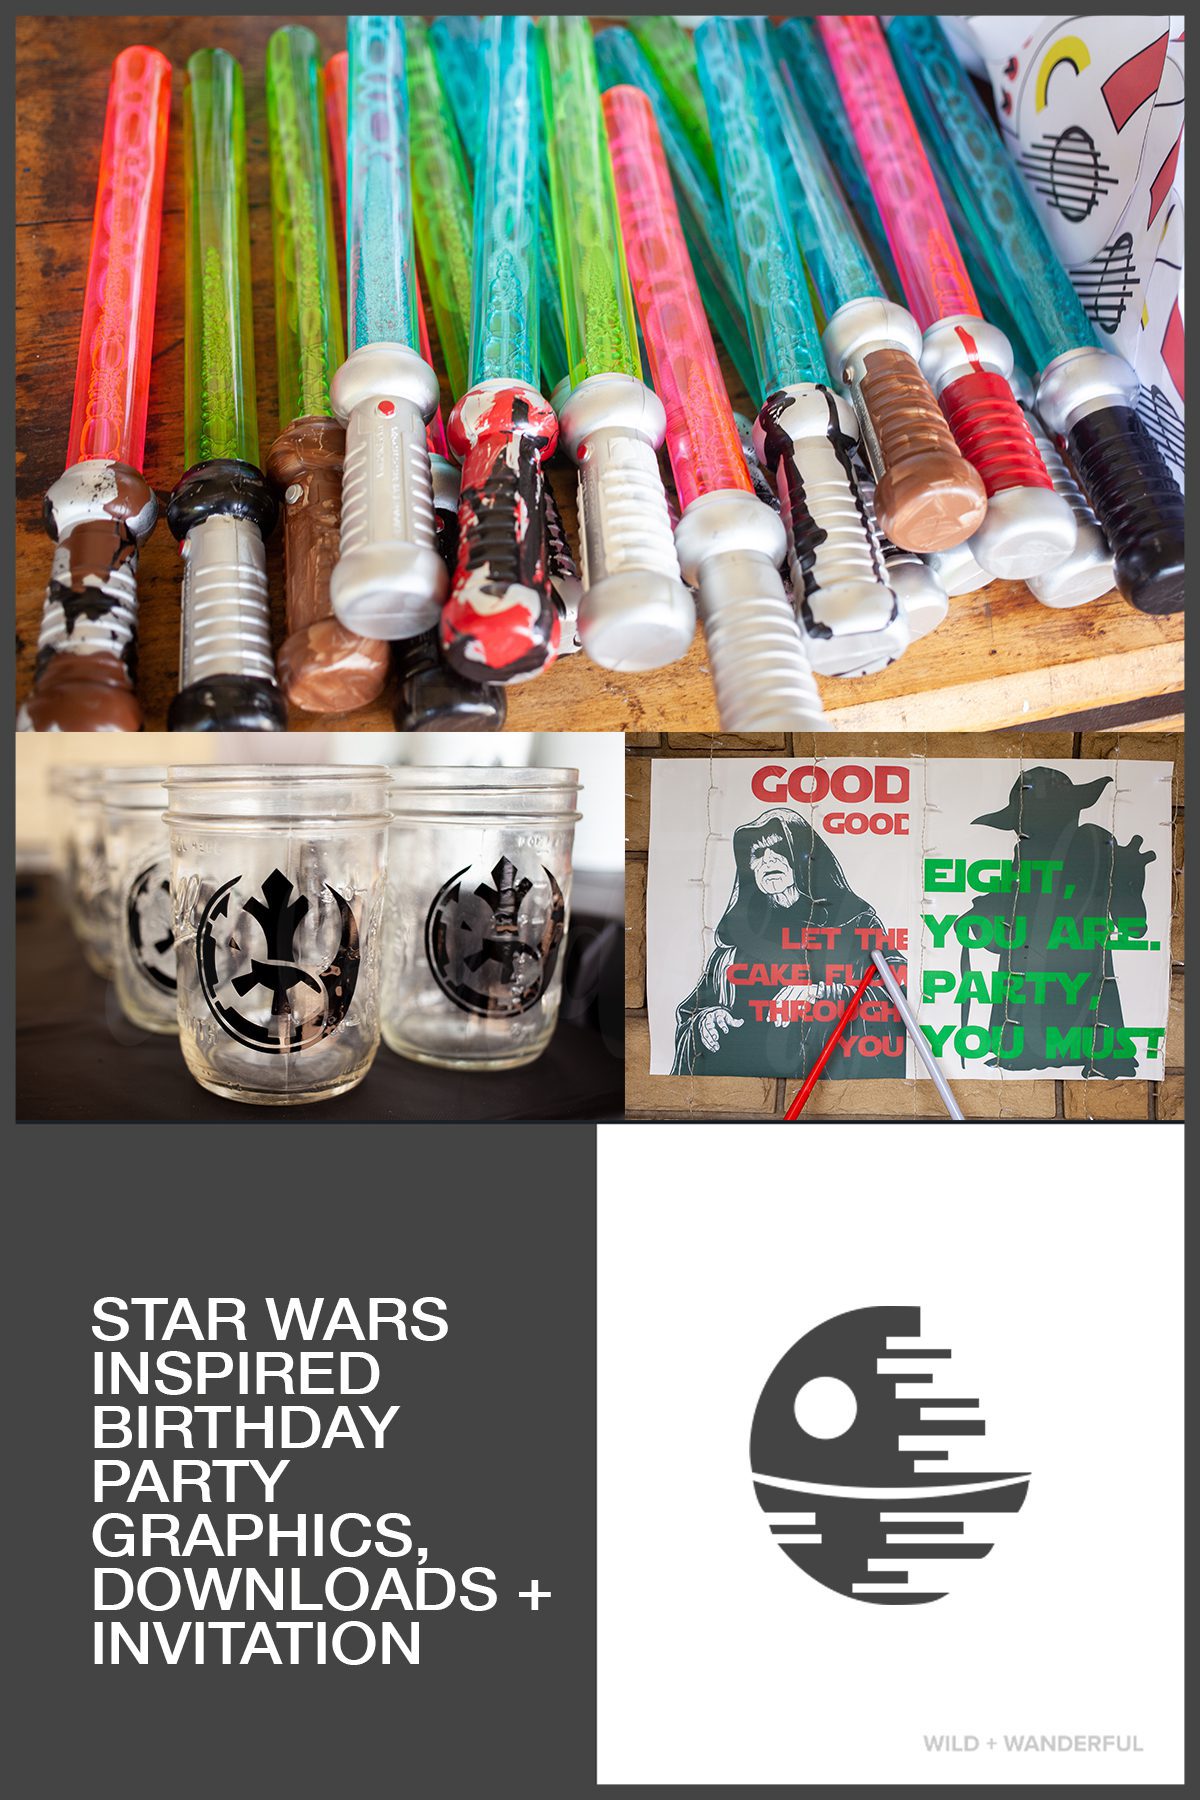
Before you go, please make sure to visit the rest of the goodies, downloads and tutorials that we created for this special 8th Birthday Party for our kiddo! (Some of the links won’t be live until they’re officially shared throughout the week. Don’t panic if it leads you to a dead end just yet!) And if you want to see it all together, head to the birthday recap post HERE.


Thanks so much for this. My boy is loving it. Seriously kind of you to share this with the world.
Oh I’m just glad to hear that it’s being used by someone! 🙂