My name is Katy and I have a love for Star Wars that goes beyond what a person should have. Like….I LOVE Star Wars. Even the Prequels, people!!! And whenever I’m like, “what should I make that would be cute and fun?” I almost always want to make something related to my favorite space opera. The characters in every single movie and series is absolutely the best. But my favorite ones are always the non-humans. Specifically, I’m a sucker for the droids. But also, Chewbacca and Yoda….and of course now “The Child” are incredibly written and played out.
So for Valentine’s Day this year for Louis’ class, I thought it would be super fun to create little non-food items to hand out to each kiddo. Which is why this little cutie was dreamt up. And I’m sharing the entire thing with you so you can make one too!

Each pouch finishes as a 6″ circle, with an additional 2″-ish on either side for those darn cute Yoda sized ears. And they sew up super quickly, so be careful because you’re going to want to make some for basically everyone you know. Or maybe even a class of 26 third graders. Who knows what you’ll get yourself into?
Supplies needed:
— 2 – 6.5 x 6.5″ pieces cotton woven for main + lining fabrics, + small amounts of fabric for Ears
— Lightweight Fusible Interfacing: I like Pellon SF101, or Heat & Bond 3336 (aff links)
— 1 – 9″ zipper
Recommended fabrics: quilting cotton, kona cotton, etc.
- With right sides facing together, align two mirror-image ear pieces on top of one another.
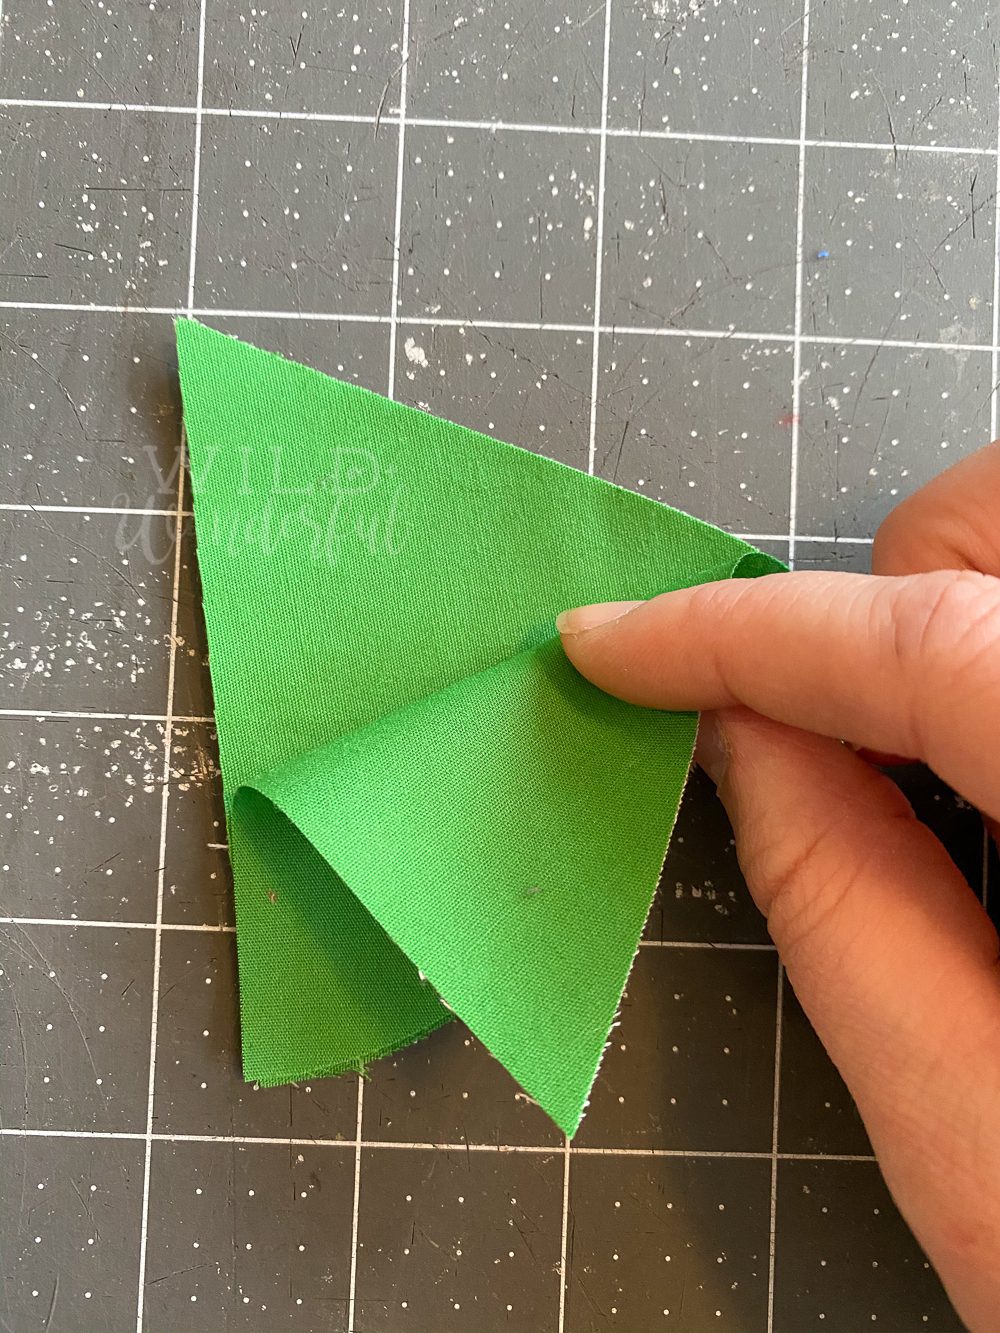
- Using 1/4″ seam allowance, sew along outer edges. Trim seam allowance, turn and press.

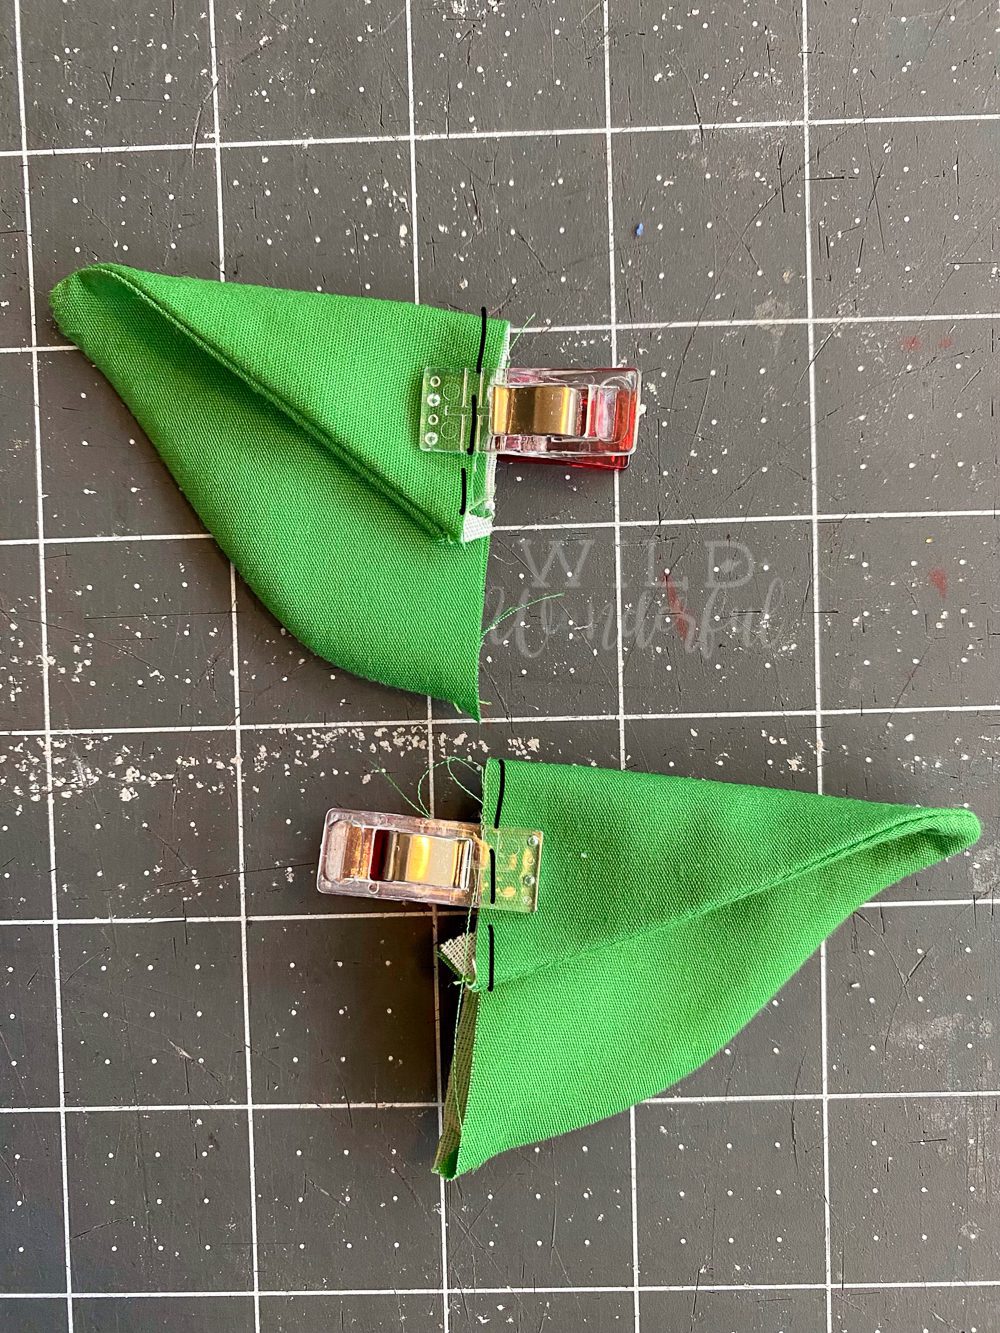
- Using the marking on the ear pieces, fold the long straight edge down — meeting the top corner to the marking.

- Baste in place. Repeat with other ear.
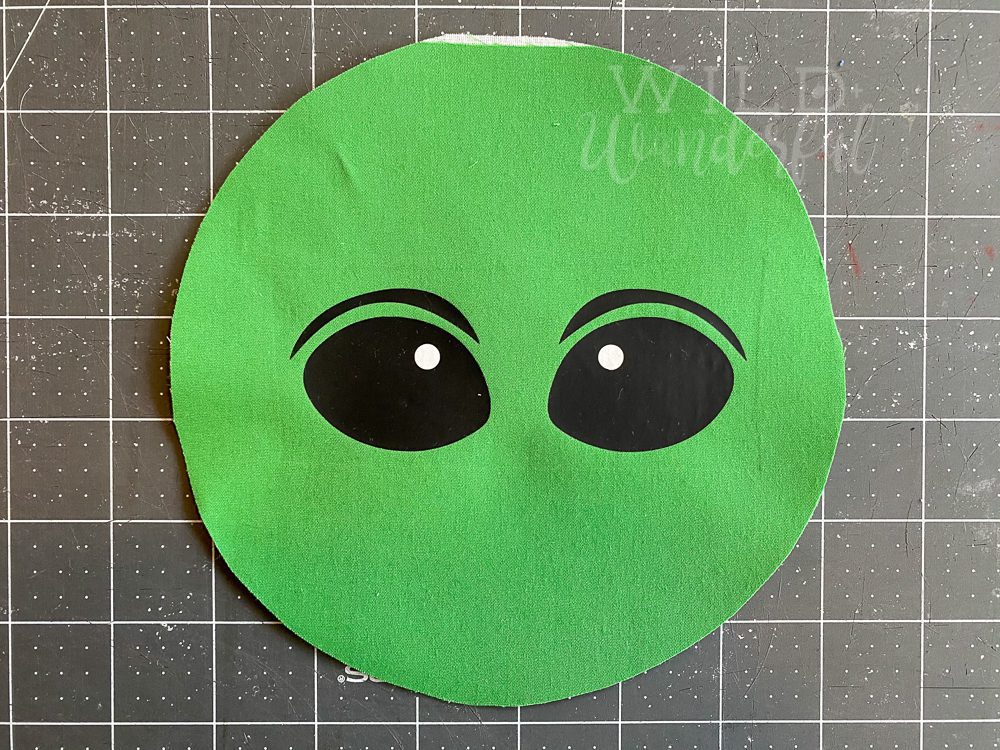
- Apply eyes to main pouch front.
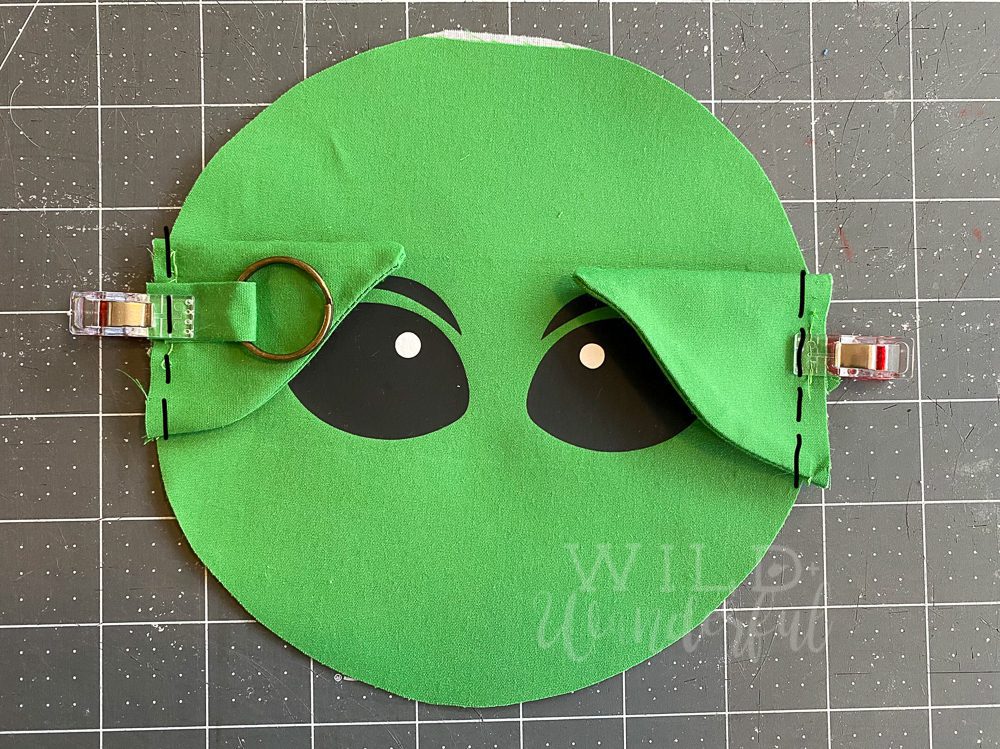
- Align ears along two outer edges, baste in place.
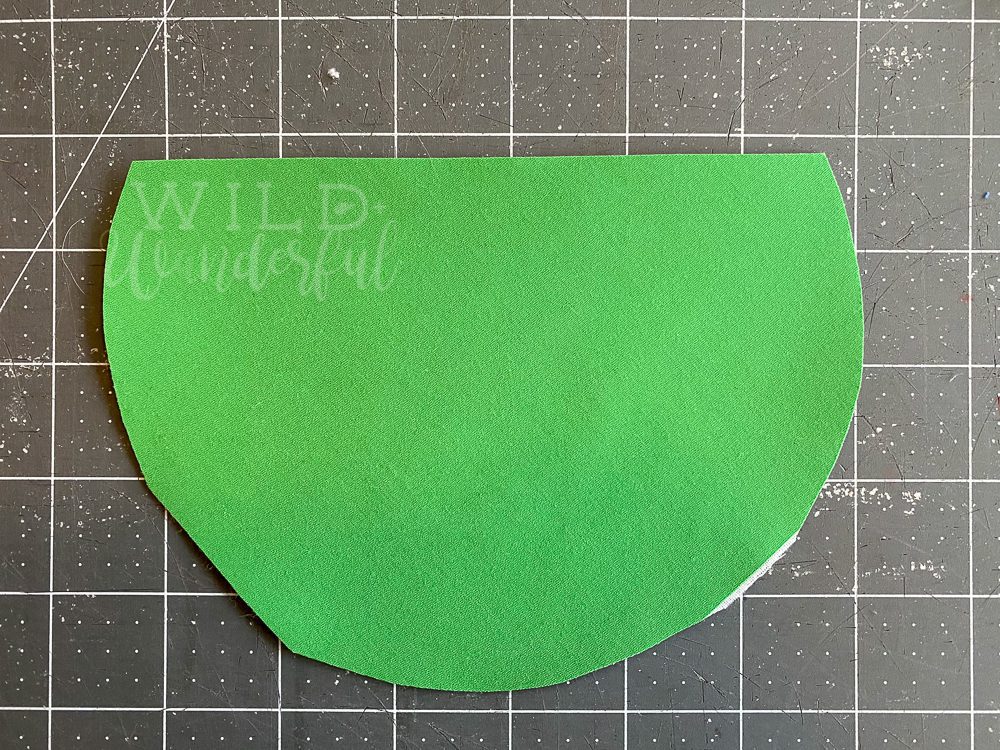
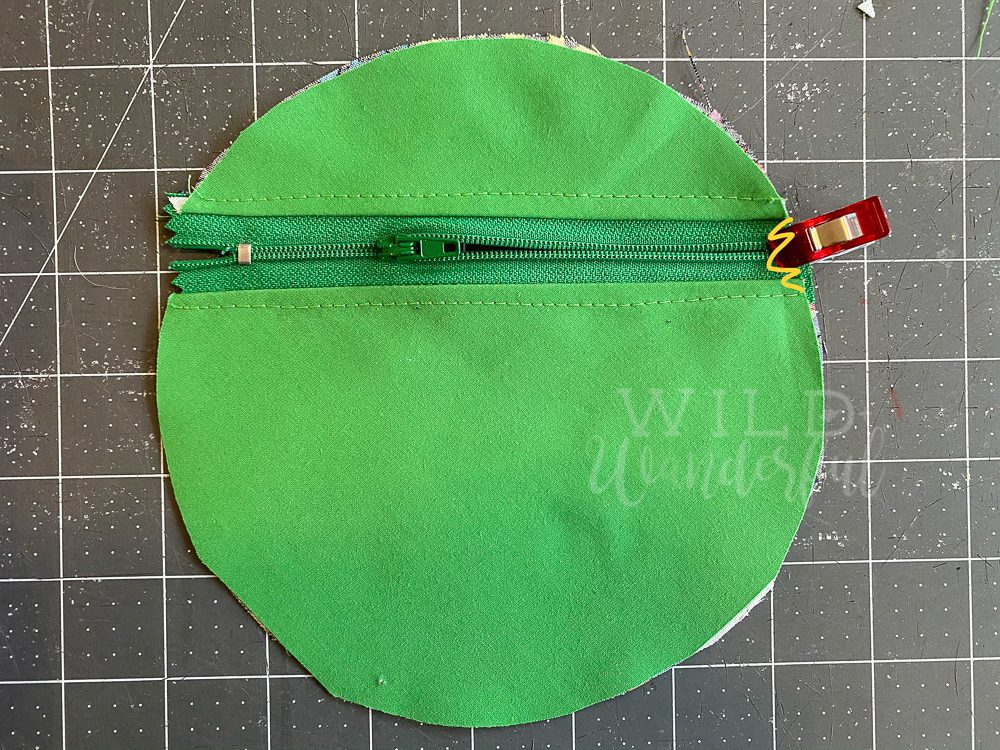
- Locate the lower back piece in your main fabric, and lay it with the fabric face up.
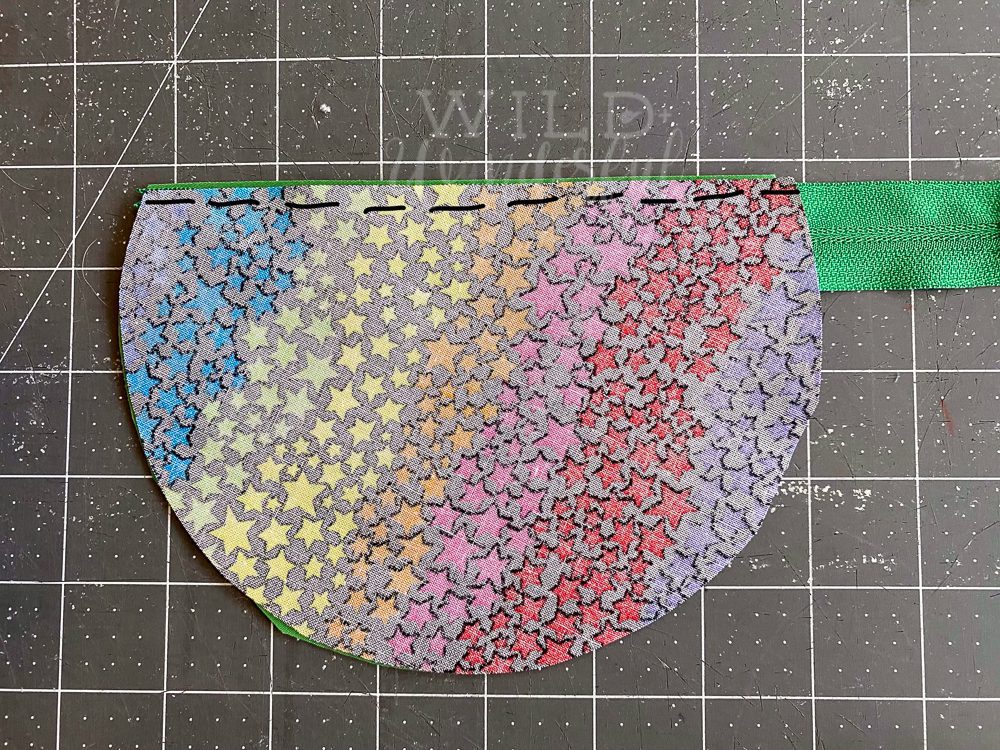
- With the zipper face down, align it against the straight, raw edge of your pattern piece.

- With your lower back lining piece face down, align it along the straight edge, sandwiching the zipper between the two pieces of fabric. Sew with 1/4″ seam allowance.

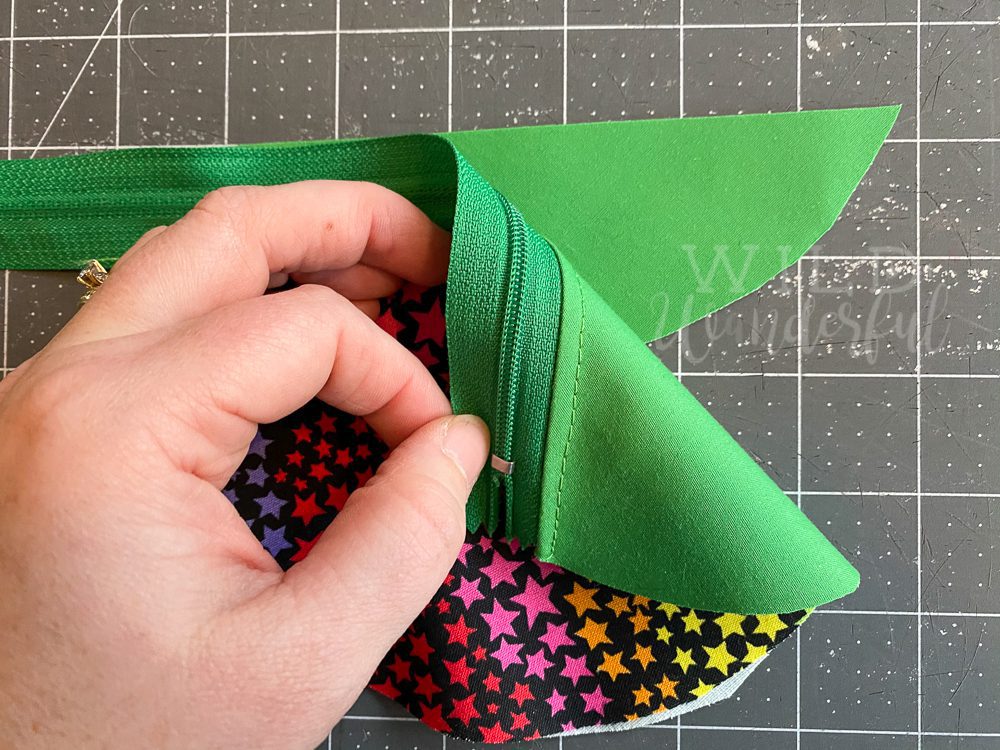
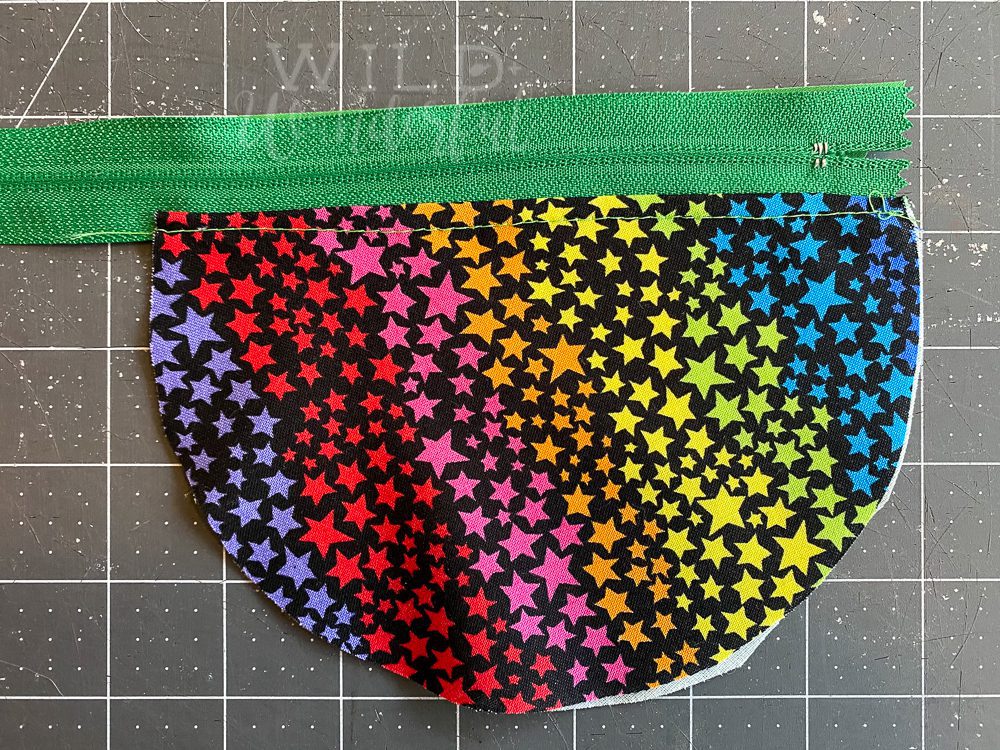
- Flip open the lower back pieces, so they are now touching with wrong sides together, and your zipper is exposed. Press and topstitch, if desired.

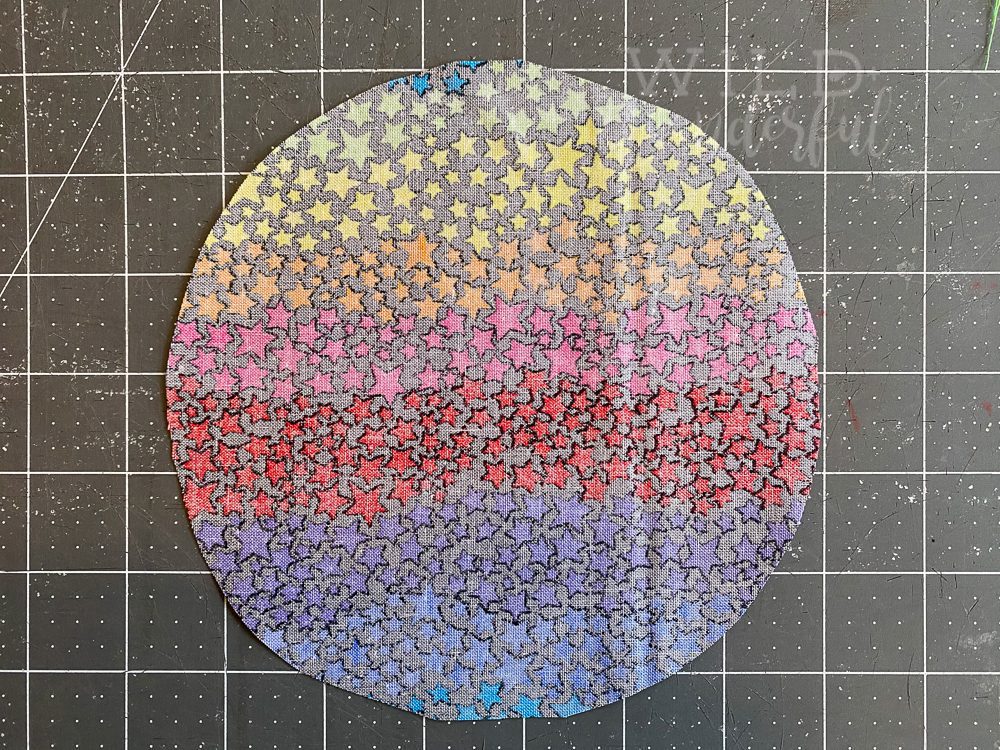
- Locate your upper back piece in your main fabric, and lay it with the fabric face up.

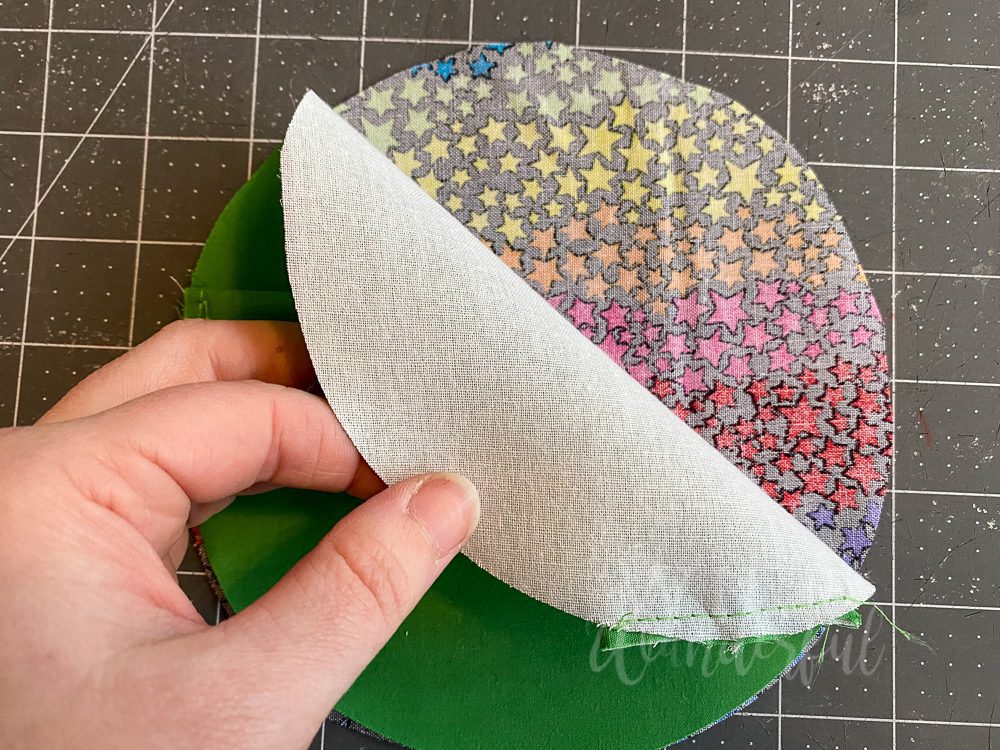
- Lay your lower back pieces with the main fabric face down, aligning the zipper to the long straight edge of the upper piece.
- Similar to the step above, align the upper back lining pieces along the straight edge, sandwiching the zipper between the two pieces of fabric. Sew with 1/4″ seam allowance.

- Flip open the upper back pieces, so they are now touching with wrong sides together, and your zipper is exposed. Press and topstitch, if desired.

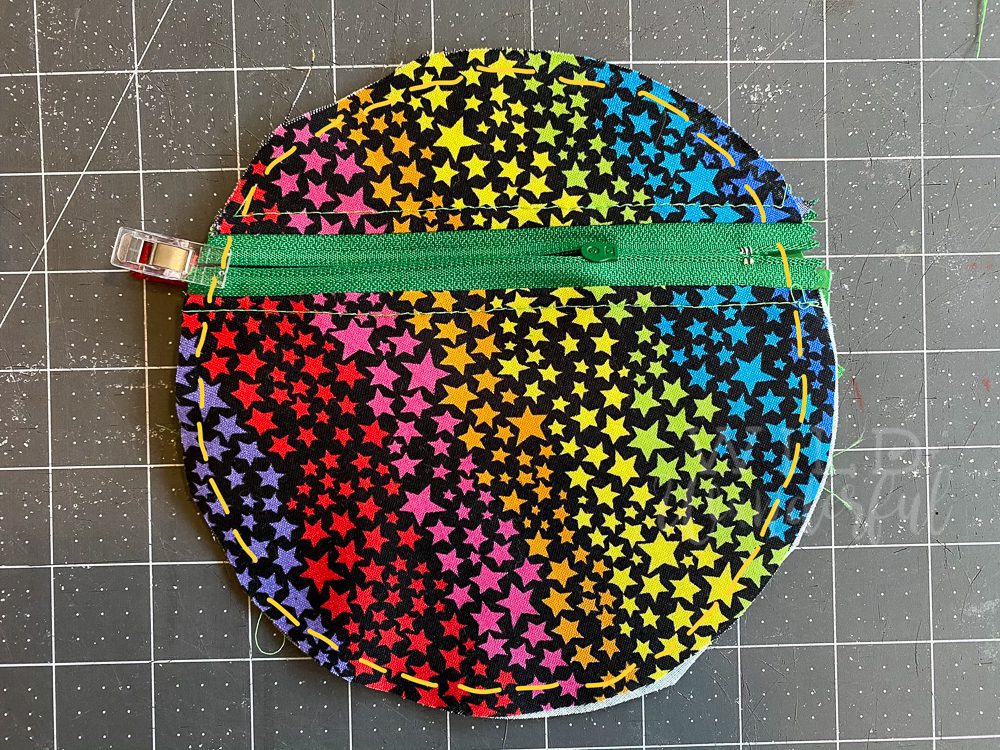
- Open up your zipper, and trim any excess length if needed.

- Clip your zipper opening together and zigzag stitch to baste the edge shut.
- Lay you pouch front lining piece with the fabric face down.
- Place your main front piece on top facing up, so the wrong sides are together.

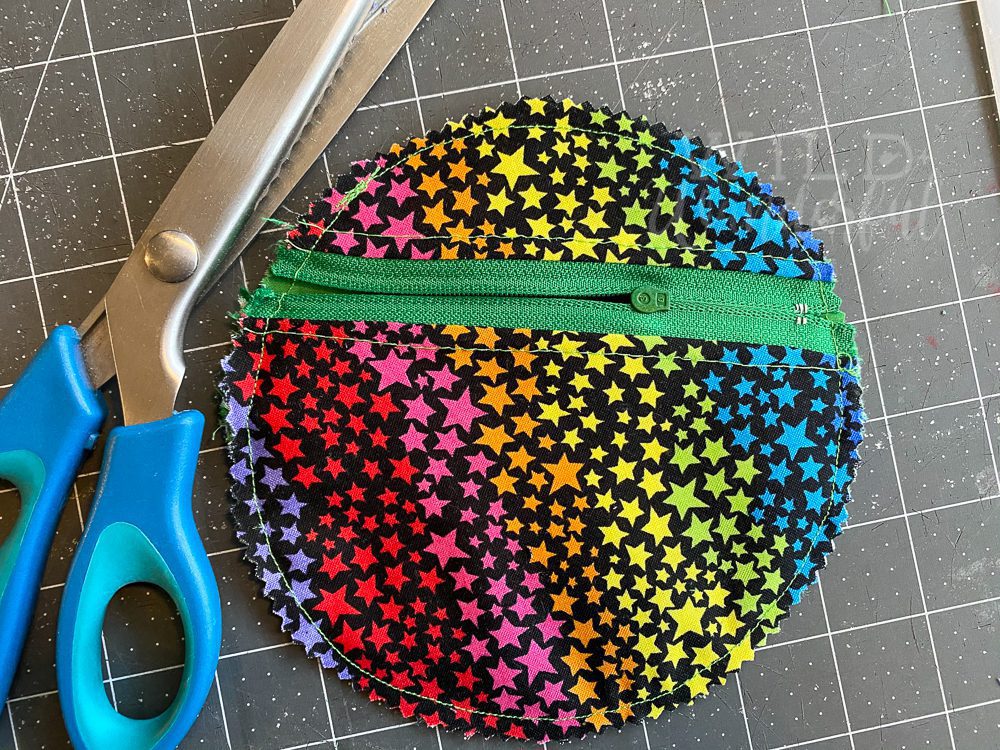
- Place your back, zipper piece on top of your two front pieces, with the right sides down. (The green Yoda face and the green back fabric are now touching each other, right sides together.) Sew around entire outer edge, using 1/4″ seam allowance.
- Carefully trim excess fabric. I recommend using pinking shears, to give you a smoother circle.
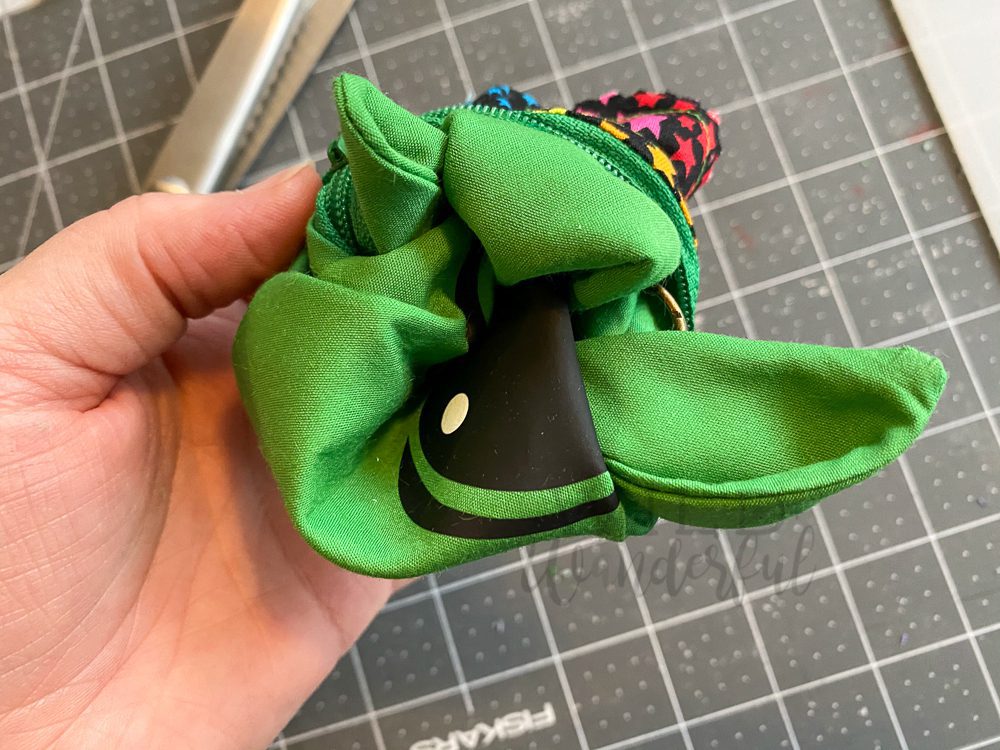
- Turn pouch right sides out, through zipper opening.
- Press. Topstitch, if desired. (I actually prefer this little guy to be without the topstitching, but I know some diehard sewists that would scoff at me for suggesting otherwise…so it’s completely up to you!)

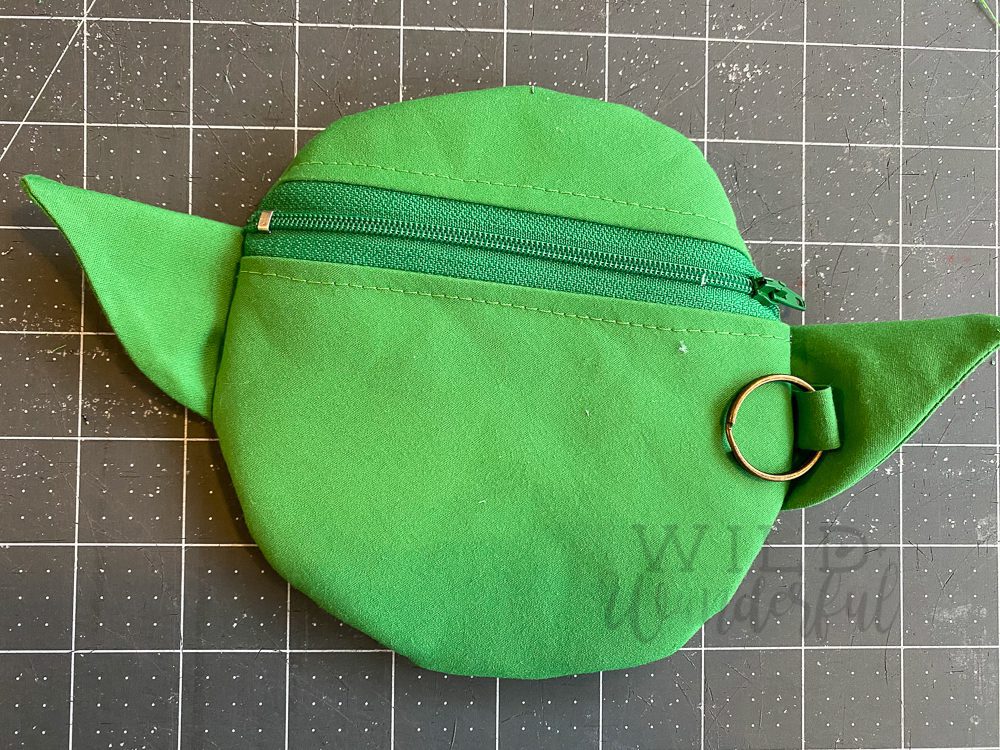
You’re finished! Go fill your new little Yoda pouch with whatever goodies will fit in it, or gift it to someone who will do the same. And then go make another. Or maybe even 29 more. In case you’re a weirdo like me who likes to sew an entire class worth of Valentine’s Day presents in the form of Yoda zipper pouches……….

I hope you love this zippie pouch as much as I do! If you end up making one, I’d love to see! Share it with me in my Facebook Group or tag me @wildandwanderfulblog / #wildandwanderfulblog on Instagram. Can’t wait!
**You may not claim this pattern as your own, or redistribute the file to anyone in any form. The pattern may be free, but I would still love a little shoutout and credit. Please feel free to share the link, but please only link from this original source. Thanks friends!


I LOVE this!!! I understand all of it except “Apply eyes to main pouch front”. HOW?!! I’m sorry I’m so dense! Using the paper or fabric? Did you trace them onto fabric, cut them out, and then………..? I’m trying to get this in the mail for a friend’s bday April 1st. I’ve cut the paper eyes and eyebrows out…but now what……and how do I get them to stay “just right”? Is the white dot fabric or paint? I’m so stumped! Hahahaha! I think it’s funny that I “get” the rest of it with no problem! OY! Thanks for your help! You are SUCH A BREATH OF FRESH AIR!! I thank God for you often! 🙂
This is SO cute!.. want to make one for my (adult) daughter 🙂 but the eyes I also don’t get..
The eyes are for cutting on your die cutting machine (ie: Cricut / Silhouette / Brother, etc). But you can also just use it as a guide to embroider, paint, etc as well.
thank you Katy!
Katie, this is the cutest little Yoda pouch!
Aw thank you!