Happy (almost) Back to School season, y’all! Once July comes to a close it feels like everything just starts to speed up at an uncontrollable pace in my household….ESPECIALLY since Bennett is a teacher now. It feels like summer is over and we need to kick it into high gear for the school year. It probably doesn’t help that I get lots of ads on my social media feeds now too, targeted often towards teachers.
I am bringing you a FREE pattern today! It feels like it’s been a shameful amount of time since I’ve dropped a freebie on you and this one is pretty extra over the top cute if you ask me. And easy! You’ll be able to tackle making one in no time, and most likely can use up your scrap fabrics just like I did for mine!
If you want a quick glimpse into my creative brain….I saw something similar bows in an ad for a back to school outfit. Became smitten. Ran to the computer and drafted up the pieces. Made one. Posted it to my IG immediately. And then decided to turn it into a whole “thing” by giving you formal pattern pieces, a full written + photo tutorial AND a video tutorial. I don’t even have anyone in my house that would wear a hair bow, haha. I just thought they were too cute to resist making myself! Okay….now to the pattern.
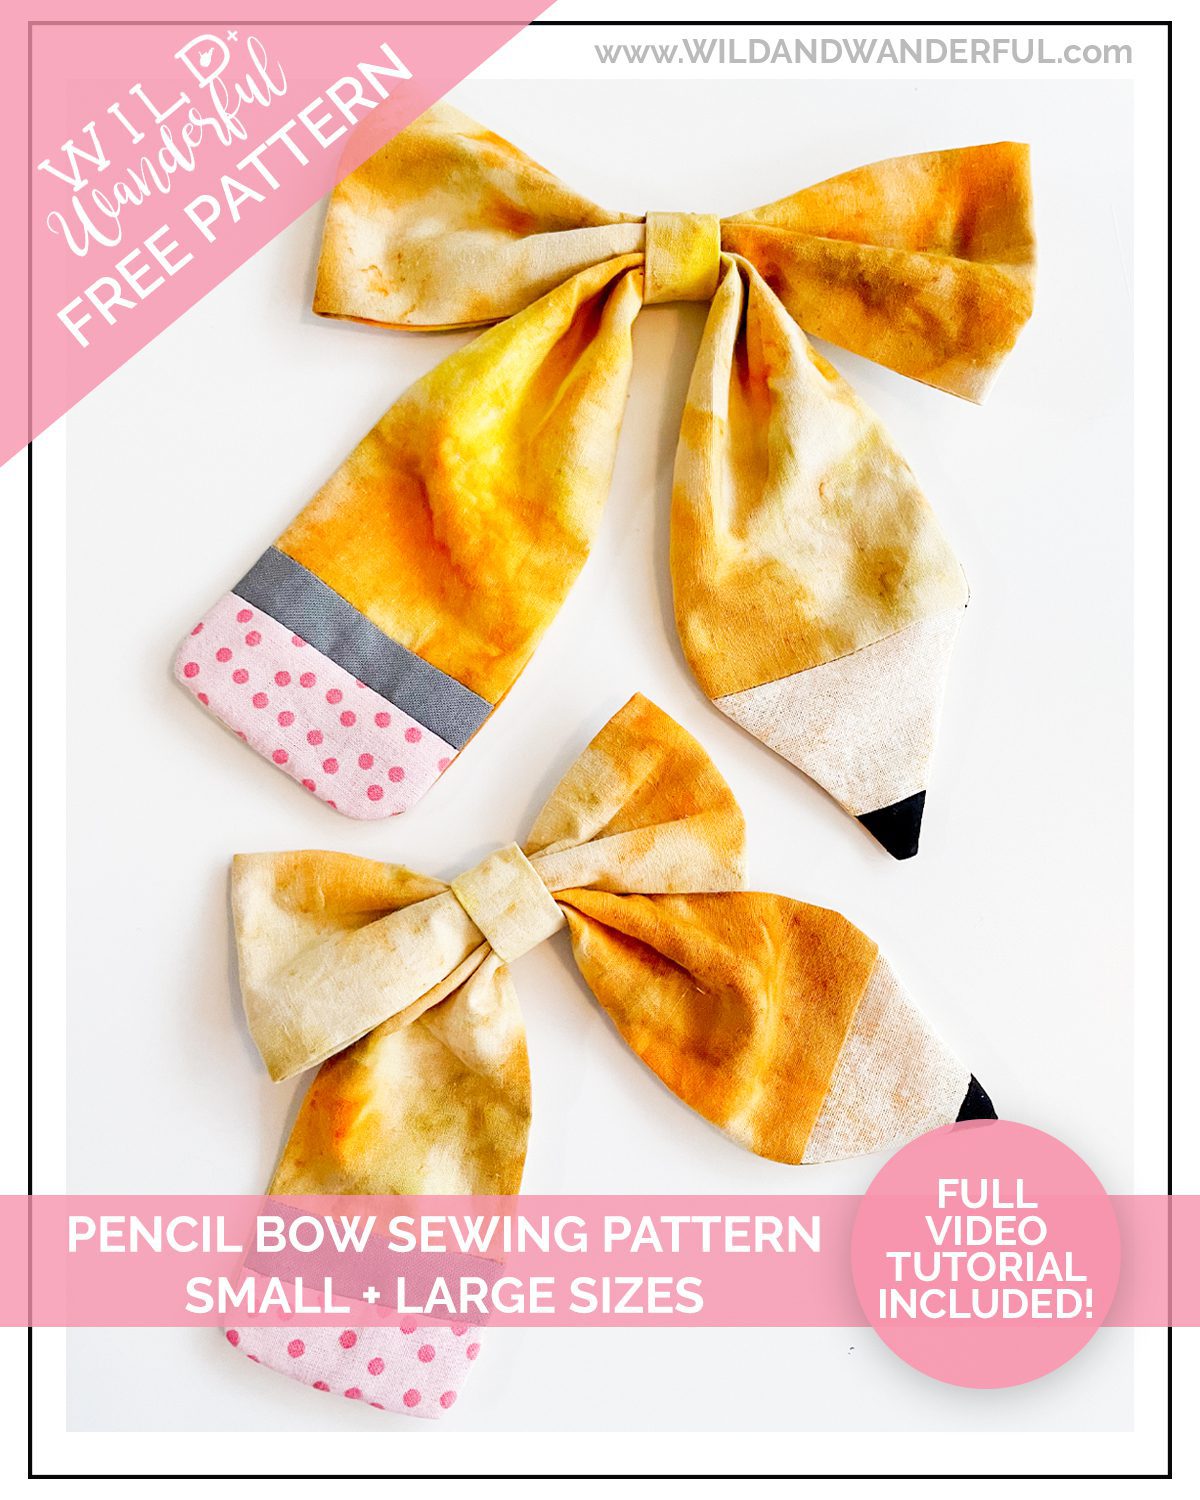
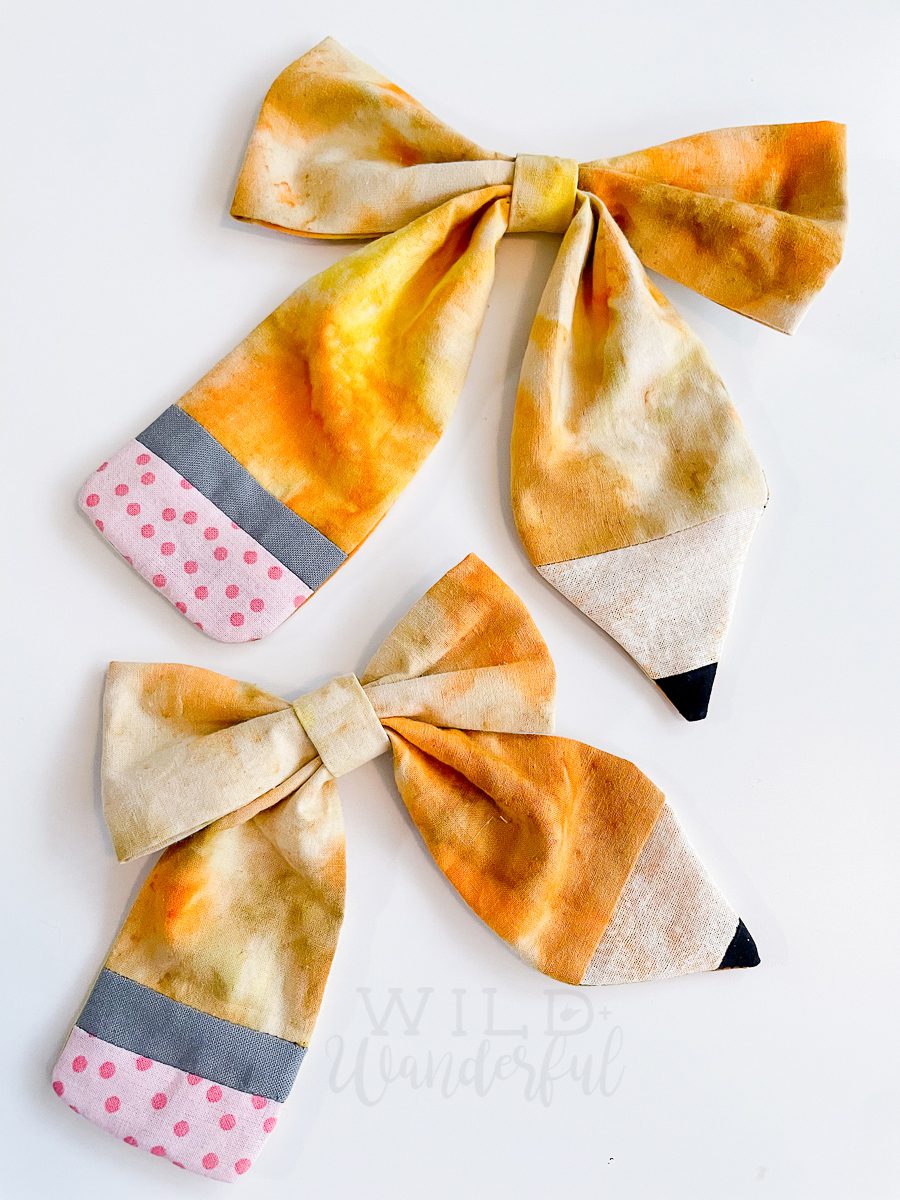
The pattern is available in two sizes: small (4″ wide bow) and large (6″ wide bow).
TO MAKE THESE BOWS, YOU WILL NEED:
- Pencil Bow Pattern pieces
- Small amounts of yellow, black, tan, grey and pink quilting cotton fabrics
- Lightweight Fusible Interfacing, if desired I like Pellon SF101, or Heat & Bond 3336
- Hot Glue or Fabri-Tac
- Yarn / small elastic / thread
- An alligator clip / headband / hairtie / whatever you plan to attach your bow to.
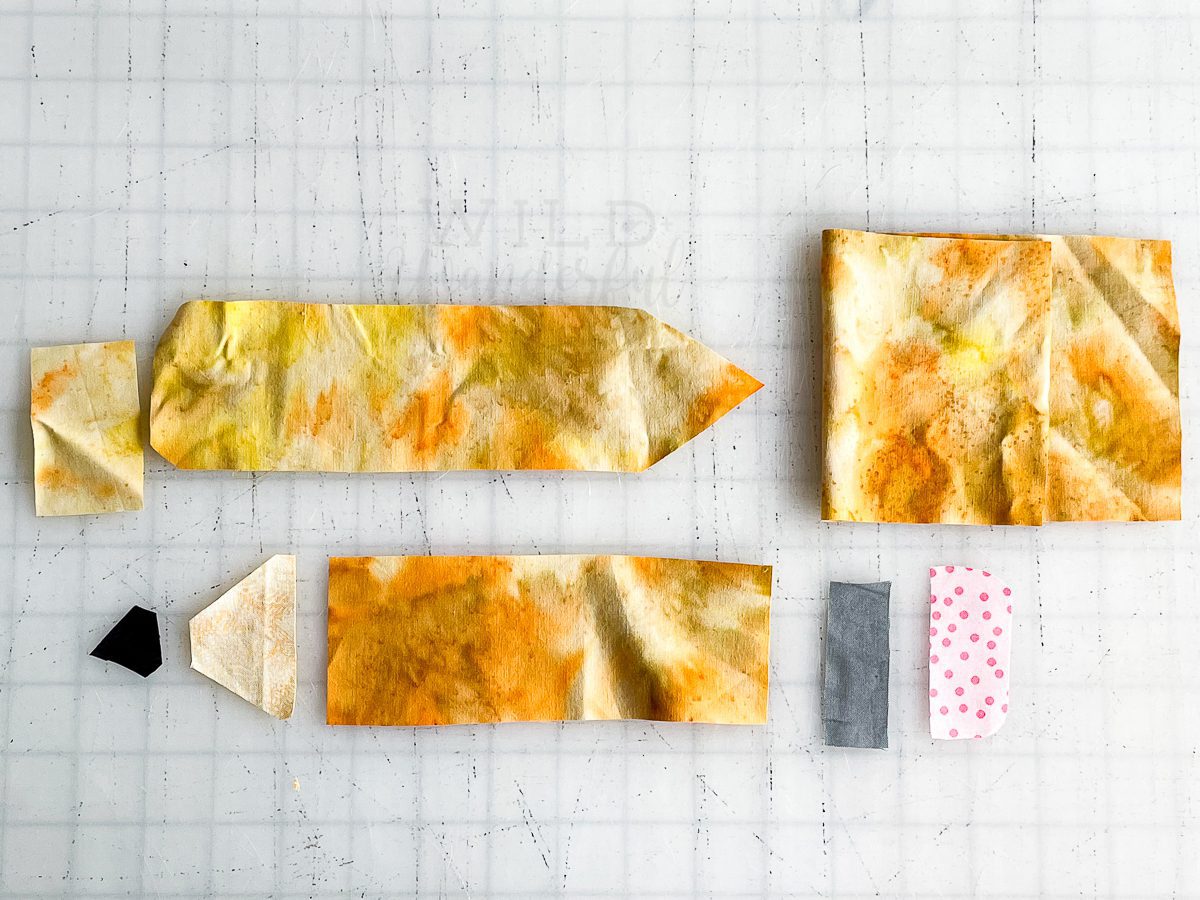
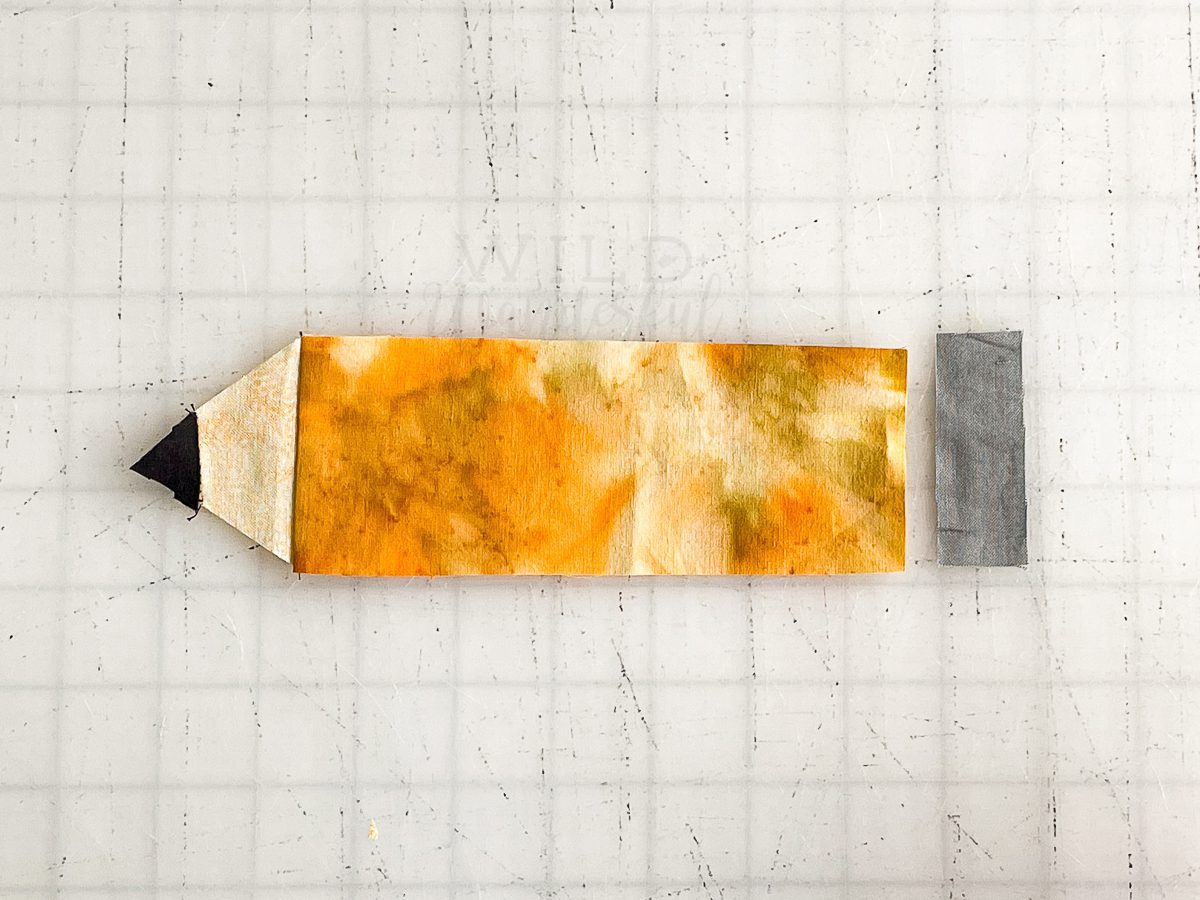
Step 1 – Cut out all of your pieces. You should have eight (8) in total. Your color scheme is up to you! I like to use patterned fabrics for mine, but plain would look cute! And so would mixing the colors up to give it more of a colored pencil vibe. These are your bows, make them how you’d like them!
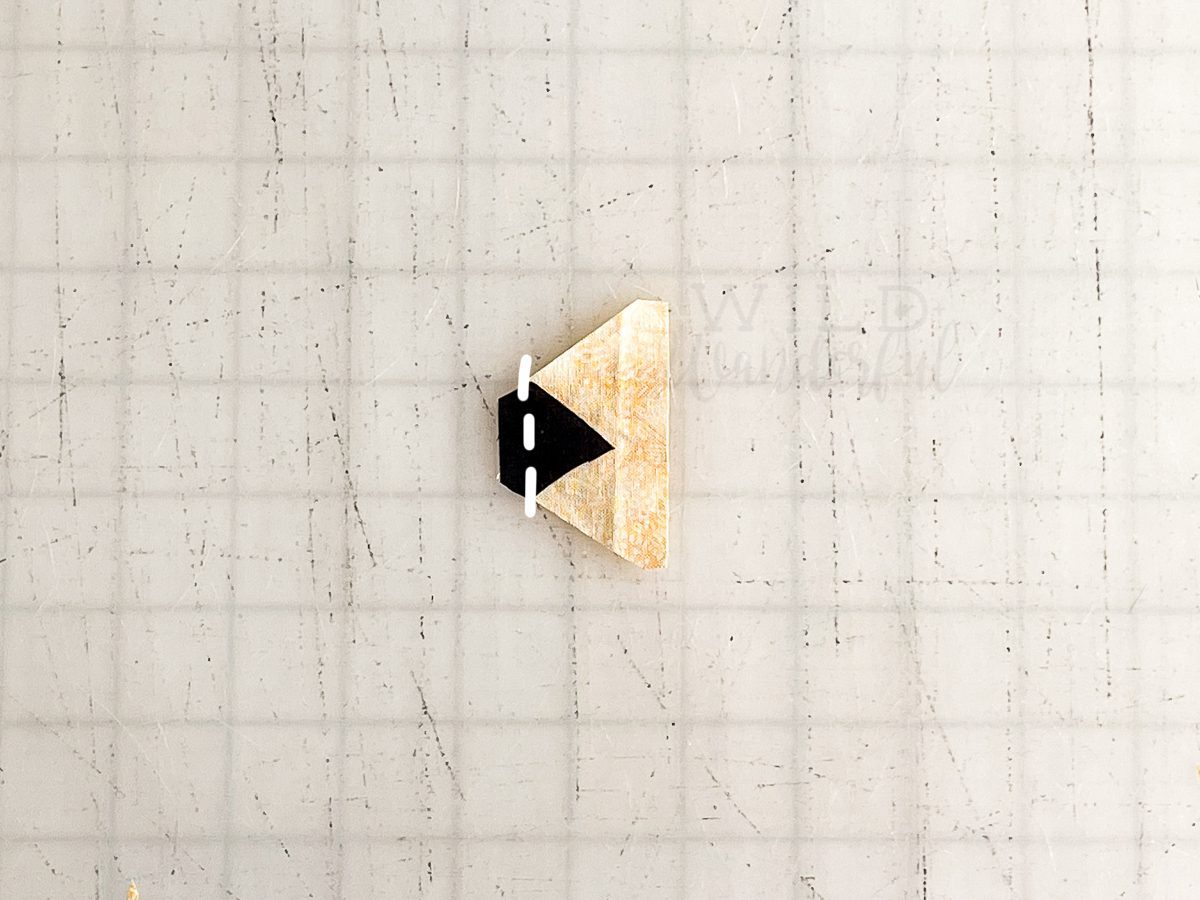
Step 2 – Align Pieces 1 and 2 of the tail front, right sides together. Sew using 1/4″ seam allowance. Press.

Step 3 – Align your 1+2 block to the bow front piece #3 and sew using 1/4″ seam allowance. Press.

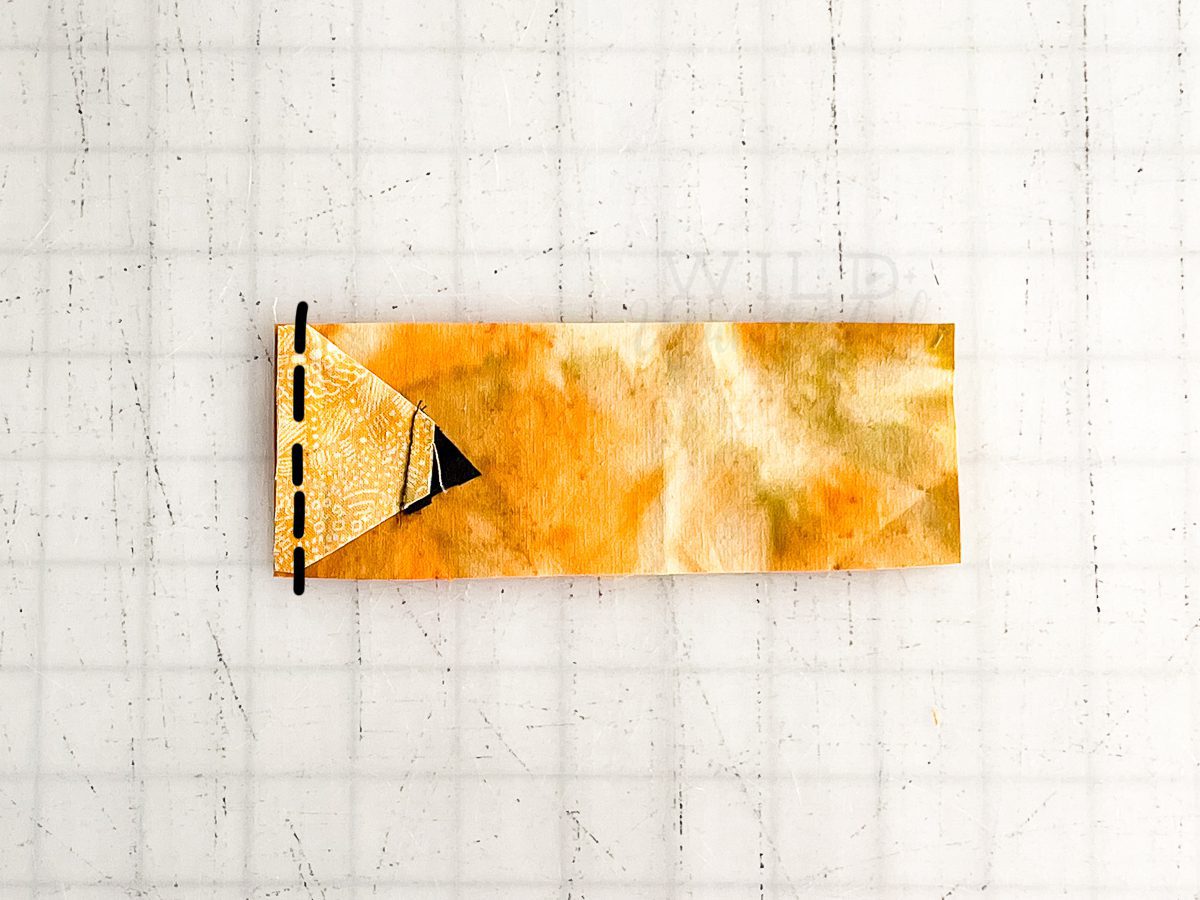
Step 4 – Repeat with pieces 4 and 5 until your pencil piece is complete. Don’t forget to press all of your seams!


Step 5 – Place your tail front and tail back pieces together, with right sides facing each other.


Step 6 – Sew along entire outer edge, using 1/4″ seam allowance. Be sure to leave 1.5″-2″ opening for turning.

Step 7 – Trim your seam allowances, being extra careful not to clip through any stitches.

Step 8 – Turn tail piece right sides out, turning through the opening you left.
Step 9 – Press. Top stitch hole closed.

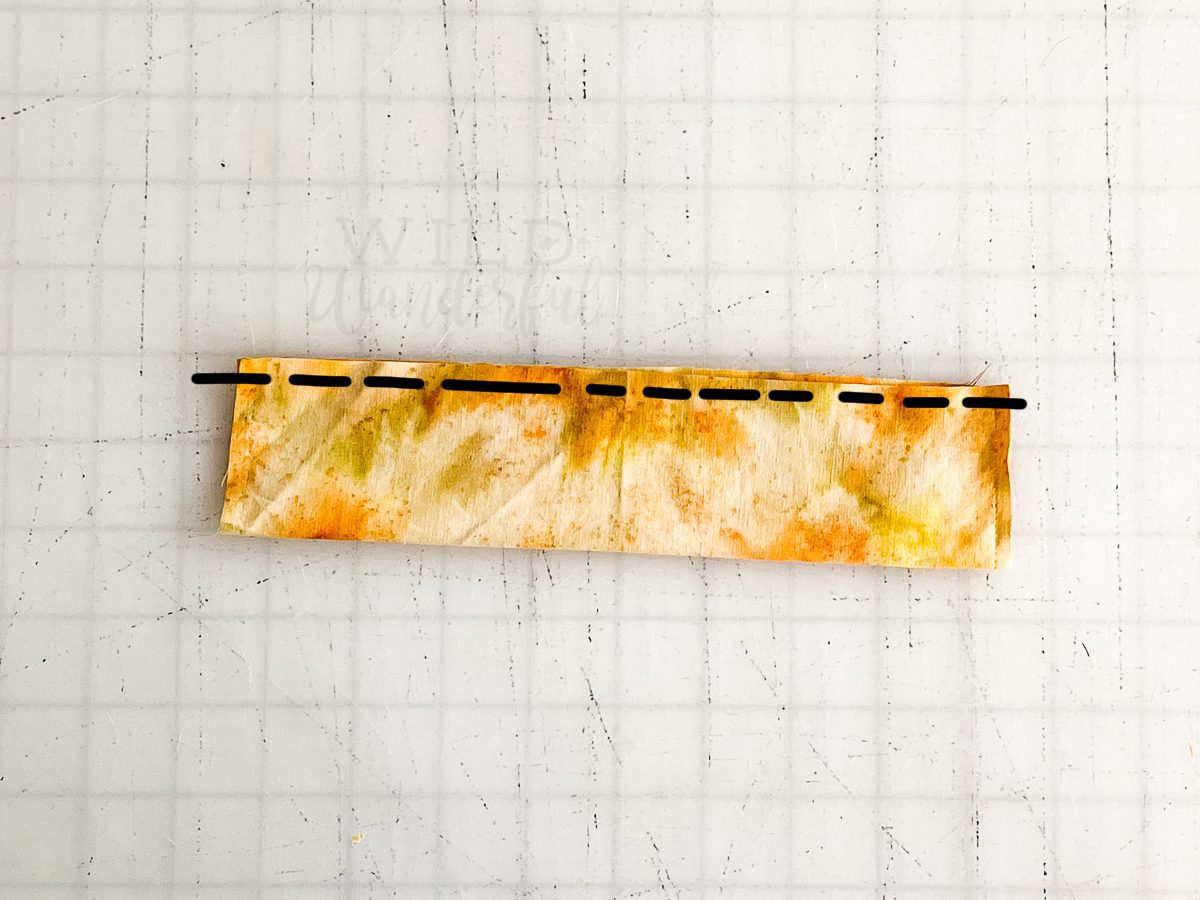
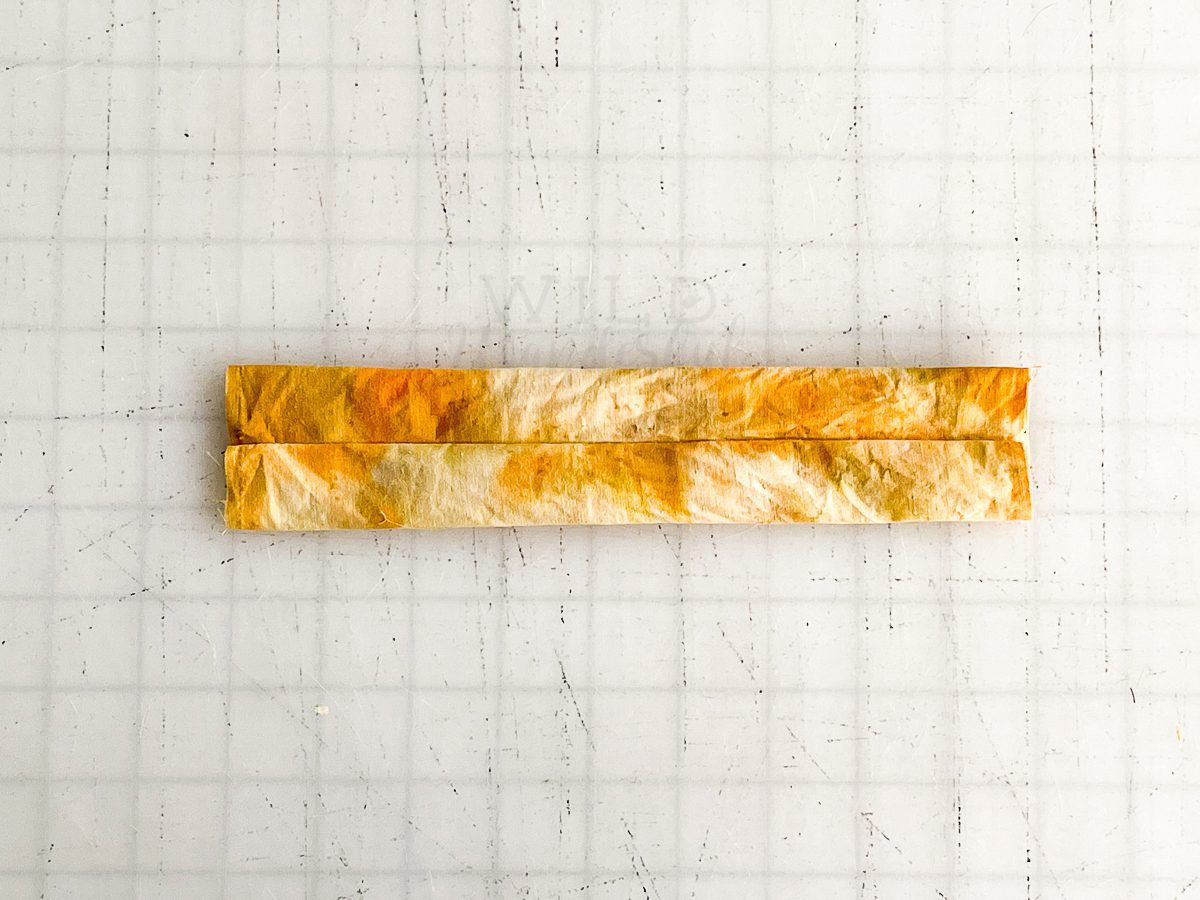
Step 10 – Place main bow piece right sides up. Fold in half, with right sides together, matching the long edges. Sew using 1/4″ seam allowance.

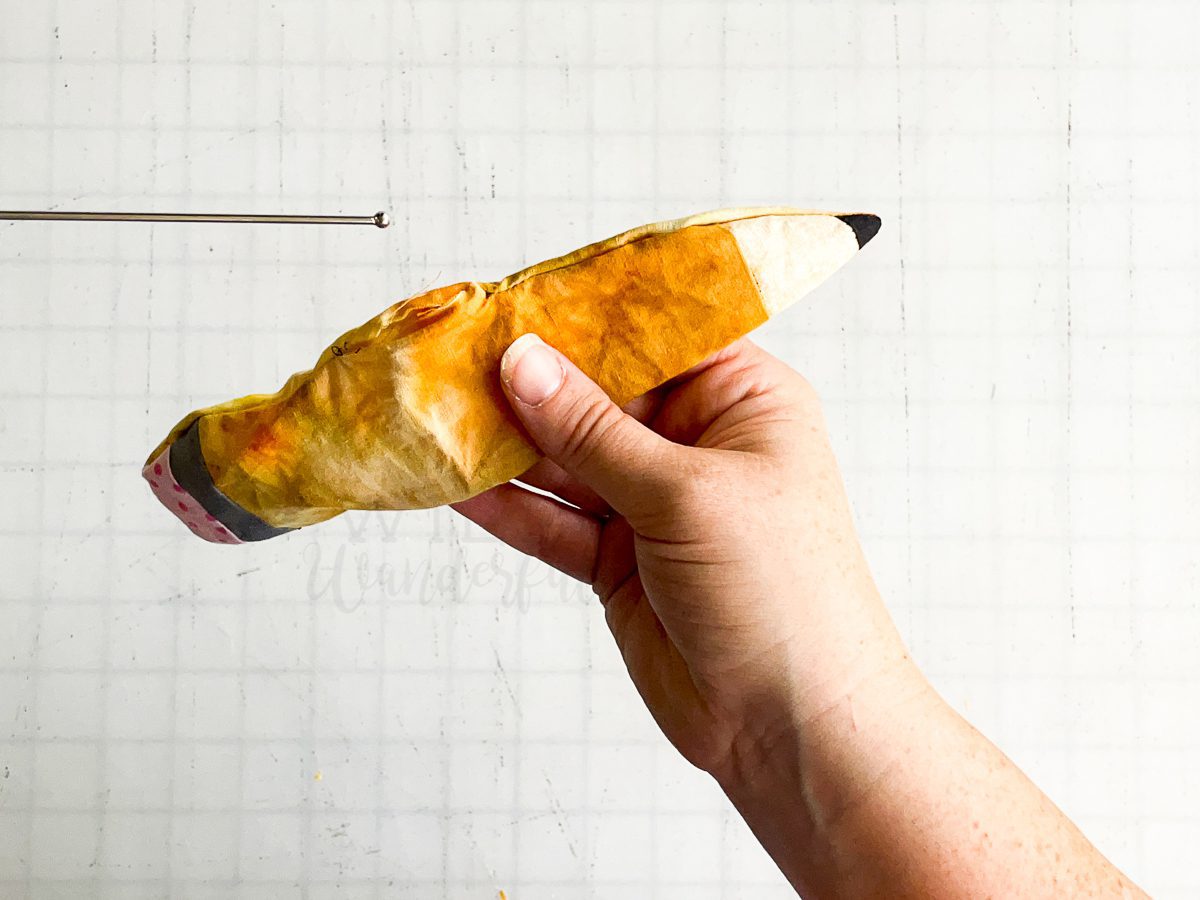
Step 11 – Turn tube right sides out and press, with the seam moved to the center back.
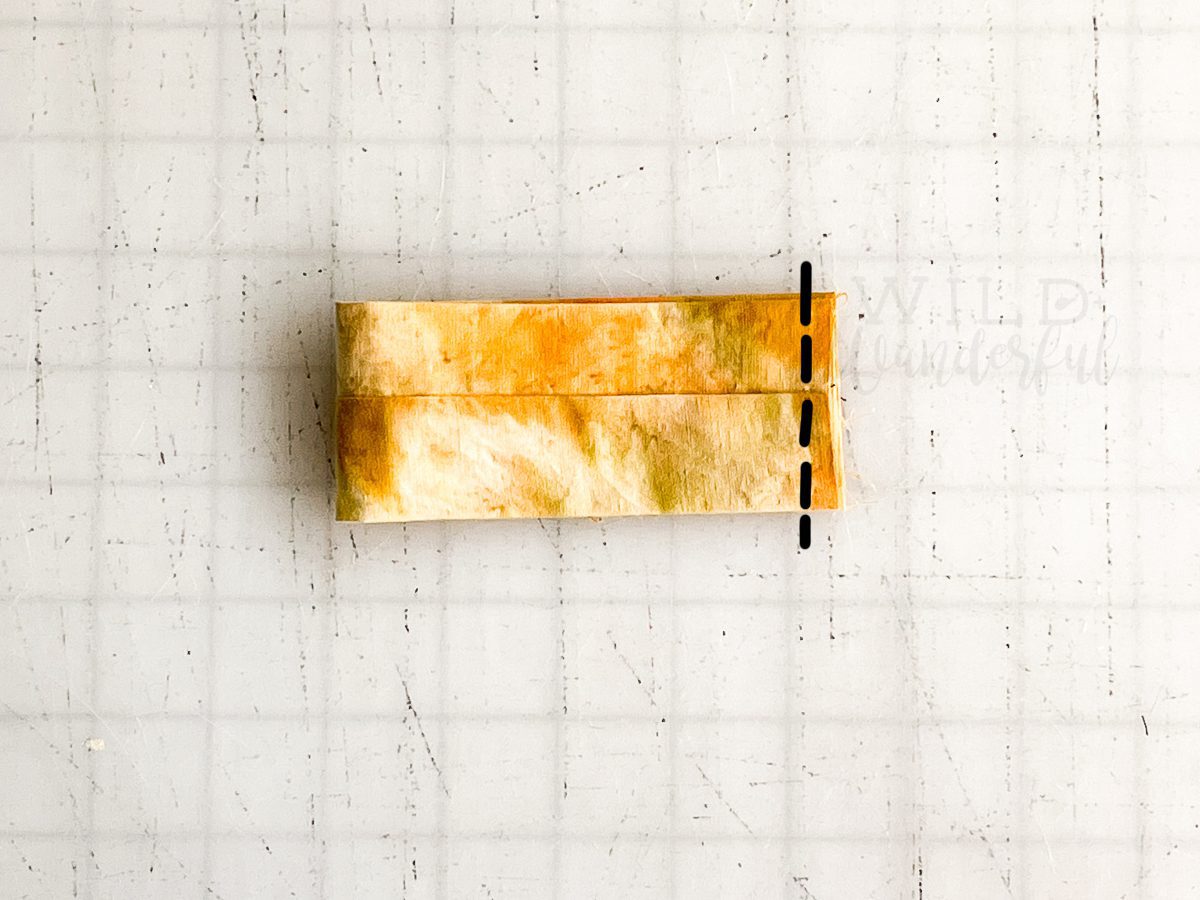
Step 12 – Place the main bow piece with right sides up. Fold in half, right sides together, meeting the short raw edges. Sew using 1/4″ seam allowance.

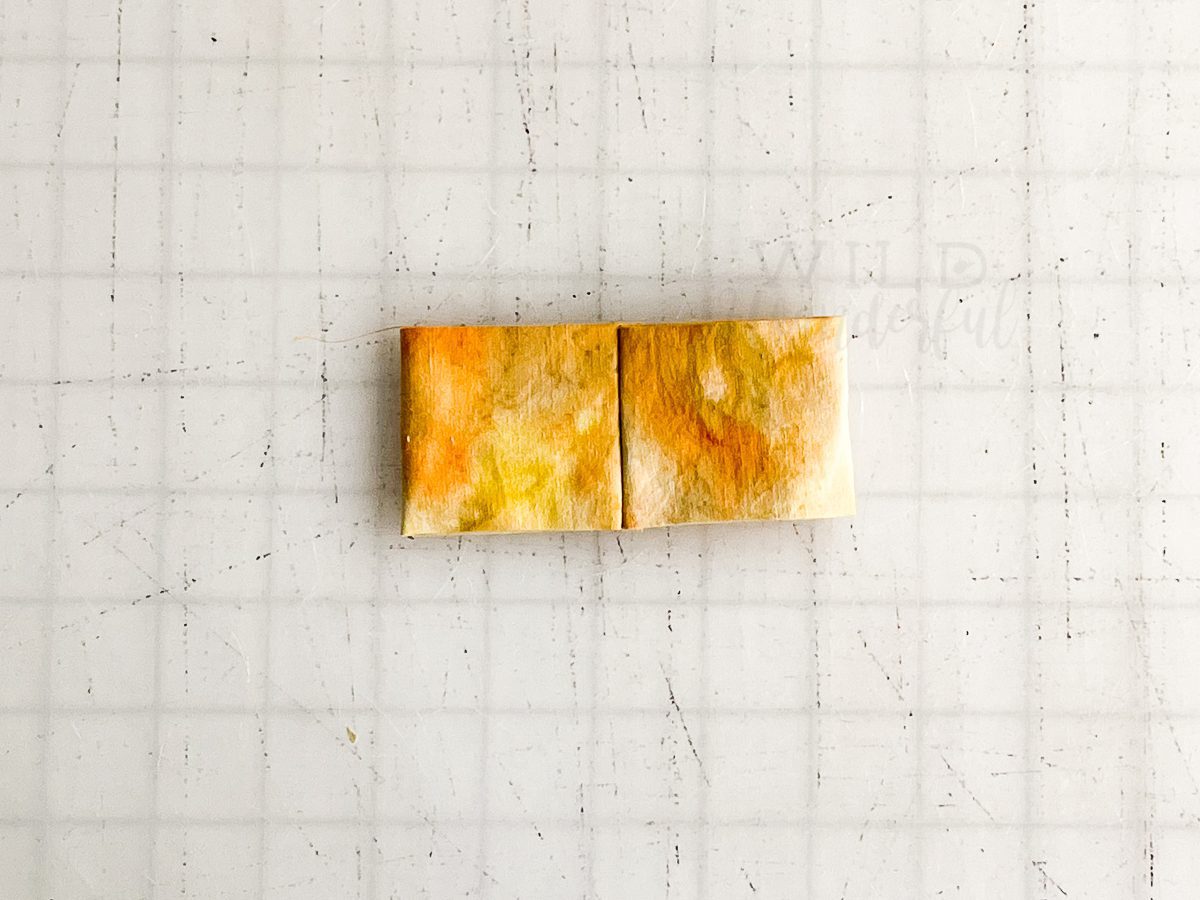
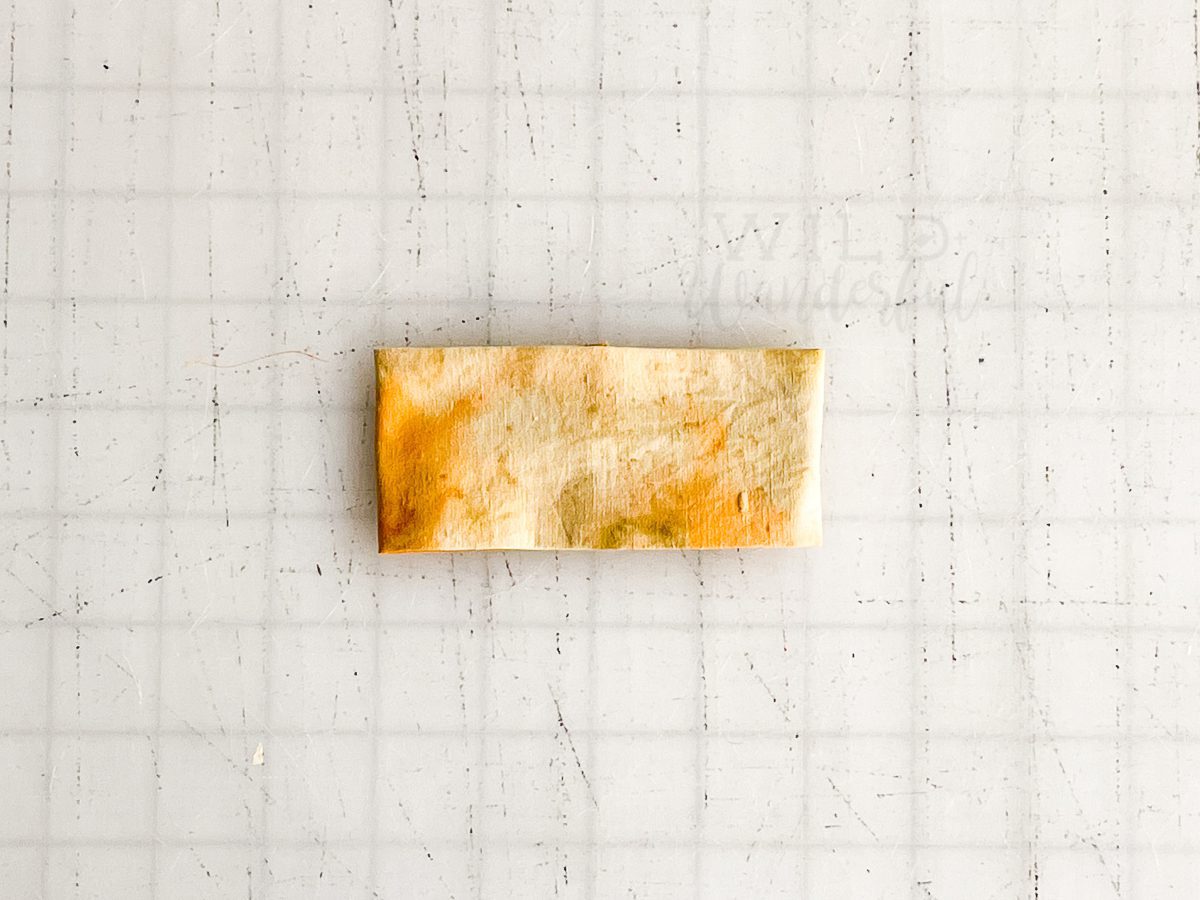
Step 13 – Turn right sides out, hiding your seam allowance in the center of this new bow loop you’ve created. Center the seam in the middle back of the pattern piece.
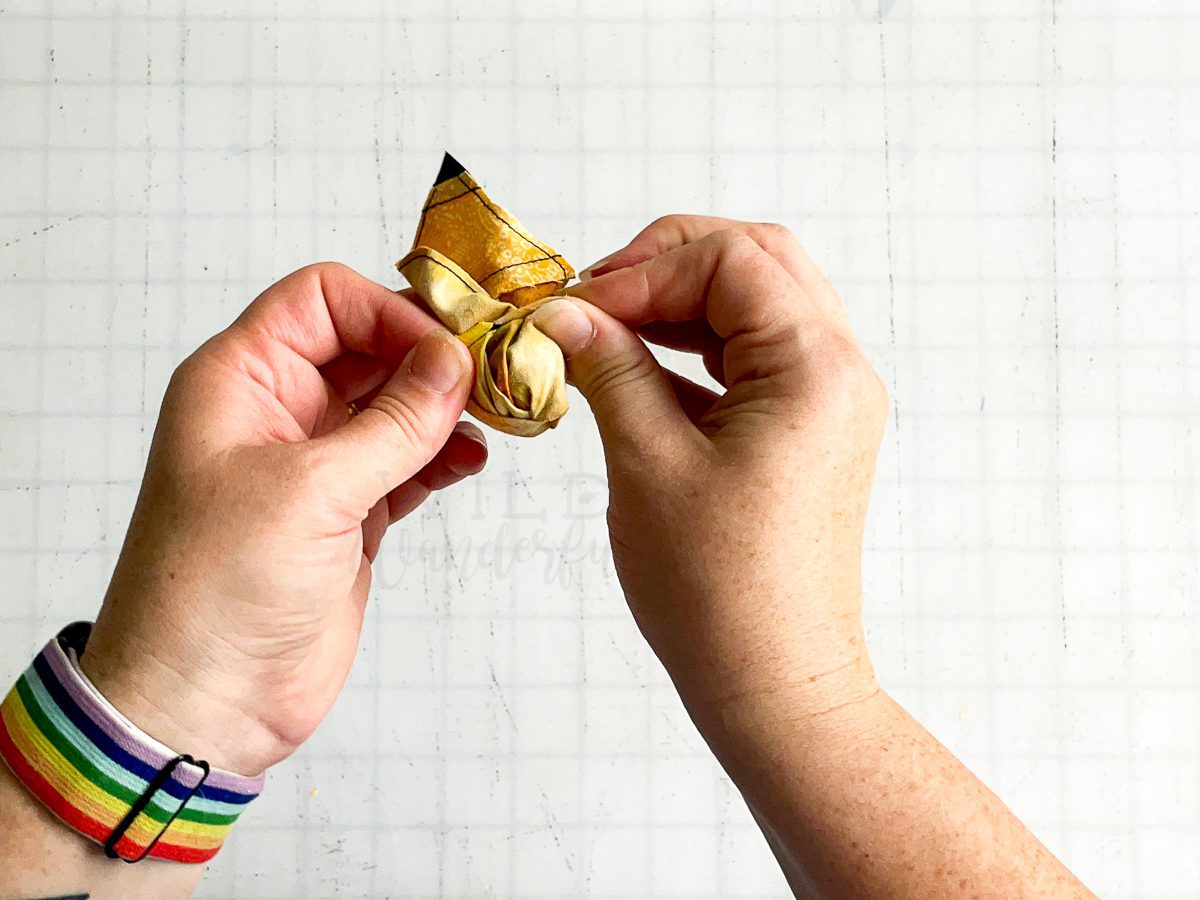
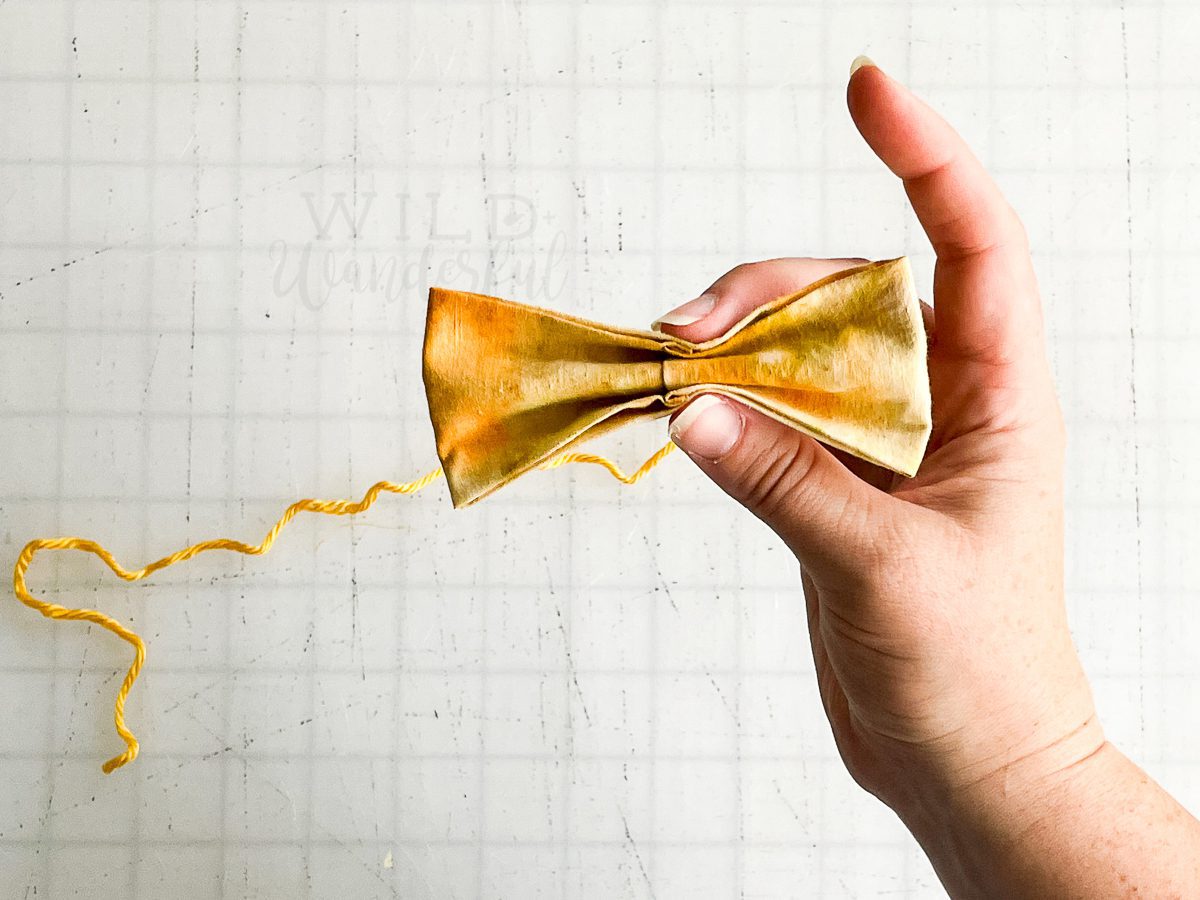
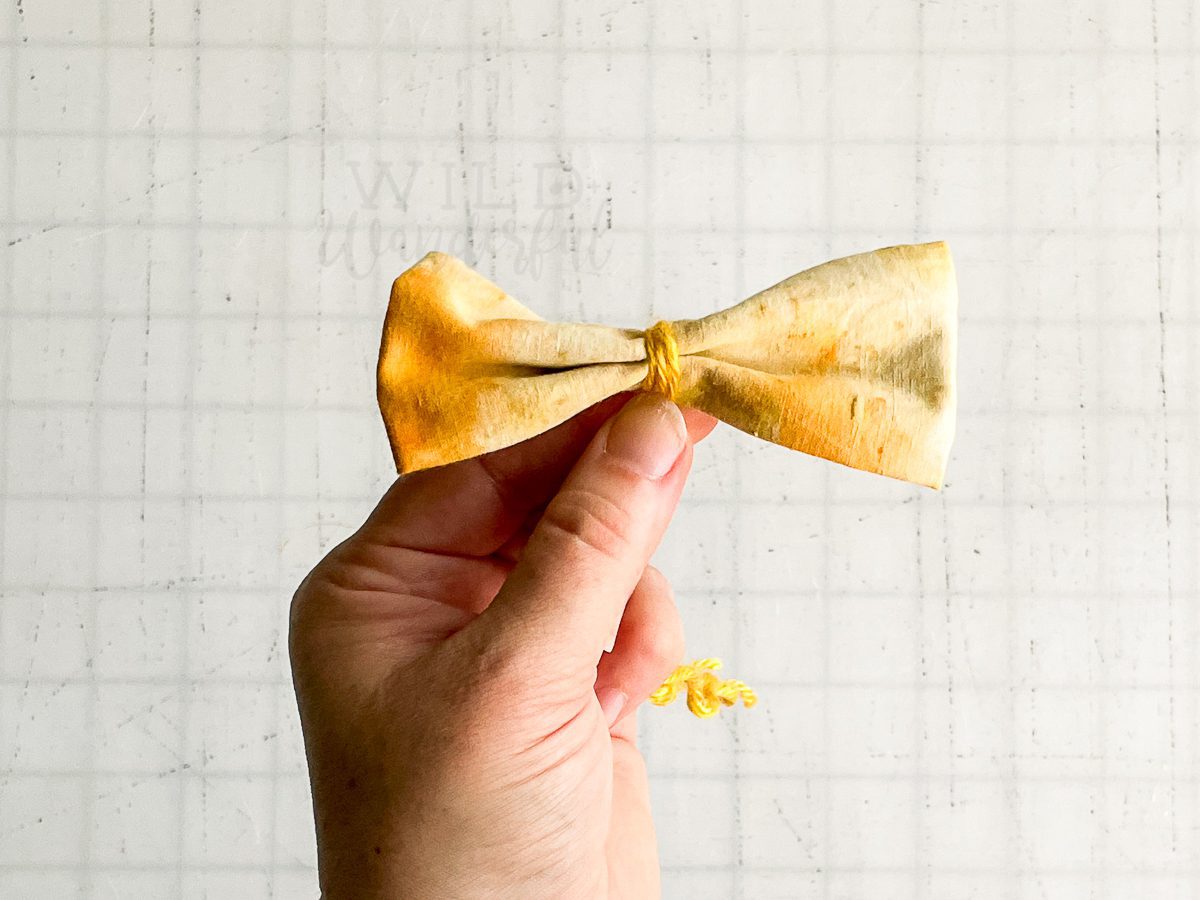
Step 14 – Accordion fold the main bow piece at the center seam. Wrap with yarn / thread, or secure with a small elastic. in the center………………………………………………………………..
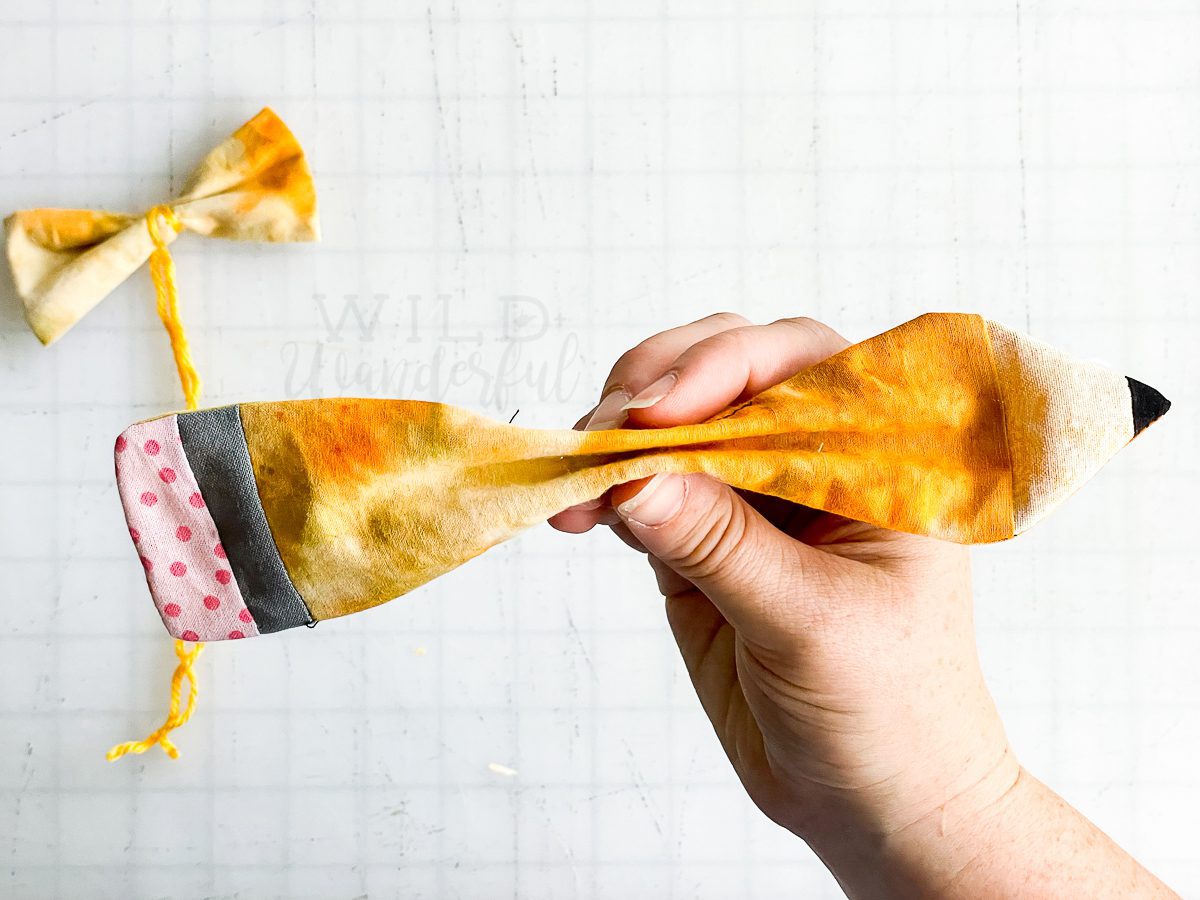
Step 15 – Repeat with bow tail, attaching the tail under the main bow piece.


Step 16 – Fold bow center into thirds and press.


Step 17 – With bow center facing down, center the bow (also facing down) and place a dab of glue. Wrap bow center around bow, securing with glue. Be sure to tuck the raw edges under before securing, to prohibit any fraying while in use.


Step 18 – You’re finished! Attach the bow to whatever you’re planning to use and complete your sew with a pat on the back for a job well done.
In case you’re one of those visual type learners, here’s a video also walking you through all of these steps:
I hope you love these bows as much as I do! If you end up making one (or twenty!), I’d love to see! Share it with me in my Facebook Group or tag me @wildandwanderfulblog / #wildandwanderfulblog on Instagram. Can’t wait!
**You may not claim this pattern as your own, or redistribute the file to anyone in any form. The pattern may be free, but I would still love a little shoutout and credit. Please feel free to share the link, but please only link from this original source. Thanks friends and happy sewing!


0 Comments