Whenever I’m in the mood to crochet something but want it to be a short and sweet project, I immediately start crocheting these granny square hearts. I’m mildly obsessed with them..you have no idea how many heart squares I have in my “WIP” pile. Whoops. I shared this Granny Square Heart crochet pattern nearly six years ago and thought maybe it was time to give you a little something extra to do with these cuties. So here we go! Let’s make some Granny Square Heart Drink Sweaters together, shall we?
**As always, you’re more than welcome to sell finished products from this pattern. I only ask that you give me credit and link back to this pattern. Please play nice and don’t claim the pattern or photos as your own. If you do end up making something from my pattern, I’d love to see the results! Link me to your blog, tag me on Instagram (@wildandwanderfulblog), email me a photo (hello@wildandwanderful.com) or post it to my Facebook page. I want to see what you can do!!


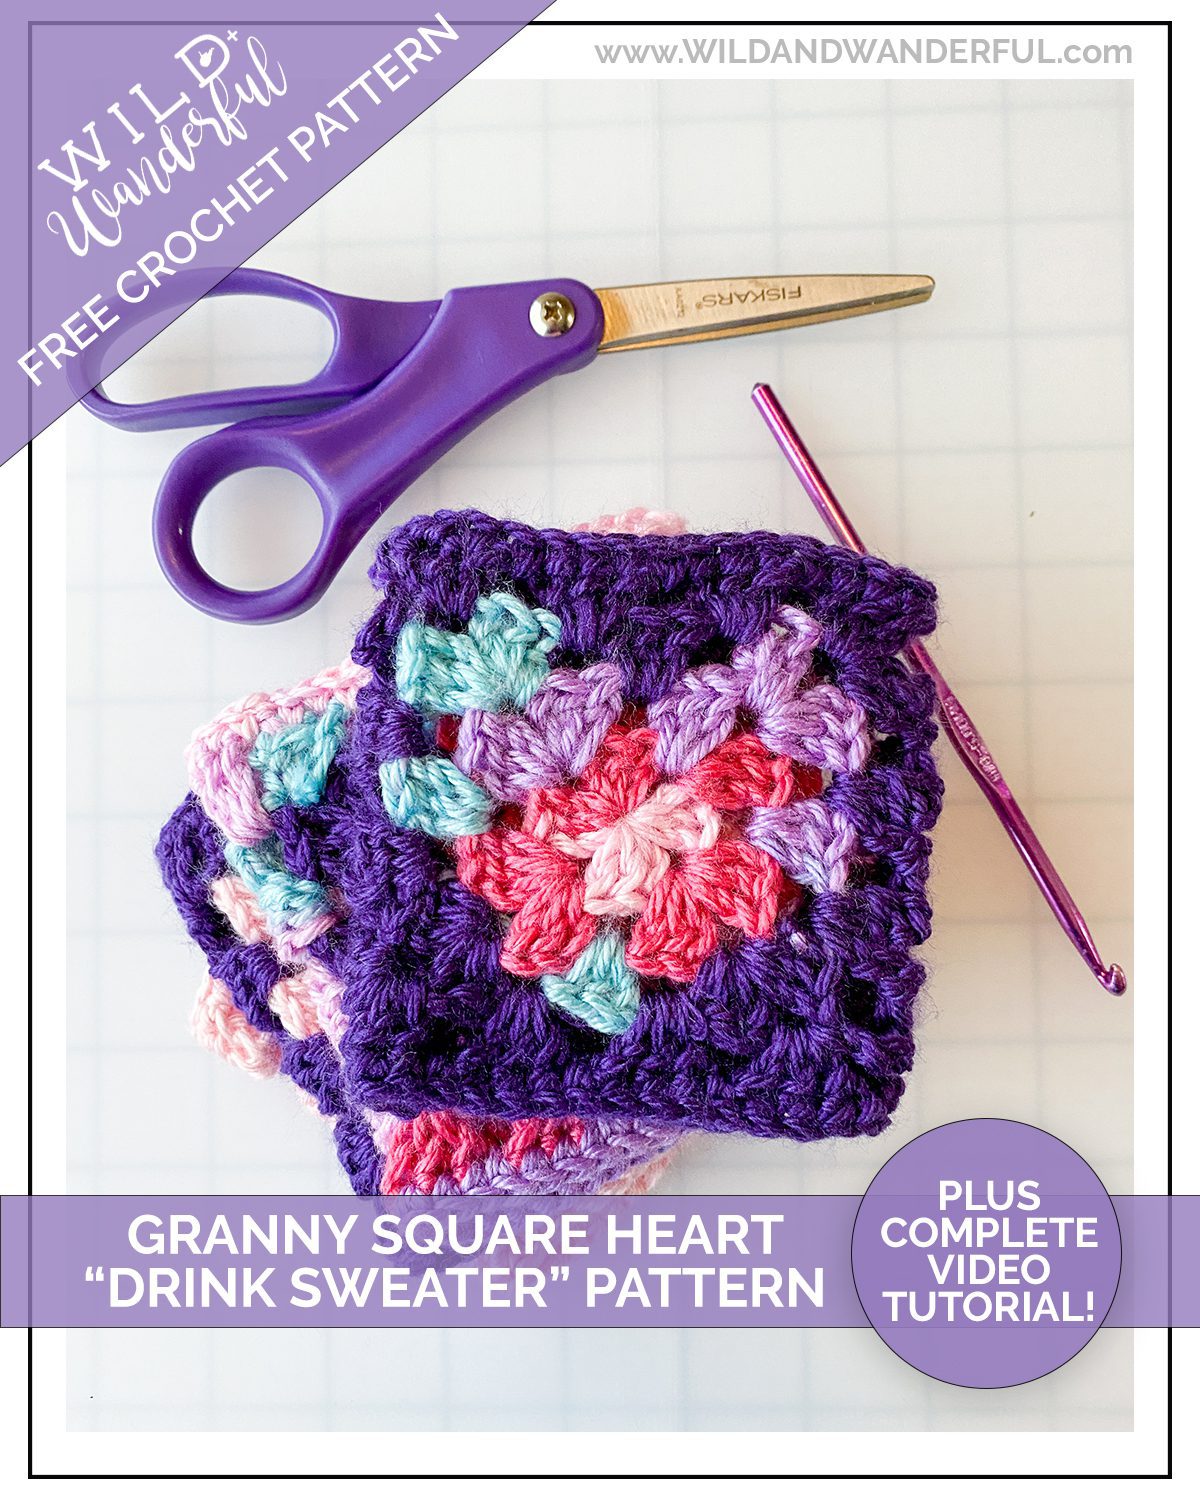
Granny Square Heart “Drink Sweater” | Crochet Pattern
Materials: – Two colors worsted weight yarn – Crochet hook size H-8 (5.0 mm) – Tapestry needle
Abbreviations: ch – chain st – stitch Chain Space – the space created between each group of DCs on the previous row DC – Double Crochet Magic Ring – Find a great tutorial including video HERE
**Ch 3 at the beginning of each round counts as first DC.
Granny Squares (Make 2)
Round 1: Magic ring. Ch 3, DC 2, Ch. [DC 3, Ch.] 3 times. Join to first DC. (This will give you four groups of 3 DC with a chain to separate each.)
Round 2: Ch 3. DC 2 in first chain space. Ch 1. [DC 3 in next chain space. Ch 2. DC 3 in same space. Ch 1.] 3 times. DC 3, Ch 2 in first chain space. Join to first DC.
Round 3: Ch 3, DC 2 in first chain space. Ch 2, DC 3 in same space. Ch 1. DC 3 in next chain space. ::change to color 2:: Ch 1. DC 3, Ch 2. DC 3. ::change change to color 1:: Ch 1. DC 3 in next chain space. ::change to color 2:: Ch 1. DC 3, Ch2. DC 3. ::change to color 1:: Ch 1, DC 3 in next chain space. Ch 1, DC 3 in next chain space, Ch 2, DC 3. ::change to color 2:: Ch 1, DC 3 in last chain space. Join to first DC. Tie off. **As a personal preference, I don’t cut the yarn and tie it off each time I change colors. Mostly because I hate having to sew in a million ends. So I just carry it through each change and switch the colors out, letting a few of the colors show on the backside of the square. You can cut your colors each time you change if you want a cleaner back. My opinion is that it’s the back….so it doesn’t matter. But it’s totally a personal choice of yours.
Joining Squares With squares right sides together, you will be crocheting into the chain spaces along one side of each square. In the corner of the square closest to you, Ch 3. In that same corner of the square furthest from you, DC 3. In the square closest to you, DC 3 in the next chain space. Repeat DC 3 in chain space on square furthest from you. (Repeat until you reach the final corner / chain space, furthest from you.) DC 1 in final corner. Tie off. Repeat steps on opposite sides of squares, creating a “tube”.
Finishing Top & Bottom Edges. Turn squares so the right sides are facing out. DC 3, Ch 1 in each chain space around. Slip stitch into first DC to complete round. SC in each DC and chain space around. Slip stitch to complete round. Tie off. Repeat for bottom edge. Weave in all loose ends. You’re finished!
I thought you might want to see it in action, especially the joining of the two squares. So I created a video of the entire process. Take a look (and remember to subscribe to my YouTube channel so you don’t miss any of my future posts!)
Hopefully you share what you’ve made with this tutorial! And even more hopefully, I hope you tag me #wildandwanderfulblog (I’m @mckinleykaty and @wildandwanderfulblog on Instagram) so I can see!! I love sharing in your joy of making!


0 Comments